Most American drivers focus on curb appeal, yet over 80 percent overlook the legal and technical steps involved in window tinting. The right tint can protect you from intense sun, boost privacy, and even improve your car’s energy efficiency. Knowing how to prepare, select, and apply window film ensures your results look sharp and stay compliant, helping you avoid costly mistakes or do-overs.
Table of Contents
- Step 1: Prepare Your Car and Choose the Right Tint
- Step 2: Clean and Measure the Windows Precisely
- Step 3: Cut and Apply Tint Film with Care
- Step 4: Smooth Out Bubbles and Secure Edges
- Step 5: Inspect and Cure the Tint for Best Results
Quick Summary
| Key Insight | Explanation |
|---|---|
| 1. Choose the Right Tint Film | Select a window tint that balances legal requirements, UV protection, and your aesthetic preferences. Opt for shades fitting your needs, such as 70% VLT for windshields. |
| 2. Clean and Measure Windows | Thoroughly clean your windows and measure them precisely. Ensure a dust-free surface and accurate dimensions for optimal tint application. |
| 3. Apply Tint with Precision | Carefully cut and apply the tint film, smoothing out bubbles to achieve a professional finish. Use a squeegee to ensure proper adhesion and avoid wrinkles. |
| 4. Secure Edges and Inspect | Trim excess film and press edges into the window gasket firmly. This prevents peeling and helps maintain the integrity of the installation. |
| 5. Allow for Proper Curing | Avoid cleaning or rolling down windows for at least 48 hours after application. Proper curing time is crucial for a durable and clear finish. |
Step 1: Prepare Your Car and Choose the Right Tint
Preparing your vehicle for window tinting requires strategic planning and thoughtful selection. Your goal is to enhance your car’s appearance and functionality while selecting a tint that meets legal requirements and your personal preferences.
Selecting the perfect window tint involves understanding different film characteristics and visibility levels. When choosing a tint, you’ll want to consider factors like shade percentage, UV protection, and heat reduction. Professional window tint experts recommend carefully selecting film sizes and shades that balance cost effectiveness and aesthetic appeal. For instance, windshield tints around 70% visible light transmission (VLT) provide excellent UV protection while maintaining clear visibility, whereas side windows can accommodate darker shades for increased privacy.
Here’s a quick overview of popular window tint types and their main benefits:
| Tint Type | Key Benefit | Typical VLT Range |
|---|---|---|
| Dyed Film | Affordable appearance | 50%-95% |
| Metalized Film | Improved heat reduction | 20%-70% |
| Ceramic Film | Best UV blocking | 30%-80% |
| Carbon Film | Fade resistance | 40%-70% |
| OEM Tint | Factory-installed style | 70%-90% |
Prep work is critical before tinting. Clean your windows thoroughly, removing all dirt, dust, and residue. Ensure your vehicle’s interior is protected, and windows are completely dry and smooth. Professional installers will typically inspect the glass surface and address any imperfections before application.
Pro tip: Always check local regulations regarding window tint darkness. Some states have strict legal limits on how dark your window tint can be, so verify compliance before investing in your preferred tint style.
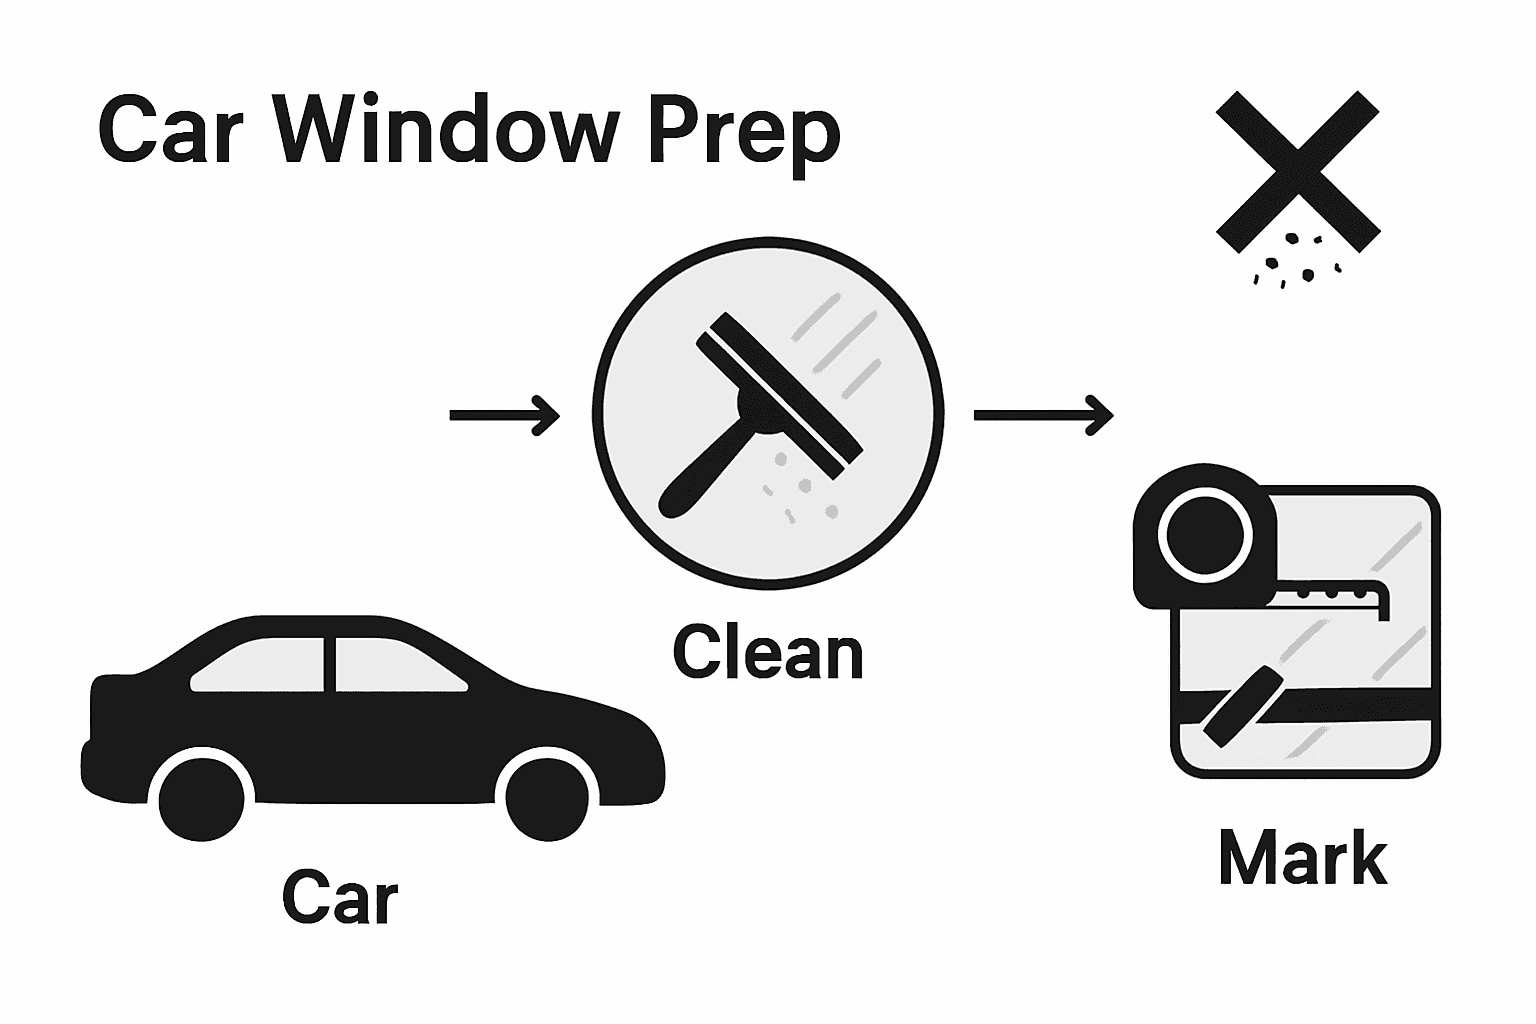
Step 2: Clean and Measure the Windows Precisely
Window preparation is a critical step that determines the success of your window tinting project. Your goal is to create a perfectly clean and precisely measured surface that ensures a professional looking tint application.
To begin, you’ll need to thoroughly clean the windows using a systematic approach that removes all dirt, debris, and contaminants. Start by removing any existing stickers or residue, then spray the glass with a soapy water solution. Use a microfiber cloth to wipe down the entire surface, ensuring you reach every corner and edge. Follow up with a squeegee to eliminate excess water and prevent water spots. The surface must be completely dry and free of any particles that could interfere with the tint application.
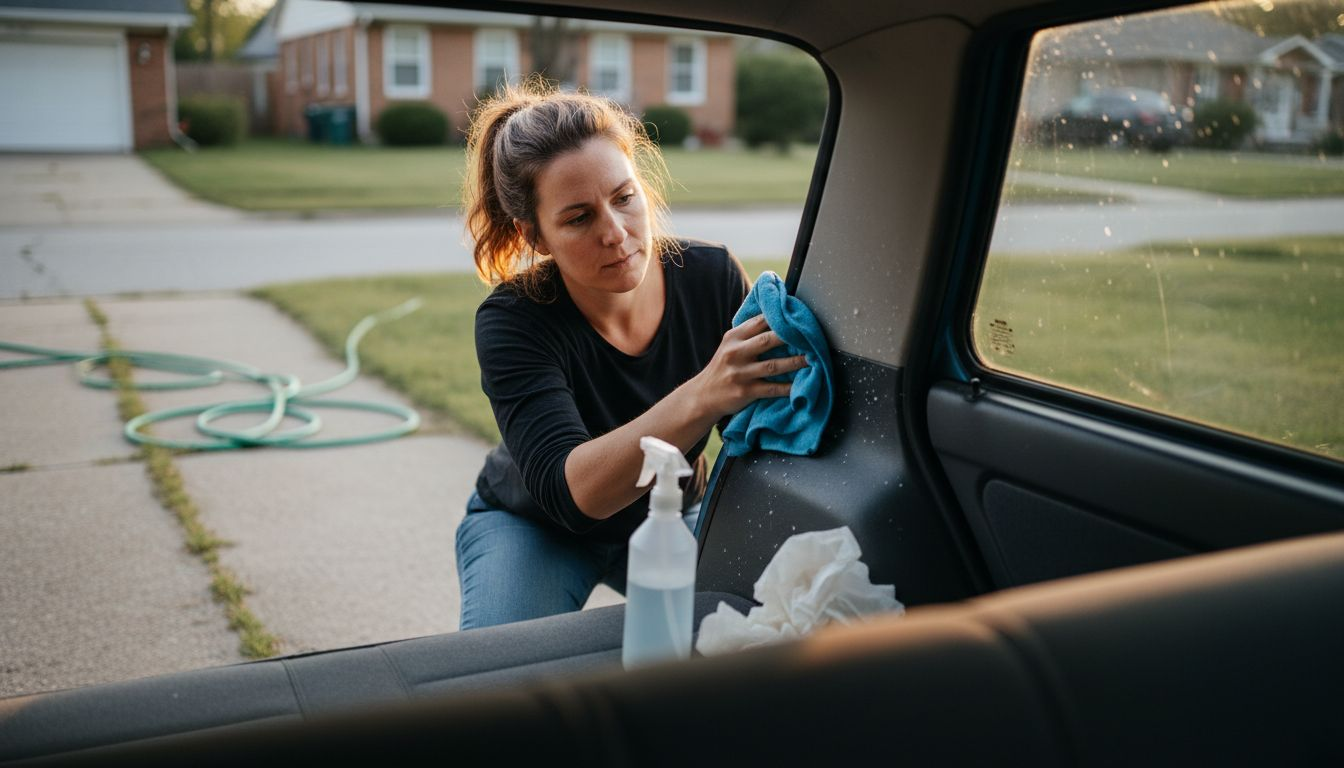
Precision is key when measuring your windows. Carefully measure each window from edge to edge, accounting for all curves and contours. Use a flexible measuring tape to capture accurate dimensions, making sure to record measurements for each individual window. Pay special attention to windows with unique shapes or angles, as these require extra care during the measurement process. These precise measurements will help you or your professional installer cut the tint film exactly to fit your car’s windows.
Pro tip: Use painter’s tape to mark your measurements temporarily. This helps create a visual guide and prevents errors when cutting or applying the tint film, ensuring a clean and professional result.
The following table summarizes essential window tint preparation and measurement tips:
| Step | Why It Matters | Common Mistake to Avoid |
|---|---|---|
| Removing all residues | Prevents application flaws | Leaving adhesive or stickers |
| Precise measuring | Ensures perfect fit | Using rigid ruler only |
| Marking measurements | Guides cutting accurately | Forgetting to remove tape |
| Squeegeeing surface | Eliminates moisture, dust | Inadequate drying |
Step 3: Cut and Apply Tint Film with Care
Applying window tint requires precision, patience, and careful technique to achieve a professional looking result. You will transform your vehicle’s appearance while protecting its interior from harmful UV rays through a meticulous application process.
The cutting process demands extreme accuracy. Begin by laying the tint film over the window and carefully trimming it to match your precise measurements. Use a sharp utility knife and a steady hand to create clean edges. Once the film is cut, carefully peel back the protective liner and prepare for application. When ready to apply, use a squeegee to smooth the film against the glass, methodically removing any bubbles and excess water for a flawless finish. Work from the center of the window outward, using gentle but firm pressure to ensure the film adheres evenly and without wrinkles.
After application, take time to inspect your work carefully. Check for any remaining air bubbles or imperfections, and use your squeegee to gently work them out. Pay special attention to the window edges, ensuring the tint is securely attached and trimmed neatly. Allow the tint to cure completely before rolling down windows or exposing them to extreme conditions.
Pro tip: Work in a clean, dust free environment with consistent temperature. Direct sunlight or extreme temperatures can interfere with the tint application process and compromise your final results.
Step 4: Smooth Out Bubbles and Secure Edges
The final stages of window tinting require meticulous attention to detail to achieve a professional and seamless appearance. Your goal is to eliminate imperfections and ensure a flawless tint application that looks like it was done by an expert.
Start by using a soft rubber squeegee to systematically work out any air bubbles trapped between the window glass and tint film. Begin at the center of the window and use smooth horizontal strokes, gradually moving outward toward the edges. Apply gentle but consistent pressure to push air pockets toward the window perimeter. For stubborn bubbles, use a credit card wrapped in a soft microfiber cloth to carefully manipulate the film without risking scratches or tears.
Securing the window tint edges is crucial for a long lasting installation. Carefully trim any excess film using a precision utility knife, ensuring a clean and precise cut along the window frame. Pay extra attention to window corners and curved areas, which can be challenging to seal properly. Press the film edges firmly into the window gasket to create a secure seal that prevents lifting or peeling over time.
Pro tip: Wait at least 48 hours after application before washing your car or rolling down windows. This curing period allows the adhesive to fully bond and prevents accidental damage to your newly applied window tint.
Step 5: Inspect and Cure the Tint for Best Results
The final stage of window tinting is critical for ensuring a professional and long lasting finish. Your careful inspection and proper curing will determine the overall quality and durability of your window tint installation.
Carefully examine the entire tinted surface under good lighting, looking for any remaining imperfections such as small bubbles, dust particles, or uneven edges. During the initial curing period, expect some temporary visual changes like small water bubbles or a slight hazy appearance which will naturally disappear as the film sets. This is a normal part of the process and should not cause concern. Use a soft microfiber cloth to gently wipe the surface if needed, but avoid applying excessive pressure that might disturb the film.
To ensure optimal results, maintain a consistent indoor temperature and avoid direct sunlight or extreme weather conditions during the curing process. Keep your windows slightly cracked to allow air circulation, which helps the adhesive bond properly. Resist the temptation to touch or clean the tinted windows extensively during the first few days, as this can interfere with the film’s setting process.
Pro tip: Park your vehicle in a garage or shaded area during the initial 72 hour curing period. This controlled environment helps the window tint settle evenly and prevents premature stress on the newly applied film.
Enhance Your Car Window Tinting Experience with Expert Mobile Detailing
Achieving a flawless window tint finish requires precision, patience, and professional-quality preparation as outlined in the comprehensive guide. If you want to avoid common challenges like air bubbles, uneven edges, or legal issues with tint darkness, partnering with experienced professionals is your best solution. At CDC Auto Detailing, we understand the importance of a perfect application that not only looks great but also protects your vehicle’s interior from harmful UV rays.

Take the next step toward premium auto care by trusting our mobile window tinting and detailing services designed for South Jersey vehicle owners who demand convenience and exceptional results. Explore how our ceramic coatings and paint protection film packages can complement your tint to keep your car looking stunning while maintaining lasting durability. Book your appointment today at CDC Auto Detailing and experience a smooth, professional finish without leaving your driveway. Don’t wait until bubbles or improper installation occur. Visit our appointment page now to secure your spot with trusted experts who prioritize quality and customer satisfaction.
Frequently Asked Questions
How do I choose the right window tint for my car?
Selecting the right window tint involves understanding the different film characteristics and legal requirements. Consider factors like the shade percentage, UV protection, and heat reduction. Start by evaluating your preferences for visibility and privacy to find the perfect balance for your vehicle.
What preparation steps should I take before tinting my car windows?
Prepare your vehicle by thoroughly cleaning the windows to remove all dirt and residue. Ensure that the interior is protected and that the windows are completely dry and smooth. Take precise measurements of each window to ensure a proper fit for the tint film, accounting for curves and contours.
How do I apply window tint film correctly?
To apply window tint film, first lay the film over the cleaned window and trim it to your precise measurements. Use a squeegee to smooth the film against the glass, removing any bubbles and excess water. Work from the center outward, applying consistent pressure for a flawless finish.
What should I do if I notice bubbles after applying the tint?
Address bubbles by using a soft rubber squeegee to push them toward the edges of the window. If stubborn bubbles remain, use a credit card wrapped in a soft cloth to gently manipulate the film without risking damage. Make sure to secure the edges of the film to prevent lifting in the future.
How long does the curing process take before I can clean my tinted windows?
Allow your tinted windows to cure for at least 48 hours before washing or rolling down the windows. This curing period helps the adhesive bond properly. Create a stable environment by parking in the shade to ensure the film settles evenly and achieves the best results.