Over 60 percent of American car owners say a spotless interior makes their daily drive more enjoyable. In South Jersey, maintaining a pristine cabin is more than just a sign of pride—it reflects a commitment to comfort, hygiene, and vehicle value. This guide takes you through efficient steps used by professionals so you can achieve deep, lasting cleanliness without the hassle of traditional detailing shops.
Table of Contents
- Step 1: Prepare The Interior For Detailed Cleaning
- Step 2: Vacuum And Remove All Loose Debris
- Step 3: Treat And Clean Upholstery Surfaces
- Step 4: Sanitize Hard Surfaces And Touchpoints
- Step 5: Verify Cleanliness And Ensure Finished Quality
Quick Summary
| Key Message | Explanation |
|---|---|
| 1. Clear the interior first | Remove all personal items and trash to access all surfaces effectively. This helps streamline the cleaning process. |
| 2. Vacuum systematically | Start vacuuming from the top and work down to ensure all debris is cleared without missing hidden areas. |
| 3. Use appropriate cleaners | Different materials require specific cleaning methods to avoid damage; always test solutions on small areas first. |
| 4. Sanitize high-touch areas | Clean and disinfect surfaces like steering wheels and door handles to eliminate germs and ensure a healthier environment. |
| 5. Conduct a thorough inspection | Check each area for cleanliness under good lighting and ensure no dampness to prevent mold growth. |
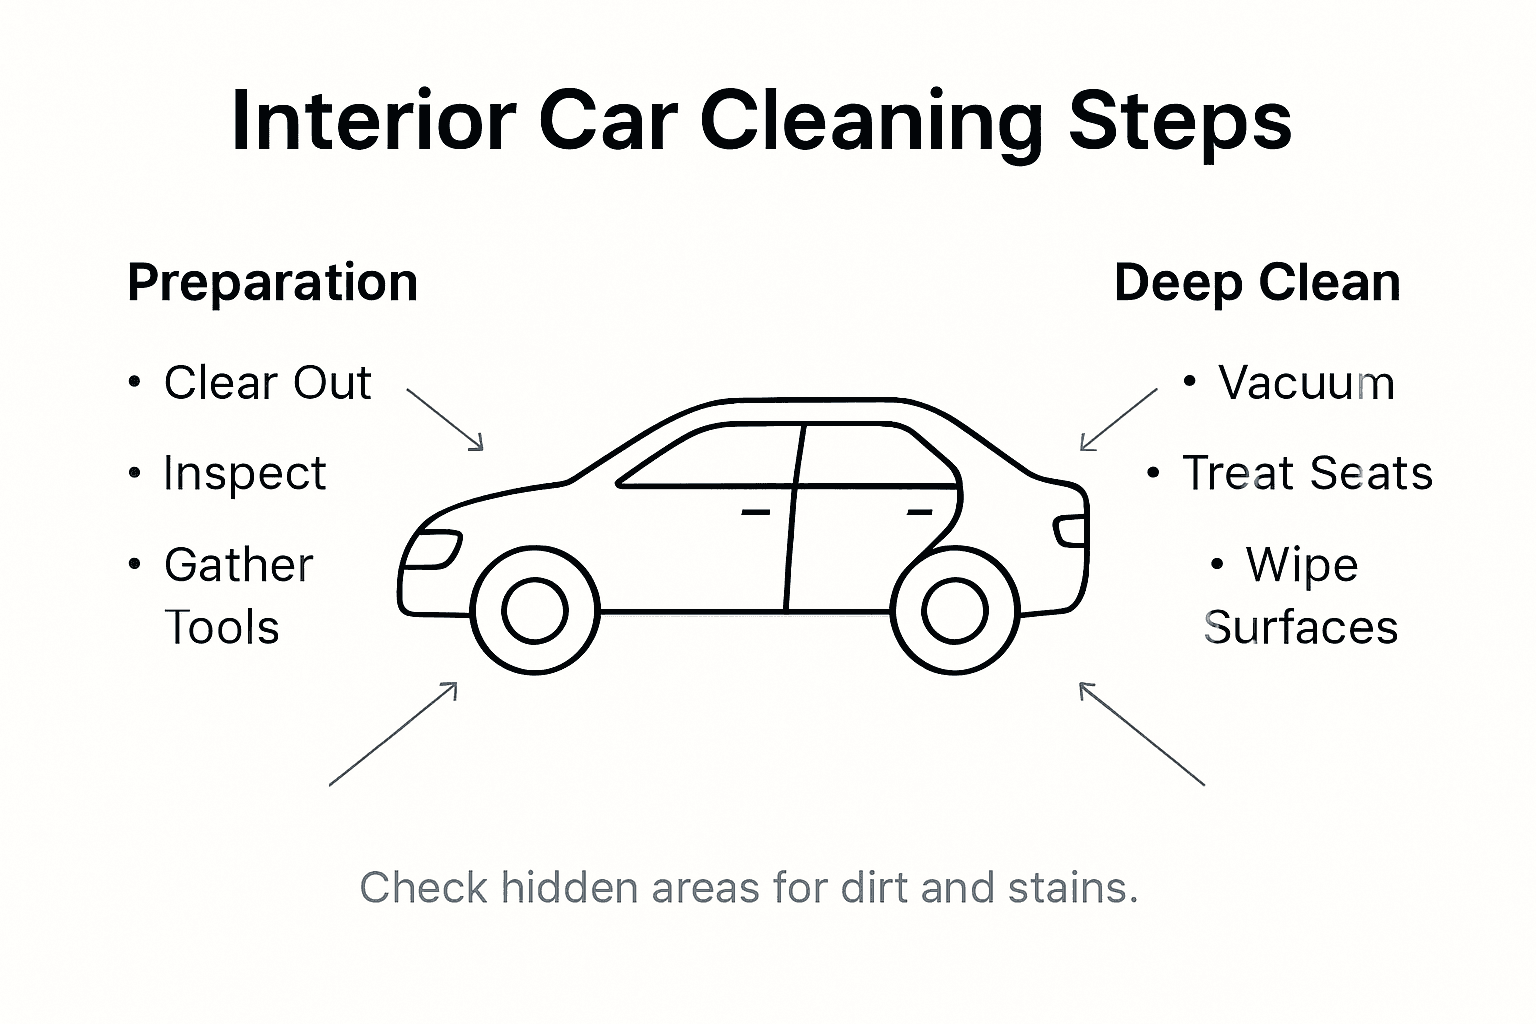
Step 1: Prepare the Interior for Detailed Cleaning
Preparing your car’s interior for a thorough cleaning sets the foundation for achieving pristine results. This initial stage involves strategic assessment and organization that will dramatically improve your overall detailing workflow.
Begin by completely emptying the vehicle’s interior. Remove all personal items, floor mats, trash, loose change, and any objects tucked into compartments or seat pockets. This clear workspace allows you to access every surface and prevents items from obstructing your cleaning process. Systematic cleaning plans recommend working methodically to ensure no area gets overlooked.
Next, conduct a detailed visual inspection of the interior. Identify specific areas of concern such as stains, accumulated dust, pet hair, or sticky residues. Different surfaces like leather, cloth, plastic, and carpet will require targeted cleaning approaches. Pay special attention to high-touch areas like steering wheels, dashboard controls, gear shifts, and door handles which accumulate more grime and bacteria.
Pro Tip: Keep a small trash bag and organized cleaning kit within reach during the entire detailing process to maintain efficiency and prevent unnecessary interruptions.
Step 2: Vacuum and Remove All Loose Debris
Vacuuming is a critical step in transforming your car’s interior from cluttered to clean. This process removes dirt, debris, and loose particles that can scratch surfaces and compromise your subsequent deep cleaning efforts.
Systematic vehicle cleaning procedures recommend starting from the top and working your way down. Remove floor mats first and shake them out thoroughly outside the vehicle. Begin vacuuming the dashboard, center console, and other hard surfaces using brush attachments to prevent scratching. Switch to the crevice tool to reach tight spaces around gear shifts, between seats, and along door panels where dust and debris accumulate.
Focus next on the seats and carpeted areas. Professional detailing techniques suggest using upholstery attachments to agitate and lift dirt from fabric surfaces. Work methodically section by section to ensure complete coverage. Pay special attention to seat seams, under seats, and floor areas near pedals where crumbs and small debris tend to collect.
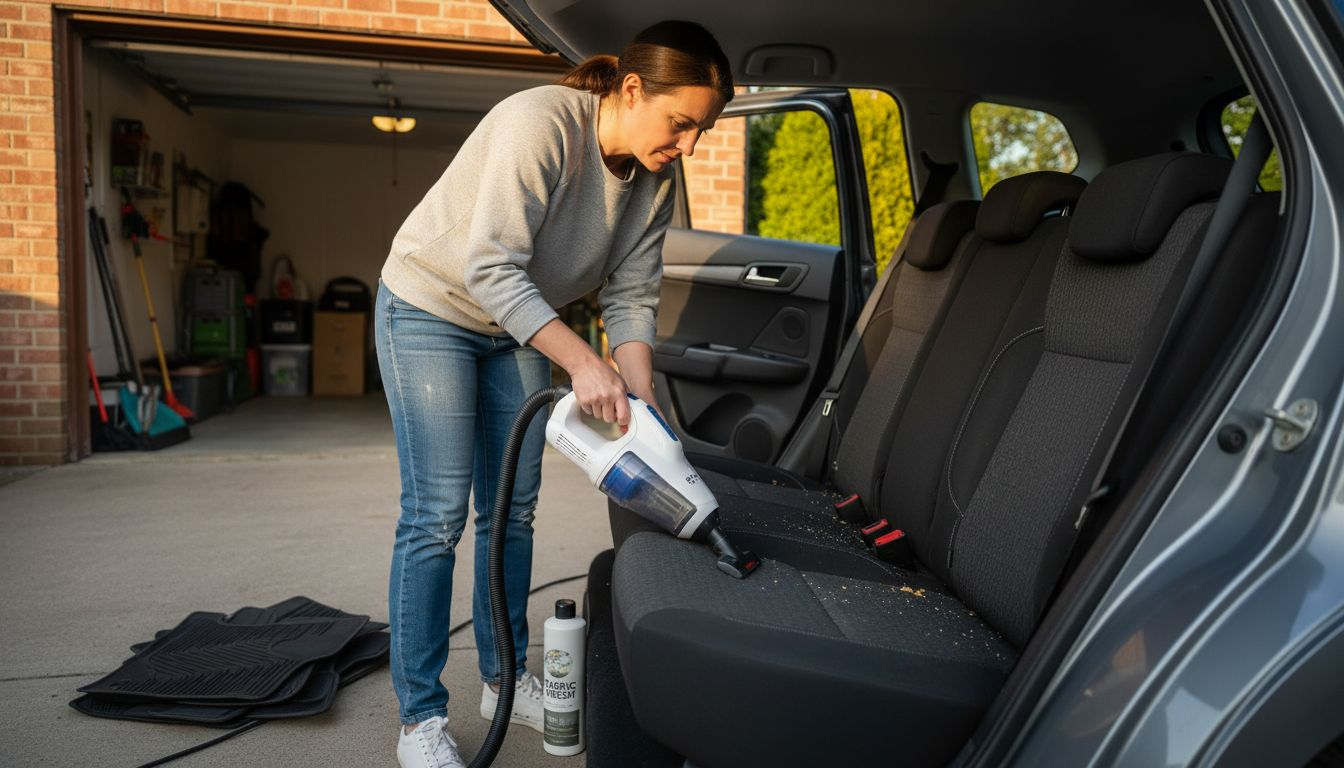
Pro Tip: Invest in a compact handheld vacuum with multiple attachments to make hard-to-reach interior areas easily accessible during your cleaning process.
Step 3: Treat and Clean Upholstery Surfaces
Cleaning your vehicle’s upholstery requires a strategic approach that preserves the fabric while effectively removing dirt, stains, and accumulated grime. Understanding the specific materials in your car will guide your cleaning technique and help prevent potential damage.
Professional upholstery cleaning techniques emphasize identifying fabric types before applying any cleaning solution. For cloth seats, start by using a soft brush attachment to loosen embedded dirt, then apply an appropriate fabric cleaner designed for automotive interiors. Work in small sections, using minimal moisture to prevent water stains or mold growth. Gently blot stains rather than scrubbing, which can spread the discoloration or damage fabric fibers.
Leather and vinyl surfaces demand a different approach. Automotive interior maintenance recommends using mild soap and water with a soft microfiber cloth, followed by a specialized leather conditioner to protect the material from cracking and maintain its natural suppleness. Always test cleaning products on a small, inconspicuous area first to ensure they do not cause discoloration or damage.
Pro Tip: Keep a set of microfiber towels dedicated specifically to interior detailing to prevent cross-contamination and ensure the best possible cleaning results.
Here’s a summary of recommended cleaning methods for different interior surfaces:
| Surface Type | Recommended Cleaning Method | Key Precaution |
|---|---|---|
| Cloth Seats | Fabric cleaner & brush | Avoid excess moisture |
| Leather Surfaces | Mild soap, microfiber, conditioner | Test in hidden area first |
| Vinyl Surfaces | Soap and water, microfiber cloth | Prevent overscrubbing |
| Carpeted Areas | Upholstery attachment vacuum | Check for remaining debris |
| Hard Touchpoints | EPA-registered disinfectant | Use microfiber to avoid marks |
Step 4: Sanitize Hard Surfaces and Touchpoints
Sanitizing your vehicle’s interior surfaces is crucial for eliminating harmful bacteria and creating a healthier driving environment. This process targets high-touch areas where germs and contaminants accumulate most frequently.
Comprehensive surface cleaning protocols recommend a two-step approach for effective sanitization. Begin by thoroughly cleaning surfaces with soap and water to remove visible dirt and grime. Focus on critical touchpoints like steering wheels, gear shifts, dashboard controls, door handles, infotainment screens, and center console areas. Use microfiber cloths that will not scratch delicate surfaces while effectively lifting dirt and preparing the area for disinfection.
Proper disinfection techniques require using EPA-registered disinfectant products specifically designed for automotive interiors. Spray the disinfectant onto a clean microfiber cloth rather than directly onto surfaces to prevent oversaturation. Gently wipe each surface, ensuring complete coverage while allowing the product sufficient contact time to kill bacteria and viruses. Pay extra attention to areas frequently touched by hands, and allow surfaces to air dry completely before using the vehicle.
Pro Tip: Keep a small travel-sized disinfectant kit in your glove compartment for quick touch-ups and unexpected cleaning needs.
Step 5: Verify Cleanliness and Ensure Finished Quality
The final stage of interior car detailing involves a meticulous inspection to confirm that every surface meets professional cleaning standards. This critical verification process transforms your hard work into a truly pristine result.
Automotive cleaning verification standards recommend conducting a systematic evaluation of your vehicle’s interior. Begin by checking each surface under different lighting conditions to reveal any missed spots or residual dirt. Use natural daylight or a bright portable light to illuminate surfaces from multiple angles. Run your hand gently over cleaned areas to feel for any remaining grime or sticky residues that might have been overlooked during the initial cleaning process.
Comprehensive cleaning assessment techniques suggest performing a final odor and moisture check. Open all windows and doors to allow complete air circulation and drying. Inspect fabric and upholstery surfaces for any lingering dampness that could potentially lead to mold or mildew. Take a moment to appreciate your detailed work and ensure that every area of the interior looks and feels completely refreshed.
Pro Tip: Keep a small inspection flashlight in your detailing kit to help identify hard-to-spot areas during your final quality check.
For a quick reference, here are essential tools to keep in your detailing kit:
| Tool/Accessory | Primary Purpose | Added Benefit |
|---|---|---|
| Handheld Vacuum | Remove debris from tight spaces | Saves time during cleaning |
| Microfiber Towels | Clean without scratching | Prevents cross-contamination |
| Trash Bag | Organize cleaning waste | Keeps workspace clutter-free |
| Inspection Flashlight | Spot missed dirt areas | Ensures thorough results |
| Disinfectant Kit | Sanitize touchpoints quickly | Promotes healthy environment |
Achieve Flawless Car Interiors with Expert Mobile Detailing
Taking on the detailed workflow for interior car cleaning can feel overwhelming. From tackling stubborn stains on upholstery to sanitizing every high-touch surface, it demands time, the right products, and professional know-how. If your goal is to enjoy a truly pristine cabin without the hassle, CDC Auto Detailing in Pitman, New Jersey is here to deliver exceptional results directly to your doorstep. Our expert mobile service takes care of everything—vacuuming hard-to-reach areas, applying the right cleaners for leather or fabric, and using EPA-registered disinfectants to keep your vehicle sanitary and fresh.

Stop stressing over complex cleaning steps and trust our skilled team to restore and protect your car’s interior with premium service you can count on. Ready for a professionally detailed vehicle that feels like new after every visit Hint: it all starts with the right detailer Visit CDC Auto Detailing to learn how our dedicated mobile detailing services can revitalize your car’s interior today without you ever leaving home.
Frequently Asked Questions
How do I prepare my car’s interior for cleaning?
To prepare your car’s interior for cleaning, start by removing all personal items, trash, and floor mats. Ensure you have an organized workspace to access every surface during your cleaning process.
What is the best way to vacuum and remove debris from my car?
Begin vacuuming from the top and work your way down, ensuring you use attachments for tight spaces and upholstery. Focus on areas like the dashboard, seats, and carpets to remove dirt and debris effectively.
How do I clean and treat upholstery surfaces in my vehicle?
Identify the type of upholstery in your car and use appropriate cleaners—fabric cleaners for cloth seats and mild soap for leather. Work in small sections and avoid excess moisture to prevent damage.
What is the process for sanitizing hard surfaces in my car?
To sanitize hard surfaces, first clean them with soap and water to remove dirt, then apply a disinfectant. Ensure you spray the disinfectant onto a cloth rather than directly on surfaces for even coverage.
How can I verify that my car’s interior is fully clean?
Conduct a thorough inspection by checking each surface under good lighting and feeling for any remaining dirt. Ensure all surfaces are dry to prevent mold growth, and open windows for air circulation.
What essential tools should I keep in my detailing kit?
Keep tools such as a handheld vacuum, microfiber towels, a trash bag, an inspection flashlight, and a disinfectant kit in your detailing kit. These tools help maintain efficiency and ensure thorough cleaning results.
Recommended
- Why Get Interior Detailing – Lasting Value for Your Car
- Interior detailing for pet owners: How to deal with hair and odors – CDC Detailing
- How to Clean Your Car’s Cloth Seats? – CDC Detailing
- 7 Essential Detailing Best Practices for Clean, Protected Cars
- Injector Cleaning Benefits for Diesel Pros: 2025 Guide – My WordPress