
Yes, you can ceramic coat exterior plastic trim, but only with a true bonding SiO2 formula and thorough prep. Dressings and sprays that just sit on the surface fade within weeks. A properly applied coating, on clean and decontaminated plastic, can hold up for years. The steps that follow cover the chemistry, prep, application, and upkeep that separate a lasting result from a wasted afternoon.
TL;DR:
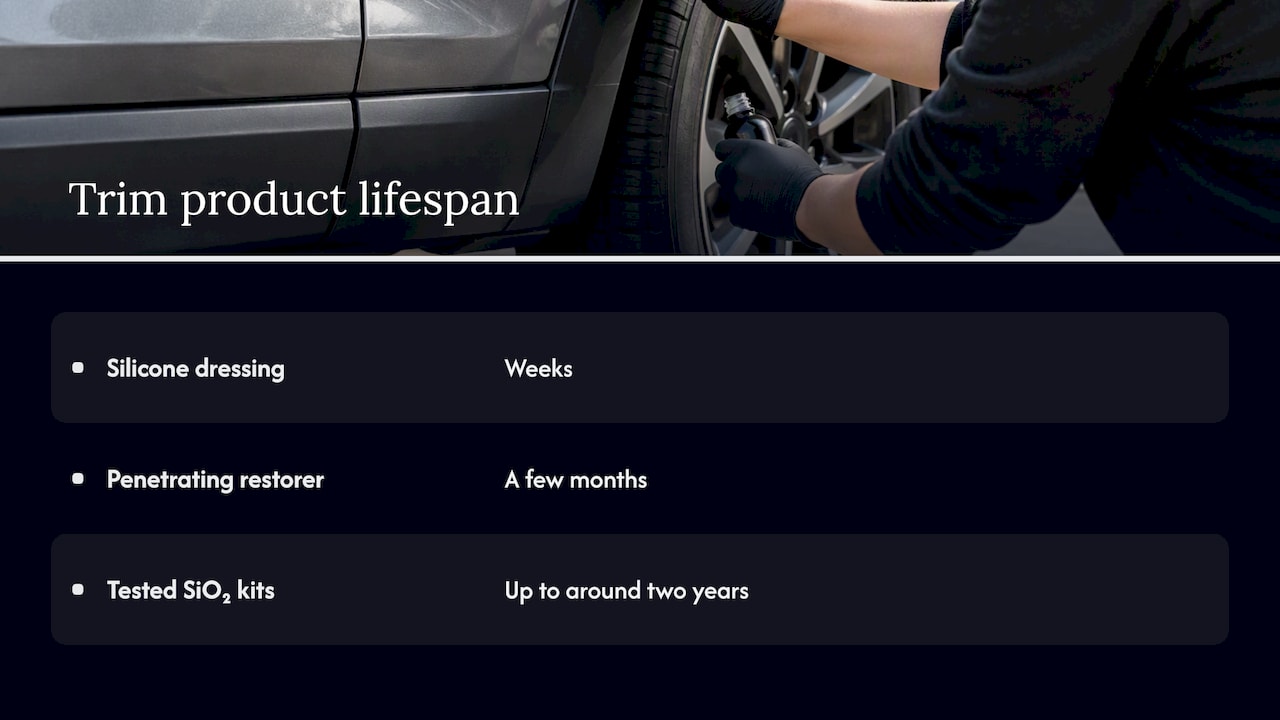
- Product longevity varies by chemistry: dressings last weeks, penetrating restorers last months, and bonded SiO2 coatings can protect trim for a year or longer.
- Thorough prep means washing, claying, removing old silicone, and finishing with an isopropyl alcohol wipe, because residue can prevent bonding.
- Keep trim dry for the first 4 to 24 hours, avoid washing for several days, and follow the product’s cure and dwell instructions.
- Look for cure guidance and durability claims linked to a testing method; manufacturer claims such as 200 washes are not independently verified guarantees.
- A coating can restore color and repel water, but it cannot repair cracked, split, or structurally damaged trim; test it on a hidden panel first.
Table of Contents
- Why chemistry and surface condition determine how long it lasts
- How to spot a genuine trim coating versus a temporary dressing
- Prep and application: the step-by-step process for lasting results
- Curing, maintenance, and quick fixes
- What lifespan should you realistically expect?
- When a professional install makes more sense
- The real tradeoff nobody mentions
- Ready for a trim coating that actually lasts?
- FAQ
- Sources
Why chemistry and surface condition determine how long it lasts
Not all “ceramic” products behave the same way, and the label alone tells you very little. Durability splits into three rough tiers:
- Silicone or water-based dressings: a few weeks of shine before they wash or wear off.
- Penetrating restorers that soak into oxidized plastic: several months of improved color and some water resistance.
- True bonded SiO2 coatings, applied over properly prepped plastic: a year or more, with the best independently tested kits approaching roughly two years of durability.
Coatings restore color and add a protective, hydrophobic layer, but they cannot repair physically cracked, split, or structurally degraded trim. Before committing to a full job, test any product on an inconspicuous panel first. If the finish beads but rinses off within minutes, you are looking at a dressing, not a coating.
How to spot a genuine trim coating versus a temporary dressing
Marketing language on plastic restoration products is inconsistent, and “ceramic” gets slapped on everything from permanent coatings to spray-on dressings that disappear in a car wash. The label itself is not proof of performance.
Look for specific signals that point to an actual bonded coating:
- Instructions that mention a cure or dwell time, since a product with nothing to cure is not bonding to anything.
- Wash-count or durability claims tied to a stated testing method, not just a vague “lasts for months.”
- Wording like “bonds to the surface” or “forms a layer” rather than “restores shine” or “wet look.”
Avoid anything that promises a wet look with no cure guidance, or that openly admits it washes off within a few weeks. One example of a product built around actual restoration chemistry is the Cerakote Trim Coat restoration kit, which is marketed with a stated 200-wash durability claim and a pre-saturated wipe application method aimed at heavily oxidized trim. Readers should still treat manufacturer durability numbers as a starting point rather than an independently verified guarantee, since third-party testing of these claims is uncommon.
Independent testing and practitioner writeups describe a clear chemistry-based durability tier system, where true SiO2 coatings significantly outlast dressings and restorers. Detail-it-yourself guidance treats this tiering as the most reliable way to judge a product before buying it.
Prep and application: the step-by-step process for lasting results
Prep decides whether a coating bonds or peels. Skipping steps here is the single biggest reason trim coatings fail early.
- Wash the trim and surrounding panels, using an iron remover first if the vehicle has heavy brake dust or rail dust contamination.
- Clay bar the plastic to lift embedded contaminants that washing alone leaves behind.
- Strip any old silicone dressings or residue with a dedicated adhesive or dressing remover, since leftover silicone blocks the coating from bonding.
- Finish with an isopropyl alcohol (IPA) wipe-down to remove any remaining oils and expose the bare polymer surface.
This sequence mirrors 3M’s own application SOP, which ties successful bonding directly to this wash, clay, decontaminate, and IPA-wipe order. For a full walkthrough of the broader vehicle process, our step-by-step ceramic coating guide covers the same groundwork applied across a full exterior.
Work in a dust-free space between roughly 16°C and 25°C (about 60 to 77°F), since extreme heat flashes the coating too fast and cold slows curing. Apply to small sections at a time using a cross-hatch pattern, let the product dwell for one to five minutes depending on the formula, then level with a clean microfiber towel before it hazes. Check the application technique and cure window guide for product-specific timing.
Pro Tip: Keep the trim dry for the first several hours after application, and hold off on the first wash for at least a few days to let the coating fully bond.
Curing, maintenance, and quick fixes
Cure time is where most DIY jobs go wrong, not application. The first four to 24 hours are critical: keep the trim dry and out of rain or sprinklers during that window. Full bonding typically continues over the following days to weeks, depending on the specific product’s chemistry.
Once cured, maintenance is simple:
- Stick to pH-neutral car wash soap rather than harsh degreasers that strip the coating prematurely.
- Avoid silicone-based dressings entirely, since they coat over the SiO2 layer and interfere with its hydrophobic properties.
- Reapply a hydrophobic spray booster on the manufacturer’s recommended schedule to refresh water beading.
If you notice streaking or an uneven finish shortly after application, you may be able to re-level the area within the product’s dwell window using a clean microfiber towel. Once the coating has fully cured, the only real fix for a blotchy patch is to strip that section and reapply following the full prep sequence again, since a half-measure over cured coating rarely blends cleanly.
What lifespan should you realistically expect?
Expectations should track the chemistry you chose, not marketing copy. Silicone dressings last weeks. Penetrating restorers hold their look for a few months. Top independently tested SiO2 trim kits can offer long-term durability, lasting up to around two years under good conditions, according to independent restoration testing.
Several factors shrink that window regardless of product quality. Heavy ultraviolet exposure accelerates fading and oxidation, and the EPA’s guidance on UV radiation confirms that sun exposure is a steady driver of plastic degradation over time. Frequent pressure washing and leftover silicone dressings from a previous restoration attempt also cut coating life short.
If you want a low-effort, medium-term fix, a penetrating restorer is the simpler choice. If you want the longest-lasting result and are willing to prep thoroughly, a bonded SiO2 coating is worth the extra work.
When a professional install makes more sense
DIY trim coating works when you follow the prep sequence exactly, but a controlled environment removes a lot of the guesswork. Mobile ceramic coating services are built around the same decontamination and IPA-wipe sequence that manufacturer SOPs call for, and are applied in controlled conditions rather than in a driveway at the mercy of weather and dust.
Textured or porous plastic trim is less forgiving than smooth painted panels, and the margin for error in dwell time and leveling is tighter. Our documented process handles that variability, and because the service comes to you, there is no need to haul a vehicle anywhere to get it done right.
The real tradeoff nobody mentions
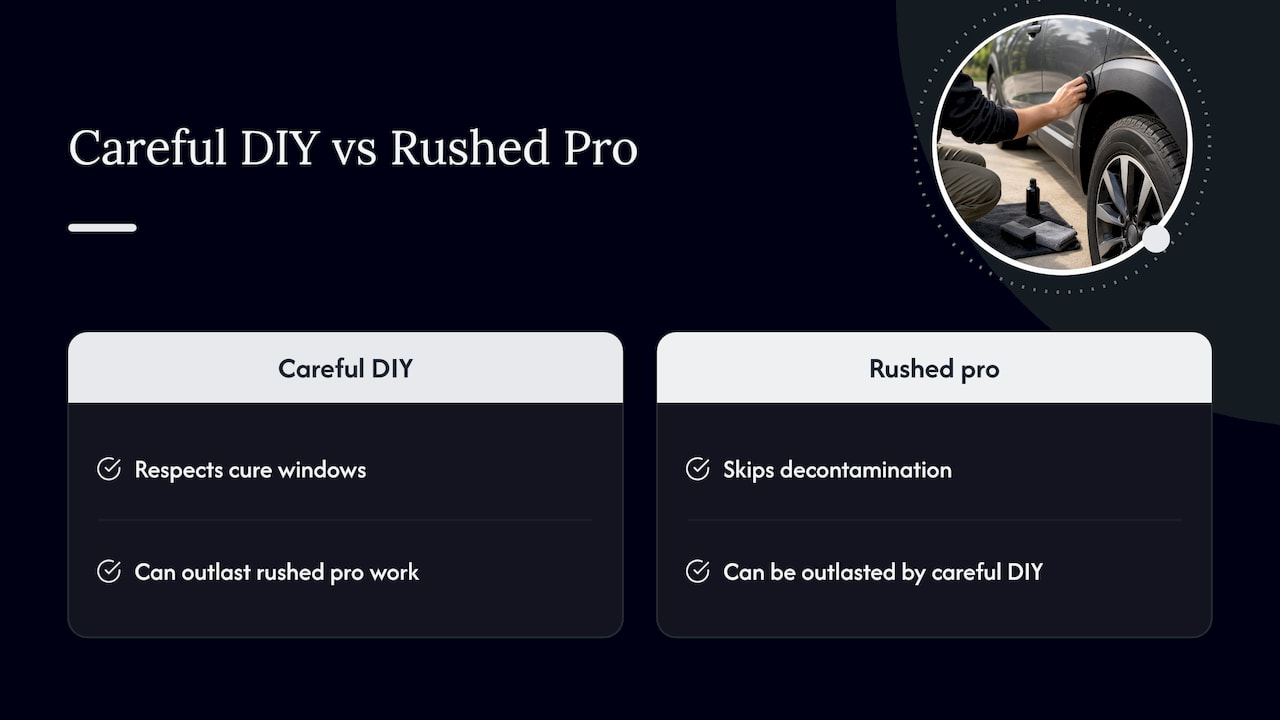
The conventional advice treats “ceramic coating” as a single product category, as if buying anything labeled ceramic guarantees years of protection. That framing is misleading. The honest divide is not DIY versus professional, it is bonding chemistry versus everything else. A careful DIYer who strips old dressings and respects cure windows will outlast a rushed professional job that skips decontamination.
What gets underrated is prep, and what gets overrated is the coating itself. Most failures trace back to leftover silicone, skipped clay bar steps, or impatience during cure time, not an inferior product. If you take one thing from this guide, make it the IPA wipe-down: it is the cheapest step and the one people skip most often because the trim already looks clean.
Readers who want a long-term result without managing dwell times and weather should lean toward a controlled professional install. Readers comfortable with a slower, careful process can get comparable results at home if they respect the chemistry instead of the marketing.
— Charles
Ready for a trim coating that actually lasts?
If reading through dwell times and decontamination steps convinces you a controlled install beats a driveway job, we handle the full prep-to-cure process on your trim and paint together. Our ceramic coating packages cover everything from a 3 Year Package to an 8 Year Package, so you can match protection level to how long you plan to keep the vehicle.

- Mobile service, so the job happens at your home or office.
- Packages from the 3 Year Package through the 8 Year Package, covering trim along with paint.
- Maintenance support to keep the coating performing between visits.
FAQ
Is interior ceramic coating worth it?
Interior coatings protect surfaces like leather, vinyl, and plastic trim from UV fading and staining, which matters most if you want to preserve resale value. Whether it is worth it depends on how long you plan to keep the vehicle and how much daily wear the interior sees.
How can I make plastic look like ceramic?
A bonded SiO2 trim coating, applied after thorough prep, restores a rich black finish on oxidized plastic and gives it a slick, repellent surface rather than a temporary glossy look. Penetrating restorers can achieve a similar appearance for a shorter period, typically a few months.
Do you do ceramic coating on top of PPF?
Ceramic coatings are commonly applied over paint protection film to add hydrophobic properties and extra UV resistance, since PPF and SiO2 coatings bond differently and are not mutually exclusive. If you are considering both, our paint protection film service can be paired with a coating for layered protection.
What is a good ceramic coating for plastic?
A good trim coating lists cure or dwell time instructions and ties its durability claims to a stated testing method rather than vague marketing language. One example built specifically for restoring oxidized trim is the Cerakote Trim Coat Kit, which advertises a 200-wash durability figure and a wipe-on application.
Sources
- 3M™ Ceramic Coating application standard operating procedure
- Restoring faded plastic trim: what actually works long-term
- Ultraviolet (UV) radiation and sun exposure — EPA