Most American fleet managers in South Jersey recognize that keeping drivers comfortable and vehicles visually appealing does not have to drain the budget. Over 90 percent of commercial fleets face daily operational challenges from sunlight and heat. When you approach window tinting strategically, you address not just aesthetics but also crucial comfort for your teams. This guide lays out clear steps to help you select smart tinting options that fit your needs and budget.
Table of Contents
- Step 1: Assess Fleet Tinting Needs
- Step 2: Select the Right Tint Materials
- Step 3: Prepare Fleet Vehicles for Tinting
- Step 4: Install Window Tint Professionally
- Step 5: Inspect and Ensure Quality Results
Quick Summary
| Key Point | Explanation |
|---|---|
| 1. Assess Fleet Needs | Analyze your fleet’s environment and specific requirements before tinting. |
| 2. Choose Appropriate Materials | Select tint materials that provide the best balance between cost, durability, and performance. |
| 3. Prepare Vehicles Thoroughly | Ensure windows are clean and damage-free for optimal film adherence during installation. |
| 4. Professional Installation | Use skilled professionals to ensure precise application and high-quality results. |
| 5. Conduct Quality Inspections | Systematically check each vehicle post-installation to confirm quality and compliance. |
Step 1: Assess Fleet Tinting Needs
Assessing fleet window tinting needs is a strategic process that helps managers optimize vehicle performance and driver comfort. Your goal in this step is to comprehensively evaluate your fleet’s specific requirements and environmental conditions before selecting an appropriate tinting solution.
Start by conducting a thorough analysis of your fleet’s operational environment. Different vehicle types and usage scenarios demand unique window tinting considerations. For commercial fleets operating in high UV exposure regions, understanding heat reduction and driver protection becomes paramount. Consider factors like average temperature, sunlight intensity, driving routes, and typical vehicle occupancy. Some key assessment criteria include heat reduction capabilities, UV protection levels, glare minimization, driver visibility, and potential interior preservation.
Document your specific fleet requirements systematically. This means creating a detailed spreadsheet tracking each vehicle’s make, model, current window condition, primary operational environment, and anticipated tinting needs. Prioritize safety and comfort while balancing budget constraints. Fleet managers should also review local regulations regarding window tinting darkness and reflectivity to ensure compliance.
Pro tip: Consult with a professional window tinting service that specializes in fleet vehicles to get a comprehensive assessment tailored to your specific operational requirements.
Step 2: Select the Right Tint Materials
Selecting the right window tinting materials is critical for fleet managers seeking to optimize vehicle performance, driver comfort, and long-term vehicle protection. Your goal is to choose tint materials that balance performance, durability, and cost effectiveness across your entire fleet.
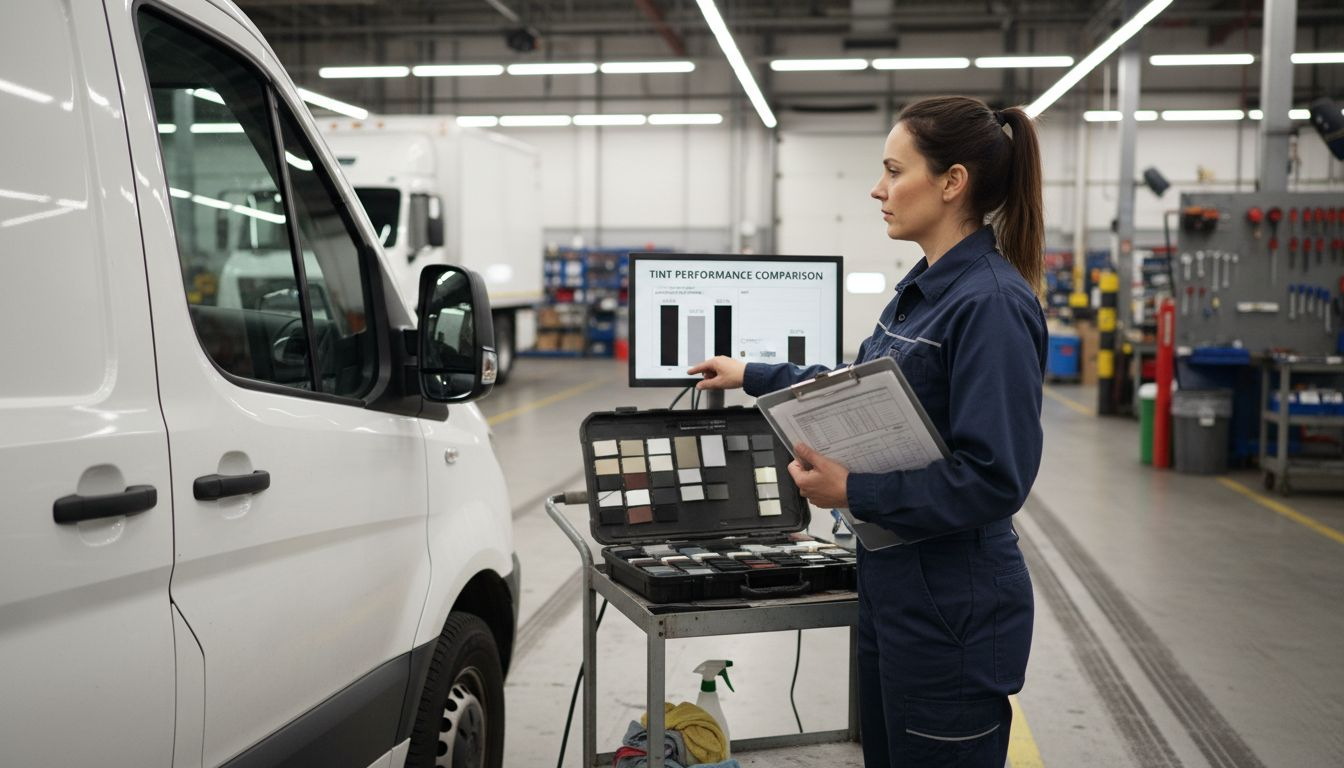
Understand the different window film technologies available. Modern window films range from basic dyed options to advanced ceramic film technologies, each offering unique performance characteristics. Ceramic films represent a premium solution for professional fleets, providing superior heat rejection, exceptional UV protection, and minimal signal interference. While more expensive upfront, these films deliver significant long-term benefits by reducing interior temperatures, protecting driver health, and preserving vehicle interiors from sun damage.
Consider your specific operational environment when making material selections. Fleets operating in high temperature regions or with extended sun exposure should prioritize heat rejection capabilities. Compare film specifications across key metrics: total solar energy rejected, visible light transmission, UV ray blocking percentage, and durability ratings. Create a comparative matrix that evaluates each film type against your fleet’s specific requirements, factoring in initial costs, expected lifespan, and potential energy savings from reduced air conditioning usage.
Pro tip: Request material samples and conduct small scale testing on a few vehicles before committing to a full fleet upgrade to validate performance and compatibility.
Here’s a comparison of common fleet tint material types and their business impact:
| Film Type | Key Benefit | Drawback | Typical Use Case |
|---|---|---|---|
| Dyed | Low upfront cost | Fades over time | Short-term, budget fleets |
| Metalized | Good heat rejection | Causes signal interference | Tech-heavy vehicle fleets |
| Carbon | Reduces heat & glare | Higher price than dyed | Balance of cost and benefits |
| Ceramic | Best heat/UV blocking | Highest upfront cost | Premium, sun-exposed fleets |
Step 3: Prepare Fleet Vehicles for Tinting
Preparing your fleet vehicles for window tinting is a critical step that ensures optimal film adhesion and long-term performance. Your objective is to create the ideal environment and conditions for a professional window tinting installation that maximizes durability and aesthetic appeal.
Begin by thoroughly inspecting vehicle windows for any existing damage, chips, or imperfections. Each vehicle requires a comprehensive glass condition assessment to identify potential issues that could compromise tint application. Clean the windows meticulously using professional grade glass cleaners that remove all contaminants including dirt, grease, old adhesive residues, and microscopic debris. Use lint-free microfiber cloths and professional cleaning solutions specifically designed for automotive glass preparation to ensure a pristine surface.
Schedule your tinting preparation strategically to minimize fleet operational disruptions. Create a detailed staging plan that coordinates vehicle availability, tinting bay requirements, and maintenance workflows. Ensure the installation environment maintains consistent temperature and humidity levels to support optimal film application. Remove any accessories or equipment that might interfere with the tinting process and protect sensitive vehicle components from potential overspray or contamination during the installation.
Pro tip: Document the pre-tinting condition of each vehicle with detailed photographs to track potential glass damage and establish a clear baseline before the tinting process begins.
Step 4: Install Window Tint Professionally
Professional window tint installation requires precision, skill, and meticulous attention to detail to ensure a flawless finish across your entire fleet. Your primary objective is to apply window films that enhance vehicle aesthetics, performance, and driver comfort while maintaining the highest standards of quality.
Begin by carefully measuring and cutting window films with absolute precision. Professional installers use specialized templates and cutting tools to create exact film patterns that match each vehicle window perfectly. Work systematically by starting with clean, dry windows and using professional application solutions that minimize air bubbles and ensure smooth adhesion. Apply the film using a combination of squeegee techniques and careful stretching to eliminate wrinkles, paying extra attention to curved surfaces and complex window geometries.
Maintain a controlled installation environment that supports optimal tint application. Control temperature and humidity levels to prevent dust contamination and ensure proper film curing. Work in a clean, dust-free workspace with consistent lighting to identify and address any potential imperfections during installation. After application, allow sufficient curing time for the film to set completely, which typically ranges from several days to two weeks depending on environmental conditions and specific film technologies.
Pro tip: Use infrared thermometers to monitor surface temperatures during installation, ensuring ideal conditions for perfect window tint adhesion.
Step 5: Inspect and Ensure Quality Results
Inspecting and validating window tint quality is the final critical step in your fleet tinting project. Your objective is to methodically evaluate each vehicle to confirm professional installation standards and compliance with performance expectations.
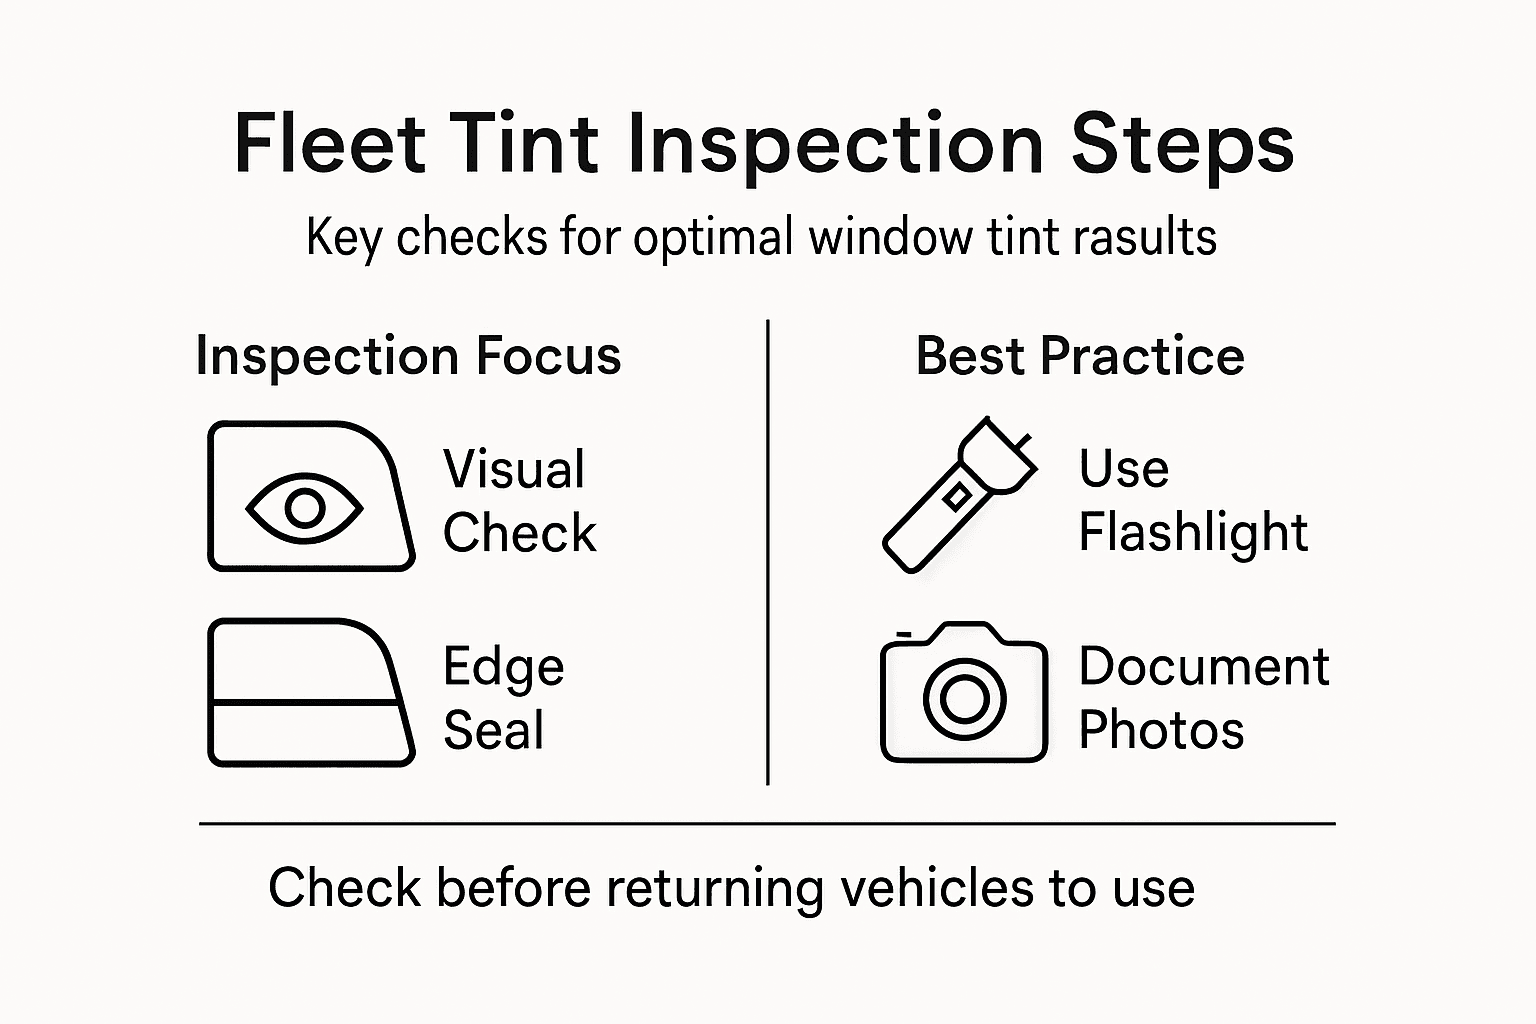
Conduct a comprehensive visual and tactile fleet inspection protocol, systematically examining every window for installation quality. Check for telltale signs of suboptimal application such as air bubbles, edge lifting, dust particles, uneven film thickness, and color inconsistencies. Use natural and artificial lighting to reveal subtle imperfections, rotating around each window and examining from multiple angles. Pay special attention to complex window shapes and curved surfaces where installation challenges are most likely to occur.
Document your findings meticulously through standardized inspection forms and high resolution photographs. Create a detailed record that tracks each vehicle’s tint condition, noting any areas requiring potential touch up or reapplication. Compare the installed tints against your original specifications to ensure they meet performance criteria for heat rejection, UV protection, and aesthetic uniformity across your entire fleet. Implement a follow up inspection schedule at 30 and 90 day intervals to monitor long term film performance and adhesion.
Pro tip: Use a bright flashlight during inspections to dramatically reveal even microscopic imperfections in window tint installation.
Below is a summary of essential steps to ensure successful fleet window tinting:
| Step | Main Focus | Example Best Practice |
|---|---|---|
| Assessment | Identify unique fleet needs | Analyze sun exposure, occupancy rates |
| Material Selection | Match film to use case | Test film samples before rollout |
| Vehicle Preparation | Ensure surfaces are optimal | Thorough window cleaning, documentation |
| Installation | Precision and consistency | Use professional tools and templates |
| Quality Inspection | Validate outcomes | Use forms and photos to document |
Elevate Your Fleet Management with Expert Window Tinting Solutions
Managing a fleet means facing challenges like heat reduction, UV protection, and maintaining vehicle aesthetics while complying with regulations. This detailed fleet window tinting guide highlights crucial steps including assessing needs, selecting the right materials, vehicle preparation, professional installation, and quality inspection. If your goal is to enhance driver comfort, protect vehicle interiors, and ensure top-tier tint application, partnering with a trusted service is essential.
CDC Auto Detailing, based in South Jersey, specializes in comprehensive mobile fleet services that align perfectly with these needs. From precision window tinting backed by expert material selection to meticulous vehicle preparation and quality control, our team follows best practices that help you achieve stunning results with minimal operational disruption. Discover how our professional approach can transform your fleet’s performance and driver experience.

Ready to optimize your fleet’s window tinting with reliable, premium service? Visit CDC Auto Detailing today to schedule your consultation and explore our full range of professional auto care services. Take advantage of a trusted partner dedicated to helping South Jersey fleet managers achieve success every step of the way.
Frequently Asked Questions
How do I assess my fleet’s window tinting needs?
Start by analyzing your fleet’s operational environment, including average temperature, sunlight intensity, and driving routes. Document specific requirements for each vehicle, focusing on factors like heat reduction, UV protection, and safety considerations.
What factors should I consider when selecting window tint materials for my fleet?
Consider the type of window film technology, such as dyed, metalized, carbon, or ceramic films. Prioritize performance metrics such as heat rejection and UV blocking, and create a comparison matrix to evaluate initial costs against long-term benefits.
How should I prepare fleet vehicles for window tinting?
Thoroughly inspect each vehicle’s windows for damages and clean them using professional-grade glass cleaners. Ensure a dust-free environment, and schedule the preparation phase to minimize any operational disruptions.
What steps are involved in the professional installation of window tint?
Professional installation requires precise measurement and cutting of window films to match each vehicle window. Maintain a controlled environment and allow adequate curing time for the film to set properly after application.
How can I ensure the quality of window tint installation for my fleet?
Conduct a detailed inspection after installation, checking for bubbles, lifting edges, and color consistency. Document any imperfections with photos and track the condition of each vehicle for follow-up inspections at 30 and 90 days.
What are the long-term benefits of window tinting for fleet vehicles?
Window tinting can enhance driver comfort, improve vehicle performance by reducing interior temperatures, and protect vehicle interiors from sun damage. Over time, this can lead to lower air conditioning usage and extended vehicle lifespan.