TL;DR:
- Proper vehicle paintwork preparation involves thorough cleaning, repairing, and sanding to ensure proper adhesion and lasting results. Using the correct tools, following a step-by-step process, and controlling environmental conditions are essential for optimal outcomes. Skipping or rushing critical steps like degreasing, masking, or final tack wiping can lead to defects and the need for costly rework.
Paintwork preparation is the process of systematically cleaning, repairing, sanding, and chemically treating a vehicle’s surface before applying paint or a protective coating. Skip any stage and you risk adhesion failure, fish eyes, or a finish that peels within months. The best paintwork preparation tips all point to the same truth: the paint itself is only as good as the surface beneath it. Tools like sanding blocks, wax and grease remover, tack cloths, and IPA wipes are the foundation of every professional prep sequence. Whether you’re planning a full respray or applying a ceramic coating, knowing how to prep paintwork correctly is what separates a lasting result from a costly redo.
What tools and materials do you need to prep vehicle paintwork?
The right tools determine whether your prep work holds up or falls apart under the first coat. Buying cheap sandpaper or skipping a dedicated degreaser is the most common way DIYers waste hours of work.
Here is a breakdown of the core tools organized by prep stage:
| Stage | Tool or Material | Purpose |
|---|---|---|
| Washing | pH-neutral car shampoo, wash mitt | Remove loose dirt and surface grime |
| Degreasing | Wax and grease remover, IPA wipes | Strip wax, oils, and chemical residues |
| Surface repair | Body filler, rust converter, spreader | Fill dents and treat corrosion before sanding |
| Sanding | 80, 120, 180, 320, 400 grit sandpaper, orbital sander, sanding block | Strip old coats, feather edges, smooth filler |
| Masking | Automotive masking tape, masking paper | Protect glass, trim, and unpainted panels |
| Final clean | Tack cloth, lint-free microfiber cloths | Remove micro-dust immediately before painting |
Sandpaper grit selection matters more than most people realize. You use 80–120 grit to strip old paint or coats, then move to 180–320 grit to feather edges and smooth filler, and finish with 400 grit for a refined surface ready for primer or topcoat. An orbital sander speeds up flat panel work, but a sanding block gives you better control on curved surfaces and edges.
For chemical cleaning, a dedicated wax and grease remover like those from 3M or Meguiar’s outperforms household solvents every time. IPA (isopropyl alcohol) wipes are the standard final step before ceramic coating application, as confirmed by multi-stage contamination removal protocols used in professional detailing workflows.
Pro Tip: Buy more sandpaper than you think you need. Worn-out paper glazes the surface instead of cutting it, which defeats the purpose of sanding entirely.
How to prep paintwork: step-by-step before painting or coating
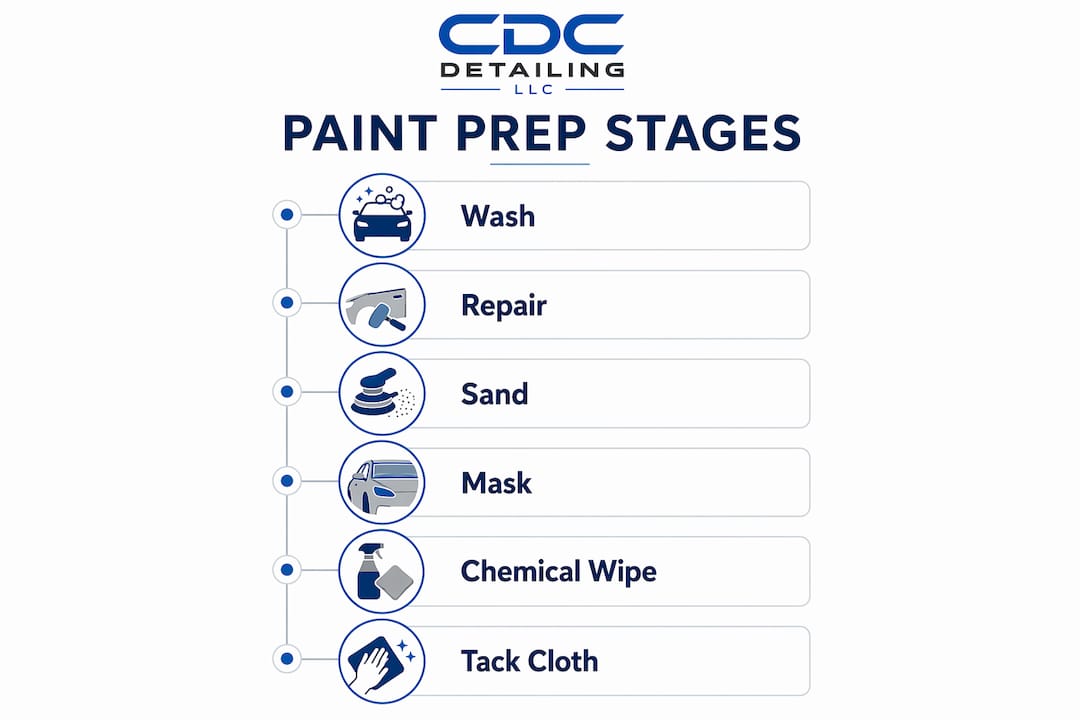
A successful paint prep sequence follows six distinct stages: thorough washing and degreasing, surface repair, sanding with grit progression, masking, chemical panel wiping, and a final tack cloth pass. Each step builds directly on the one before it.
Step 1: wash and degrease the entire vehicle
Start with a full wash using a pH-neutral car shampoo to remove loose dirt, road film, and debris. A wash alone does not remove bonded contaminants. Follow immediately with a dedicated wax and grease remover applied with a clean microfiber cloth, working panel by panel. This strips wax, silicone, tar, and any residue that would prevent paint or primer from bonding. Pay extra attention to door jambs, panel edges, and areas near rubber trim where wax tends to accumulate.
Step 2: repair dents, rust, and surface damage
Inspect every panel under direct light before touching sandpaper. Small dents need to be addressed with a body filler like Bondo or a comparable two-part polyester filler. Rust spots require a rust converter treatment before filler goes on, otherwise corrosion continues beneath the new coat. Apply filler in thin layers, let each layer cure fully, and sand back to a smooth, flush surface. If you skip this step, every imperfection telegraphs through the final paint.
Step 3: sand with a progressive grit sequence
Sanding mechanically keys the surface, creating microscopic texture that gives paint something to grip. Start at 80–120 grit to strip old paint or level filler, then move to 180–320 grit to feather the edges where old paint meets bare metal. Finish with 400 grit to refine the surface before primer. Use an orbital sander with controlled, even pressure on flat panels. Switch to a hand sanding block on curves and tight areas to avoid cutting through edges. Never skip grits. Jumping from 80 to 400 leaves deep scratches that show through topcoats.
Step 4: mask all areas not being painted
Quality masking tape and paper prevent overspray from reaching glass, trim, rubber seals, and unpainted panels. Use automotive-grade masking tape, not standard painter’s tape, because it holds a cleaner edge and removes without leaving adhesive residue. Mask tight to panel edges and press the tape down firmly to prevent paint from bleeding underneath. Take your time here. A rushed masking job creates ragged edges that require correction work after the paint dries.
Step 5: chemical panel wipe with wax/grease remover and IPA
After sanding and masking, the surface looks clean but carries invisible residues from sanding dust, skin oils, and airborne contamination. Apply a wax and grease remover first, then follow with an IPA panel wipe on each section immediately before painting. Solvent evaporation typically takes 5–8 minutes at 20°C. The optimal painting window is roughly 15–30 minutes after wiping. Paint too soon and solvent pop defects appear. Wait too long and dust settles back onto the surface.
Step 6: final tack cloth pass
The tack cloth is the last line of defense before paint hits the surface. Skipping the final tack wipe after sanding or polishing leaves micro-dust and oils that cause fish eyes and poor adhesion. Wipe every panel with a fresh tack cloth in slow, overlapping passes. Do this immediately before spraying, not 20 minutes before. The goal is a surface that is chemically clean, mechanically keyed, and completely free of airborne particles.
Pro Tip: Work panel by panel through Steps 5 and 6. Wiping the whole car at once and then spending 10 minutes setting up your spray gun gives dust time to resettle. Wipe one panel, spray it, then move to the next.
How does environment affect paintwork prep and final results?
Environmental conditions directly control how well your prep work translates into a quality finish. The right temperature and humidity are not preferences. They are requirements.
The optimal prep and coating environment is 15–26°C (59–80°F) with 40–60% relative humidity. Humidity above 70% causes moisture to interfere with solvent flash and curing, leading to milky or blush finishes. Cold temperatures slow solvent evaporation and extend dry times unpredictably. Heat above 30°C accelerates flash too fast, trapping solvents under the surface.
Key environmental controls to put in place before you start:
- Temperature: Work between 60–80°F. Use a space heater or fan to stabilize the workspace if needed.
- Humidity: Keep relative humidity at 40–60%. A dehumidifier handles this in a closed garage.
- Dust control: Sweep and wet-mop the floor before prep begins. Dust stirred up by foot traffic settles on wet panels within minutes.
- Ventilation: Adequate airflow removes solvent vapor and reduces fire risk, but direct drafts carry dust. Use filtered ventilation where possible.
- Lighting: Work under bright, direct lighting to spot surface defects, sanding marks, and contamination before paint goes on.
A controlled garage environment is far superior to an outdoor prep job. Wind, pollen, insects, and temperature swings make outdoor painting unpredictable even for experienced professionals.
What are the most common paint prep mistakes to avoid?
Most paint failures trace back to prep errors, not application errors. Knowing where things go wrong saves you from stripping the job and starting over.
- Skipping degreasing after sanding. Sanding generates heat and oils from your hands transfer to the surface constantly. A panel that looks clean after sanding still carries invisible contamination. Always degrease after every sanding stage.
- Over-sanding or gouging. Applying too much pressure with an orbital sander cuts through primer or creates low spots that show in the final finish. Let the paper do the work and keep the sander moving.
- Rushing the masking step. Tape that is not pressed down firmly bleeds paint under the edge. Masking paper that is too short allows overspray to drift onto adjacent panels. Measure twice, mask once.
- Ignoring the timing window. The timing between final wipe and paint application is critical. Too soon causes solvent pop. Too late risks recontamination. Stick to the 15–30 minute window after your final panel wipe.
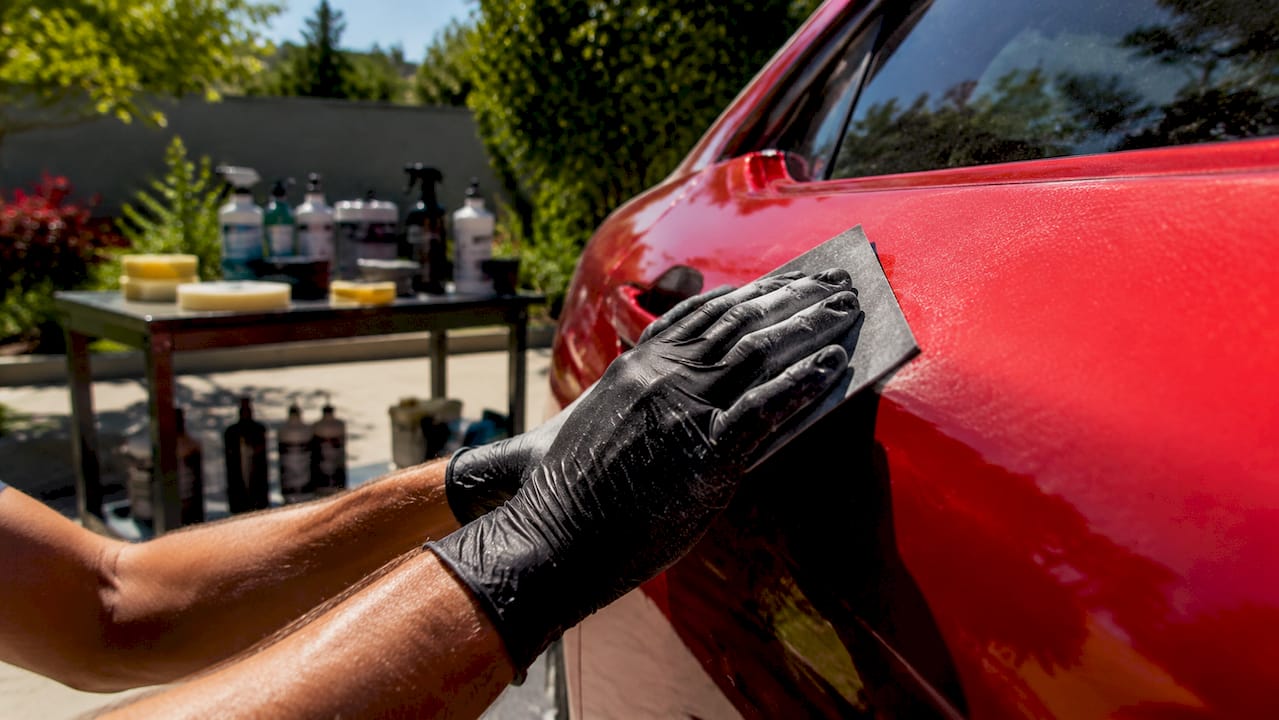
- Recontaminating a prepped surface. Touching a wiped panel with bare hands deposits oils that cause adhesion defects. Wear nitrile gloves from the degreasing stage onward. Even leaning against a prepped panel is enough to cause a fish eye.
- Skipping the tack cloth. This is the single most skipped step in DIY prep. Final tack wipes are standard practice in professional workflows because micro-dust is invisible until it shows up as a defect under the clear coat.
If you notice fish eyes or poor adhesion after painting, the cause is almost always contamination that survived the prep stage. Strip back to bare metal or primer, degrease thoroughly, and start the sanding sequence again.
Key takeaways
Proper paintwork preparation is the single biggest factor in whether a paint job or coating bonds correctly and lasts for years.
| Point | Details |
|---|---|
| Multi-stage cleaning is non-negotiable | Washing alone does not remove bonded contaminants; degreasing and IPA wipes are required. |
| Grit progression protects the surface | Sand from 80–120 grit down to 400 grit to key the surface without creating deep scratches. |
| Timing the final wipe matters | Paint within 15–30 minutes of the final panel wipe to avoid solvent pop or recontamination. |
| Environment controls the outcome | Work at 60–80°F and 40–60% humidity to prevent curing and flash failures. |
| Tack cloth is the last critical step | A final tack cloth pass immediately before spraying removes micro-dust that causes fish eyes. |
Why patience in paint prep pays off every time
I have seen more paint jobs fail from rushed prep than from any application error. When someone brings a vehicle to Cdcautodetailing after a DIY respray gone wrong, the story is almost always the same: they spent two days on the actual painting and about 45 minutes on prep.
The prep stage is where the real work happens. Skipping the IPA wipe, using worn-out sandpaper, or painting in a dusty garage with the wrong humidity will undo every dollar you spent on quality paint. I have found that products like Meguiar’s M39 Surface Prep and 3M’s Prep Solvent 70 are worth every cent compared to generic alternatives, because they flash cleanly and leave no residue. For paint correction before coating, the surface purity standard is even higher than for a standard respray.
The uncomfortable truth is that a flawless finish is 80% prep and 20% application. If you respect the drying windows, wear nitrile gloves from the degreasing stage forward, and never skip the tack cloth, you will get results that look professional. If you rush any of those steps, the finish will tell on you. Plan for the prep to take twice as long as the painting. That ratio is about right.
— Charles
Get professional paint prep results without the guesswork
Prepping vehicle paintwork correctly takes time, the right products, and a controlled environment. If any part of that equation is missing, the finish suffers.

Cdcautodetailing provides professional mobile detailing services across South Jersey, including full paint prep, paint correction, and ceramic coating application. Every job follows a multi-stage contamination removal process, from chemical degreasing to panel wiping, before any protection layer goes on. If you want a coating that bonds properly and lasts, explore the ceramic coating service or read the full breakdown of ceramic coating benefits to understand what a properly prepped surface makes possible. Book your appointment directly through the Cdcautodetailing website.
FAQ
What is the correct grit sequence for sanding before painting?
Start with 80–120 grit to strip old paint or level filler, move to 180–320 grit to feather edges, and finish with 400 grit to refine the surface before primer or topcoat application.
How do you clean a car surface right before painting?
Apply a wax and grease remover after sanding, follow with an IPA panel wipe, and finish with a tack cloth pass immediately before spraying. This three-step sequence removes all residue, oils, and micro-dust.
Why does humidity affect paintwork prep?
Humidity above 70% interferes with solvent flash and curing, causing milky or blush finishes. The optimal humidity range for prepping and painting is 40–60% relative humidity.
How long should you wait after wiping before painting?
The optimal painting window is 15–30 minutes after the final panel wipe at around 20°C. Painting too soon risks solvent pop; waiting too long allows dust and oils to resettle.
Do you need a tack cloth if you already wiped with IPA?
Yes. An IPA wipe removes chemical residues, but airborne dust settles back within minutes. A tack cloth used immediately before spraying captures that final layer of micro-dust that an IPA wipe cannot address after the fact.