A busy schedule in South Jersey can make keeping your vehicle spotless feel impossible, especially before important appointments. Professional mobile auto detailing offers the solution, but taking the right steps before your service maximizes both appearance and protection. Clearing out all personal items before detailing not only speeds up the process but also protects your belongings and ensures a thorough, high-quality clean.
Table of Contents
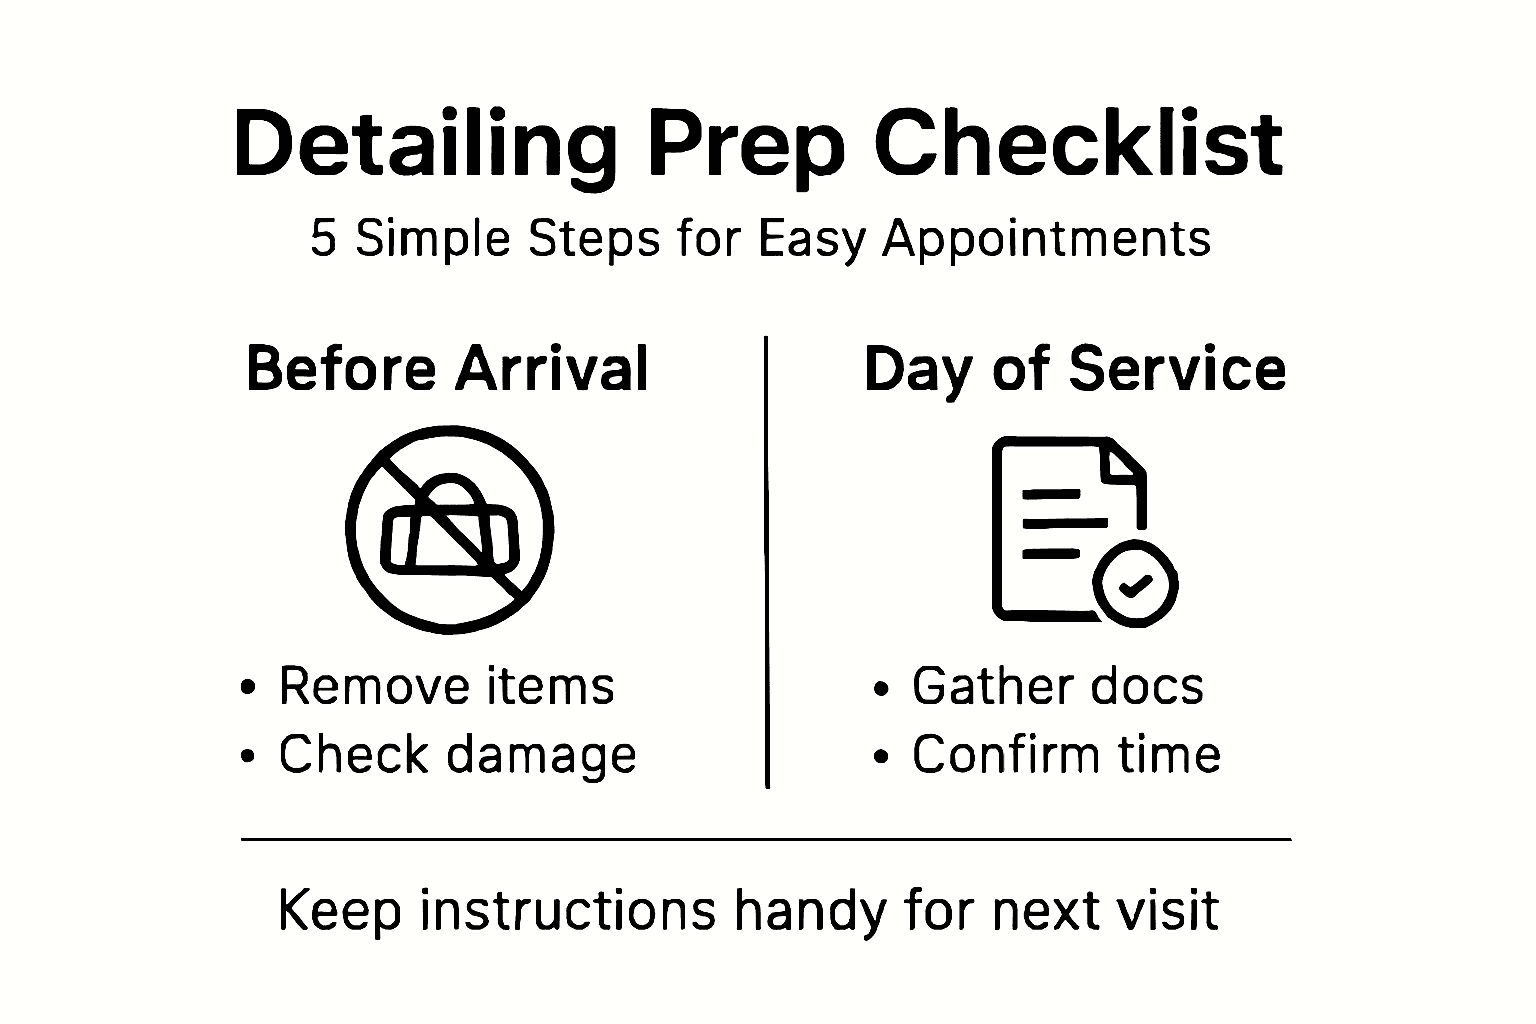
- Step 1: Clean Out Personal Belongings
- Step 2: Check for Existing Damage or Issues
- Step 3: Gather Important Vehicle Documents
- Step 4: Confirm Appointment Details
- Step 5: Review Post-Detailing Care Instructions
Quick Summary
| Essential Insight | Clarification |
|---|---|
| 1. Clear Out Belongings | Removing all personal items allows the detailer to clean every area and prevents loss or damage. |
| 2. Document Existing Damage | Take photos and notes of any pre-existing issues to avoid misunderstandings later. |
| 3. Organize Vehicle Documents | Having registration, insurance, and title ready speeds up the process and shows professionalism. |
| 4. Confirm Appointment Details | Double-checking the date, time, and services avoids confusion and ensures both parties are aligned. |
| 5. Follow Care Instructions | Adhering to post-detailing care helps maintain your vehicle’s appearance for a longer duration. |
Step 1: Clean Out Personal Belongings
Removing your personal items before the detailer arrives might seem like an extra task, but it’s actually one of the most important things you can do to set yourself up for success. When you clear out your vehicle completely, you’re not just making the detailer’s job easier—you’re protecting your belongings and ensuring they get access to every nook and cranny that needs attention.
Start by doing a thorough sweep of your entire vehicle. Open the glove compartment and remove registration documents, insurance cards, receipts, and anything else stored there. Check under the seats, between cushions, and in the door pockets where loose change, sunglasses, or forgotten snacks tend to hide. Don’t forget about the trunk either. Many people overlook what’s stored back there until the detailer needs to access it. Pull out any emergency kits, spare tires, jumper cables, or personal items you keep for road trips. Your center console deserves attention too—grab your phone chargers, sunglasses, CDs, USB drives, and any other accessories you’ve accumulated. The visor pockets, cup holders, and dashboard cubbies are easy to miss but often contain items you wouldn’t want a stranger handling.
Removing all personal items from the vehicle allows the detailer to access every area and ensures nothing gets lost or damaged during the cleaning process. When you leave the car empty, they can clean those tight spaces between seat rails, under the floor mats, and inside air vents without worrying about disturbing your belongings. Plus, a completely cleared interior helps speed up the detailing service significantly. Your detailer won’t need to spend extra time moving things around or asking you about items they find.
As you’re gathering everything, create a checklist or list in your phone so you don’t accidentally leave anything behind when you pick up your vehicle. Group similar items together—keep all documents in one spot, electronics together, and personal accessories separate. This organization trick makes it simple to do a final inventory before you leave and ensures you get everything back when your appointment is complete.
A completely empty car interior gives your detailer the freedom to deliver a truly thorough cleaning and protects your valuables at the same time.
Here’s one final consideration: if your vehicle has been sitting in your garage or driveway for a while, you might be surprised at what you discover during this cleaning process. Old receipts from months ago, forgotten items from road trips, or mysterious bits and pieces often turn up. Take this opportunity to actually throw away the trash and donate items you no longer use. You’ll be amazed at how much lighter your vehicle feels—both literally and emotionally.
Pro tip: Take a few photos of your vehicle’s interior condition before the appointment so you have a clear reference point to appreciate the transformation once detailing is complete.
Step 2: Check for Existing Damage or Issues
Before your detailer gets to work, you need to know exactly what condition your vehicle is actually in. Taking time to document existing damage or issues protects you from misunderstandings down the road and gives you a clear baseline for comparison once the work is done. This step is about being proactive and protecting your interests as a vehicle owner.
Start with a methodical walk around your car in good lighting, ideally during daylight hours. Look for visible scratches on the paint, checking both the body panels and doors from multiple angles. Note any dents, no matter how small they might seem. Check the windows for cracks or chips, and inspect the trim around doors and bumpers for damage. Don’t just look at the obvious spots either—examine the lower portions of your doors where parking lot dings commonly appear, the roof for any hail damage, and the hood for rock chips or scratches. Open and close all doors, windows, and the trunk to make sure they operate smoothly and listen for any unusual sounds. Look inside the car at the upholstery for tears, stains, or worn spots that existed before detailing.

Conducting a thorough inspection for existing damage before detailing helps you differentiate between pre-existing conditions and any new issues that might arise. When you document what was already there, you create a protective record that benefits you if any questions come up later. Take clear photos and videos of your vehicle’s exterior and interior from multiple angles. Make notes about the specific location of any damage—for example, “small scratch on driver’s side door, about midway down” rather than just “door scratch.” Use your phone to capture images in natural light and from different distances so the damage is clearly visible.
Consider checking your vehicle history report for damage that was previously reported. This gives you context about your car’s past and helps you understand what issues might be structural or mechanical versus cosmetic. If you notice anything that concerns you mechanically—unusual noises, warning lights, or performance issues—mention these to your detailer so they’re aware. While detailing primarily addresses appearance, knowing about existing mechanical concerns helps set proper expectations.
Create a simple document or spreadsheet on your phone or computer listing all the damage you found, organized by location. Include photos attached to each item. This doesn’t need to be fancy or official looking. The goal is simply to have a clear record you can reference. When you pick up your vehicle after detailing, you’ll be able to compare this baseline against the finished result and confirm that everything they worked on received proper attention.
Documenting existing damage before detailing gives you peace of mind and creates a clear record that protects both you and your service provider.
One more thing worth considering: if you discover damage that surprises you or that you weren’t aware of, this is actually valuable information. You might discover previous damage that insurance should know about, or you might realize your vehicle needs more comprehensive repairs than just detailing. Either way, knowing the true condition of your vehicle helps you make better decisions moving forward about maintenance and care.
Pro tip: Save your damage documentation photos in a dedicated phone folder labeled with your vehicle’s name and the date, so you can easily access them during your detailing appointment and keep them for future reference.
Step 3: Gather Important Vehicle Documents
Having your vehicle documents ready before the detailer arrives might seem like a small detail, but it streamlines the entire process and demonstrates that you take your vehicle seriously. Your detailer may need to verify ownership or confirm specific vehicle information, so gathering these documents in advance saves time and eliminates any potential friction during the appointment.
Start by locating your vehicle registration and proof of insurance. These are typically stored in your glove compartment, but if you’ve recently moved or updated your documents, you might need to search a bit. Your registration shows your current ownership status and vehicle information, while insurance proof confirms that your vehicle is properly covered. Next, find your vehicle title, which is your legal proof of ownership. This document is often kept at home rather than in the vehicle itself, so check a filing cabinet, safe deposit box, or wherever you store important paperwork. The title is especially important if there are any questions about the vehicle’s history or ownership status. You’ll also want to locate your vehicle identification number (VIN) and have it written down or available on your phone. Your VIN appears on your registration, title, and insurance documents, but it’s also printed on your vehicle itself, typically visible through the windshield on the driver’s side dashboard.
Create a simple folder or envelope where you keep all these documents together in one accessible location. If you prefer digital copies, take clear photos of both sides of each document and store them in a phone folder or cloud service. Gather all important vehicle documents such as title, registration, and proof of insurance before your appointment so you’re fully prepared. Having these documents easily accessible means you won’t be scrambling to find them if your detailer needs to verify anything. Some detailers might also want to know about any specific concerns or damage you’ve noticed, so having everything organized helps you communicate more effectively.
Consider creating a quick reference sheet on your phone with key information. Include your VIN, license plate number, vehicle make and model year, and your contact information. This takes just a few minutes to jot down, but it’s incredibly useful if questions come up during or after the detailing appointment. You might also want to include notes about any special requests you have, like “please be extra careful with the interior trim” or “focus on the dashboard dust.” This proactive communication helps your detailer understand your priorities and concerns.
Here’s something many people overlook: if your vehicle has any special features or upgrades, you might want to mention these in your communication with the detailer. For example, if you have a ceramic coating, a protective film on certain areas, or custom interior materials, letting them know ensures they use appropriate cleaning methods. Your documentation review is also a good time to think about whether there are any particular areas of your vehicle that need extra attention or any surfaces that might require specialized care.
Having your important documents organized and ready shows professionalism and ensures a smooth transaction throughout the detailing process.
One final organizational step: keep a record of your appointment details with your gathered documents. Note the date, time, location, and the detailer’s contact information. If you’re scheduling with CDC Auto Detailing, save their contact number and any confirmation details they provide. This way, everything you need for your appointment is in one organized package, whether it’s physical documents or digital files.
Pro tip: Create a text message or email reminder to yourself the day before your appointment so you remember to bring your documents, and keep a backup copy of all documents in a separate location in case you need to reference them later.
Step 4: Confirm Appointment Details
You’ve done the prep work, gathered your documents, and documented your vehicle’s condition. Now it’s time to lock in your appointment by confirming all the details with your detailer. This final confirmation step prevents scheduling mishaps and ensures both you and the service provider are completely aligned on what to expect.
Reach out to your detailer through their preferred communication method, whether that’s phone, email, or text message. Start by verifying the exact date and time of your appointment. It sounds obvious, but double-checking prevents the frustration of showing up on the wrong day or arriving too early or too late. Confirm the location where the detailing will take place. If you’ve booked a mobile detailing service like CDC Auto Detailing, verify the address where the detailer will come to you. Ask about parking requirements and whether they need any special access to your driveway or parking spot. Some detailers need additional space to maneuver their equipment, so clarifying this ahead of time keeps everything smooth.
Confirming your car detailing appointment includes verifying the date, time, and location along with any specific instructions. Use this confirmation call or message to ask about any last-minute details that matter to you. For example, if you have a ceramic coating or paint protection film already on your vehicle, mention this so the detailer knows to use compatible products and techniques. Ask whether you should leave your keys with them or if they prefer you to stay nearby. Clarify payment methods and whether they accept cash, card, or digital payment. If you have special requests like extra attention to a specific area or concerns about particular surfaces, this is the time to communicate those needs. The more information your detailer has, the better they can tailor their work to meet your expectations.
Ask about any preparation requirements on your end. While you’ve already removed personal belongings and checked for damage, there might be other things they recommend. Some detailers prefer windows to be partially down for ventilation during the process, or they might want certain areas of the interior cleared for better access. Confirm the details of your appointment prior to arrival, including any paperwork or preparation requirements the detailer might need from you. This is also a good moment to ask how long the appointment will take. If you’re scheduling an interior detail, exterior detail, or a comprehensive package, the timeline can vary significantly. Knowing whether you need to block off two hours or four hours helps you plan your day around the appointment.
During this confirmation, be clear about what services are included in your package. Some detailers offer tiered packages at different price points, so verify exactly what’s being done. Ask if there are any add-ons you might want to consider, like ceramic coating application, window tinting, or paint protection film. If you have specific questions about their process or products, now is the time to ask. A good detailer welcomes questions and wants you to feel confident about their work.
Clear communication during confirmation prevents misunderstandings and ensures your detailing appointment goes exactly as planned.
Make a note of any confirmation number or reference information the detailer provides. Store this in your phone along with their contact number. If something unexpected comes up and you need to reschedule, you’ll have all the information you need to reach them quickly. Many detailers also send confirmation emails or text reminders a day or two before your appointment, so watch for those messages.
One last thing worth considering: if you’re a first-time customer with a new detailer, don’t hesitate to ask for references or examples of their previous work. Most professionals are happy to show you before-and-after photos or direct you to reviews from satisfied customers. This gives you additional confidence that you’ve chosen the right service provider for your vehicle.
Pro tip: Save your detailer’s contact information and appointment details in your phone’s calendar with a reminder set for the day before, so you never miss or forget key information about your scheduled appointment.
Step 5: Review Post-Detailing Care Instructions
Your vehicle has just received professional detailing, and now the real work of maintaining that pristine appearance begins. When your detailer hands over the keys, they’ll typically provide care instructions that are absolutely worth reading and understanding. These guidelines tell you exactly how to protect your investment and keep your car looking showroom-ready for weeks to come.
Ask your detailer for written care instructions before they leave, or request them via email if they don’t offer them in person. Review post-detailing care instructions to maintain your vehicle’s appearance after the service, as they typically include critical guidance on when to wash the car again and how to protect the finish. Most detailers recommend waiting a specific amount of time before you wash your vehicle, often anywhere from 48 hours to a week depending on what products they used. This waiting period allows protective coatings or sealants to fully cure and bond with your paint. If your vehicle received a ceramic coating or paint protection film application, the waiting period becomes even more important. Rushing to wash your car too soon can compromise these protective layers before they’ve had a chance to set properly.
Your care instructions should address several key areas. First, understand what products are safe to use on your newly detailed surfaces. Post-detailing care is essential for preserving the quality through proper cleaning frequency and use of protective coatings safe for your vehicle’s materials. Some detailers recommend specific brands of car wash soap or polishes that won’t damage their work. Avoid harsh chemicals, abrasive materials, or automatic car washes that could scratch or strip away protective finishes. Pay attention to guidance about interior care as well. If your upholstery was treated with protective coatings, you might need to avoid certain cleaning products or wait before exposing the interior to moisture.
Create a simple checklist based on the instructions you receive. Include immediate care tasks like what to do in the first few days, and longer-term maintenance recommendations. Here’s what typically matters most:
- Wait before washing to let coatings fully cure
- Use recommended products for future cleaning and maintenance
- Avoid harsh conditions like automatic car washes or aggressive brushing
- Protect the finish with regular wax applications or ceramic maintenance products
- Monitor interior treatments and follow special care for leather, fabric, or protective films
Understanding why these instructions matter helps you stick to them. That waiting period isn’t just arbitrary—it’s the time needed for sealants and ceramic coatings to harden and create their protective barrier. Washing too soon can remove products before they’re fully bonded. The recommended products work with the treatments applied during detailing, while harsh chemicals can break down protective layers. This is why your detailer took the time to carefully prepare and protect every surface—they want you to get maximum value from their work.
Following post-detailing care instructions is what separates a car that looks great for two weeks from one that maintains its shine for months.
If your detailer applied any specialty treatments like ceramic coating, paint protection film, or window tinting, ask for specific care guidance on those. These premium services often require slightly different maintenance approaches than standard detailing. Window tint, for example, should cure for several days before rolling windows down. Paint protection film might require special cleaners to avoid residue buildup. Ceramic coatings benefit from using pH-neutral soaps and avoiding harsh conditions. The more specific your knowledge about what was applied to your vehicle, the better you can protect it.
Here’s how different types of protective coatings compare after detailing:
| Coating Type | Curing Time Before Wash | Recommended Maintenance Product |
|---|---|---|
| Standard Wax | 24-48 hours | pH-neutral car shampoo |
| Synthetic Sealant | 48-72 hours | Mild liquid wax |
| Ceramic Coating | 5-7 days | Ceramic-safe, pH-neutral soap |
| Paint Protection Film | 72 hours | Film-safe spray cleaner |
Keep your care instructions somewhere accessible, like a photo in your phone or a note on your refrigerator. When you visit a car wash or prepare to clean your vehicle yourself, you’ll want to reference those guidelines. If you forget specific details, many detailers are happy to answer follow-up questions via email or phone. Don’t hesitate to reach out if something is unclear—they’d much rather clarify instructions than have you accidentally damage their work through an innocent mistake.
Pro tip: Set a phone reminder for one week after your detailing to revisit your care instructions and begin any recommended maintenance routines, ensuring your freshly detailed vehicle stays protected and looking its best.
Here’s a quick summary of key tasks and their benefits at each preparation step:
| Preparation Step | Main Task | Primary Benefit |
|---|---|---|
| Clean Out Personal Belongings | Remove all items from vehicle | Ensures thorough cleaning; protects items |
| Check for Existing Damage or Issues | Document scratches and damages | Protects against disputes post-detailing |
| Gather Important Vehicle Documents | Collect and organize paperwork | Streamlines appointment; ensures accuracy |
| Confirm Appointment Details | Verify time, location, services | Prevents confusion; sets expectations |
| Review Post-Detailing Care Instructions | Follow care recommendations | Preserves results; extends protection |
Make Your Car Detailing Appointment Stress-Free with Expert Mobile Services
Preparing your vehicle for a detailing appointment can feel overwhelming as you clear out personal belongings and check for existing damage. These tasks are crucial to protect your valuables and ensure your car receives a thorough cleaning. Do not let the details slow you down or cause unnecessary stress. At CDC Auto Detailing, we understand the importance of a seamless experience that respects your time and vehicle condition.

Take the hassle out of preparation by choosing a trusted professional who offers premium mobile car detailing across South Jersey. Our expert team handles everything from interior vacuuming and exterior washing to expert ceramic coatings and paint protection films, all at your convenience. Ready to transform your car’s appearance without the usual stress? Visit CDC Auto Detailing now to schedule your appointment and discover how easy preparation and superior results can be. Don’t wait—your vehicle deserves the best care today.
Frequently Asked Questions
How should I prepare my vehicle before a detailing appointment?
To prepare your vehicle for a detailing appointment, start by removing all personal belongings from the interior. Clear out items from the glove compartment, between seats, and the trunk to ensure the detailer can access every area clearly.
What should I check for before the detailing service?
Before your detailing service, conduct a thorough inspection of your vehicle to identify any existing damage, such as scratches or dents. Make a note of these issues and take photos, so you have a clear record of your vehicle’s condition before detailing.
What important documents should I gather for my detailing appointment?
Gather important vehicle documents including your registration, proof of insurance, and the vehicle title before your appointment. Keep these documents organized in one place to streamline the process and help your detailer confirm your vehicle information quickly.
How can I confirm the details of my car detailing appointment?
You can confirm your car detailing appointment by reaching out to your detailer and verifying the date, time, and location of the service. Also, communicate any specific concerns or requests you have for the detailing to ensure your expectations are met.
Why is it important to review post-detailing care instructions?
Reviewing post-detailing care instructions is essential for maintaining your vehicle’s appearance after detailing. Following these guidelines will help protect your vehicle’s finish and ensure it stays in excellent condition for longer.