
A flawless paint protection film workflow runs through seven distinct stages: surface cleaning and decontamination, cutting and fitting, wet method application, squeegeeing, trimming and edge finishing, inspection, and post-installation curing. Get any one of those stages wrong and the film will bubble, lift, or trap debris that becomes permanently visible. Here is exactly how professionals execute each step.
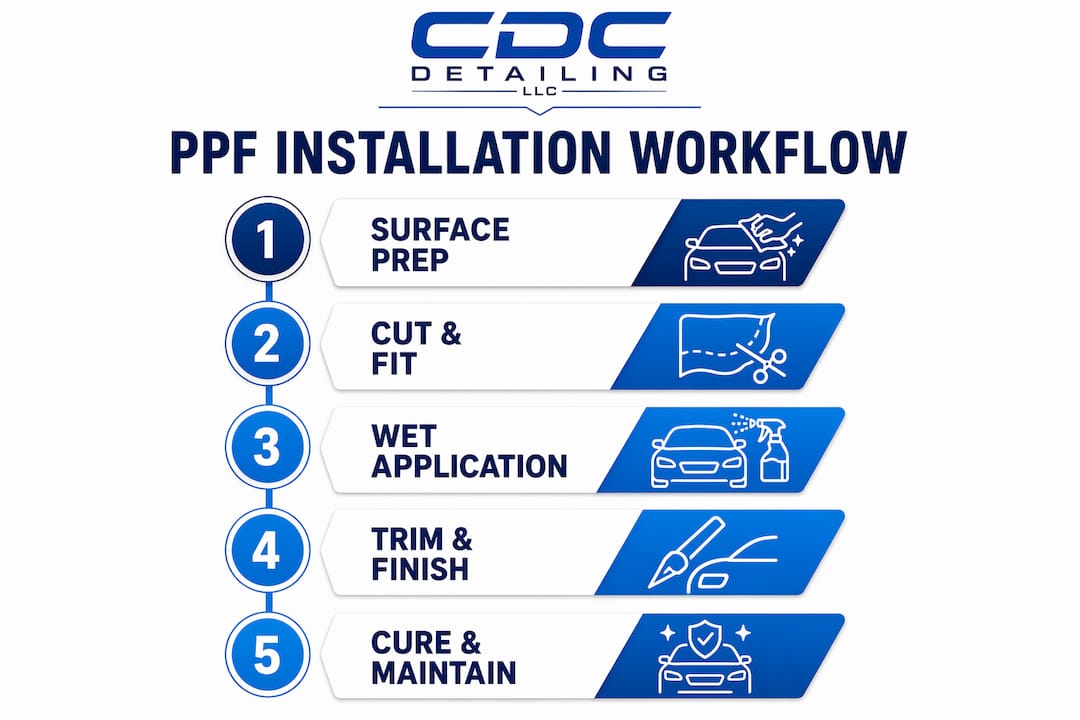
The complete PPF installation process at a glance:
- Surface prep: wash, clay bar, isopropyl alcohol wipe, nail test
- Cutting: measure panels, cut bulk roll or use plotter-cut templates
- Slip solution: mix and apply to both panel and adhesive side
- Positioning: float film into place, align against body lines
- Squeegeeing: overlapping strokes from center outward, controlled pressure
- Trimming and edge finishing: sharp blades, edge wash, tack solution
- Curing: 24–48 hours indoors, no washing for 5–7 days
The most common failure point is not the application itself. It is the prep work that comes before the film ever touches the paint.
What tools and materials do you actually need for PPF installation?
Professional installers do not show up with one squeegee and a spray bottle. The tool list is specific, and substituting the wrong item creates problems that show up weeks later.
Core tools:
- Squeegees in multiple durometers: a soft flex squeegee for initial passes and a rigid squeegee for edges and final pressure
- Spray bottles (at least two): one for slip solution, one for tack solution
- Sharp cutting knives with 30-degree blades; dull blades leave ragged edges
- Heat gun or steamer: a steamer delivers uniform heat that dissipates more slowly than a heat gun, making it the preferred option for conforming film to curves
- Clay bar (such as 3M Perfect-It Clay Bar or Meguiar’s C2000 Pro Detailing Clay) for surface decontamination
- Lint-free microfiber towels: at least 2–3 per panel
- Isopropyl alcohol (IPA): for final surface cleaning and tack solution
- Distilled water: tap water leaves mineral deposits under the film during curing
- Air release pen: for fixing trapped air pockets after application
Slip and tack solutions: The Avery Dennison application guidelines specify a slip solution of 1 liter of water mixed with 2 ml of baby shampoo. Tack solution runs at 75% water to 25% isopropyl alcohol. These ratios are starting points; in hot environments, slightly more soap extends the working window.
Plotter-cut vs. bulk roll: Plotter-cut templates eliminate blade contact with the paint and produce cleaner, more consistent edges. Bulk roll cutting gives more flexibility on unusual panel shapes but demands steady hands and fresh blades. Most professional shops use plotter-cut patterns wherever templates exist for the vehicle.
Pro Tip: Use baby shampoo rather than dish soap or any silicone-based product in your slip solution. Silicone residues interfere with adhesive bonding and can cause the film to lift within months. Baby shampoo is silicone-free and rinses cleanly from the adhesive.
How do you prepare a vehicle surface before applying PPF?
Surface decontamination is where most PPF installations succeed or fail. Anything trapped between the adhesive and the paint, whether it is wax, polishing oil, or a microscopic particle of brake dust, creates a visible defect and weakens the bond permanently.
The prep sequence:
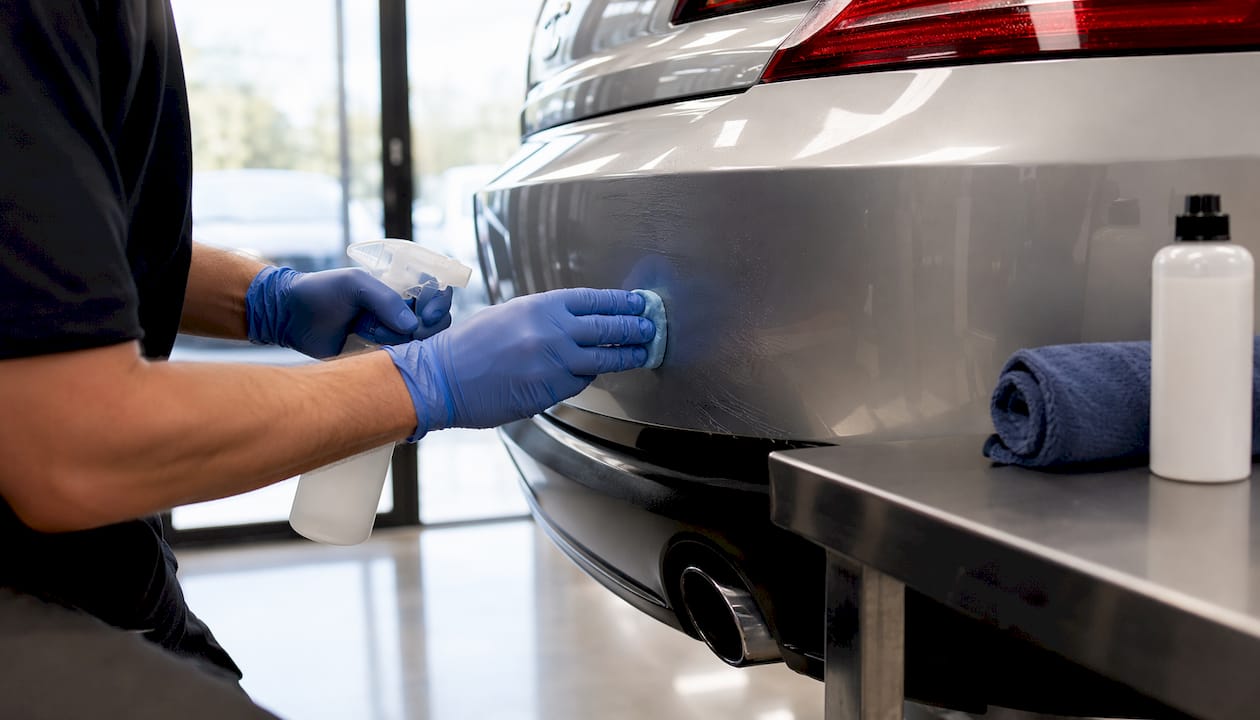
- Step 1: Hand wash with a pH-balanced shampoo using the two-bucket method. Remove loose grime from panel surfaces, edges, trim transitions, and panel gaps.
- Step 2: Clay bar treatment. Washing does not pull bonded contaminants out of the clear coat. A clay bar physically lifts embedded fallout, tar, and tree sap residue. Work methodically across each panel until the surface feels completely smooth.
- Step 3: IPA wipe-down. Wipe every panel with a 70% isopropyl alcohol solution on a clean lint-free microfiber towel. This strips wax, polish residue, silicones, and fingerprints. Rotate the towel for each new area to avoid reintroducing contamination.
- Step 4: Ceramic coating removal. Active ceramic coatings repel PPF adhesives; full chemical removal is mandatory before film application. If a ceramic coating is present, work with a paint correction specialist to strip it first.
Pro Tip: After the IPA wipe, run the back of your fingernail across the panel. If your nail slides easily, the surface is still contaminated. If it grips and drags, the panel is clean and ready. This is the nail test, and it takes about five seconds per panel.
The consequences of skipping or rushing prep are not subtle. Bubbles appear within days. Edge lift follows within weeks. Trapped debris becomes a permanent visual defect locked under the film for its entire service life.
How do you cut and fit paint protection film to vehicle panels?
Accurate cutting determines how the finished film sits on the panel. Too little material and you cannot wrap edges properly. Too much and you are fighting excess film during application.
Cutting fundamentals:
- Measure each panel carefully and cut the film at least 100 mm (roughly 4 inches) larger than the panel on every side. This gives you material to work with during positioning and edge treatment.
- Plotter-cut templates match the exact dimensions of each panel for a specific vehicle make and model. They eliminate on-car blade work and reduce the risk of scoring the clear coat.
- Bulk roll cutting requires a fresh blade, a steady hand, and shallow relief cuts on curves rather than straight cuts through compound shapes.
- Relief cuts are necessary on deeply corrugated shapes and complex panel junctions. Without them, the film cannot conform to the recess and will trap air or water. Relief cuts at complex edges must be sealed precisely after application to prevent moisture infiltration and premature lifting.
- Sharp edges and compound curves require the installer to pre-plan where the film will be anchored and where stretch will be needed. Trying to force a flat piece of film around a tight curve without planning the cut pattern first creates tension marks and stress whitening.
- Position before committing. Float the cut piece over the panel dry first to confirm coverage and identify any areas where additional relief cuts are needed before the slip solution goes on.
How do you apply paint protection film using the wet method?
The wet method is the standard approach for thermoplastic polyurethane (TPU) film, which gains elasticity when heated and conforms to complex curves without distortion when handled correctly. The slip solution is what makes repositioning possible.
Step-by-step wet application:
- Prepare solutions first. Mix slip solution (1 liter water, 2 ml baby shampoo) and tack solution (75% water, 25% IPA) into separate labeled spray bottles.
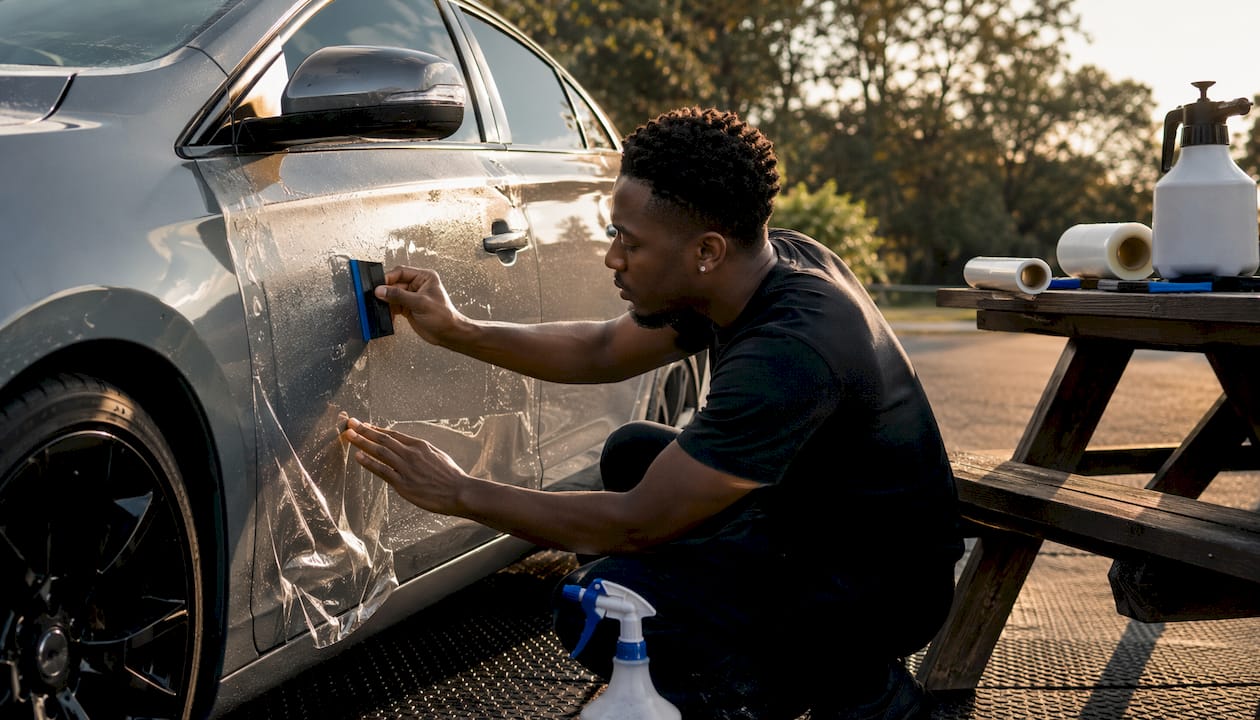
- Spray the panel generously with slip solution. The surface should be visibly wet, not just misted.
- Remove the PET liner from the film and spray the exposed adhesive side with slip solution. Spray your fingers too, to avoid fingerprints on the adhesive.
- Float the film onto the panel. The slip solution keeps the adhesive from engaging so you can slide the film into position. Align against body lines, panel edges, and trim seams. Check center alignment before committing the edges.
- Establish an anchor point. On a hood, this is typically the center. On a fender, choose a contour that gives you control over stretch and edge placement. The anchor holds position while you work the rest of the film outward.
- Squeegee from center outward using overlapping strokes at roughly 50% overlap. Start with gentle pressure and increase gradually to push out water and air. Never squeegee toward the center.
- The working window is 30–90 seconds before the adhesive engages enough to resist repositioning. Large, complex panels must be positioned correctly from the first placement. The last 15–20 seconds of the window allow small adjustments only.
- Use heat for curves. A steamer at 30–50°C (or a heat gun kept moving) increases the film’s elasticity and helps it conform without stress whitening. Apply heat to the film’s surface, not the adhesive side. Never hold the heat gun stationary.
Pro Tip: If the film starts to tack prematurely, introduce additional slip solution under the edge with a spray bottle or a thin plastic card. Acting quickly prevents the film from locking into a misaligned position.
How do you trim, finish, and inspect PPF after application?
Trimming is where a good installation becomes invisible or where it announces itself with ragged lines and lifting corners. The difference comes down to blade sharpness and edge strategy.
Trimming and finishing steps:
- Use very sharp blades to ensure clean cutting edges for every trim cut. Dull blades drag through the film and leave blurred, frayed edges that lift within weeks.
- Edge wash before final adhesion. Spray a water and IPA solution (25% IPA, 75% water) under the film edges to flush out residual soap. Soap left under the edge prevents the adhesive from bonding fully.
- Re-squeegee edges with firm pressure after the edge wash. On complex areas like deep corrugations and bumper corners, repeat the edge wash and re-squeegee a second time.
- Apply tack solution to edges that resist adhesion, particularly around bumper corners, mirror edges, and door handle cups. The IPA flashes off quickly and gives the adhesive an immediate grip.
- Edge sealing: For surface cuts (film trimmed on the paint rather than wrapped behind trim), apply a bead of PPF-compatible edge sealant along all exposed terminations. This reduces moisture infiltration, especially in high-humidity conditions.
- Inspect under strong lighting. Check every panel for trapped air bubbles, water pockets, misaligned edges, lifting at corners, and contaminants under the film. Any defect caught at this stage can be addressed before the adhesive fully cures.
- Relief cut edges need particular attention. Seal each cut precisely; an unsealed relief cut becomes a moisture entry point that causes the film to lift from the inside out.
Post-installation curing and ongoing maintenance
Curing is not passive waiting. The environment during those first 48 hours directly affects how well the adhesive bonds and whether the film stays down long-term.
Curing timeline and precautions:
- Initial curing takes place indoors over roughly one to two days in a dust-free environment. Keep the vehicle dry and away from rain, humidity, and temperature extremes.
- Avoid washing the vehicle for several days after installation. Water infiltrating under edges that have not fully bonded causes lifting that often cannot be repaired without reinstallation.
- Small water bubbles during curing are normal. They are residual slip solution migrating through the film’s micro-pores. Bubbles that have not resolved after 7 days in warm conditions indicate an adhesion void, usually caused by contamination during prep.
- Temperature accelerates cure. Storing the vehicle in a warm, protected space during initial curing accelerates the process compared to cold outdoor conditions.
Ongoing maintenance:
- Hand wash with pH-neutral soap. Avoid automatic car washes, especially those with brushes.
- No high-pressure washing directly at film edges for the first month after installation.
- Avoid harsh solvents and abrasive cleaners throughout the film’s service life.
- For self-healing TPU films, minor surface scratches disappear at room temperature. Applying gentle heat speeds up the process.
Pro Tip: In winter, remind yourself (or your installer) to keep the vehicle indoors for the full 48-hour window. Cold temperatures slow adhesive cure significantly, and a vehicle parked outside at 10°C takes much longer to reach the same bond strength as one kept in a warm garage.
Key Takeaways
A successful paint protection film workflow depends on thorough surface decontamination, correct solution chemistry, controlled wet application, and disciplined post-installation curing to achieve a durable, defect-free result.
| Point | Details |
|---|---|
| Surface prep is the deciding factor | Decontaminate with wash, clay bar, and IPA wipe before any film touches the paint. |
| Slip solution chemistry matters | Use 1 liter water with 2 ml baby shampoo; silicone-based products interfere with adhesive bonding. |
| Working window is 30–90 seconds | Position the film correctly from the first placement; large corrections after this window leave marks. |
| Cure indoors for 24–48 hours | Avoid washing the vehicle for 5–7 days post-installation to prevent moisture ingress and edge lifting. |
| Sharp blades and edge sealing | Dull blades create ragged edges; seal all exposed edge terminations to block moisture infiltration. |
Want professional PPF results without the learning curve?
The techniques in this guide reflect what experienced installers do every day, but executing them correctly on your own vehicle takes practice, the right tools, and a controlled environment. Cdcautodetailing brings professional-grade PPF installation to South Jersey vehicle owners, handling every stage from decontamination prep through final inspection. If you want the protection without the risk of a costly redo, explore Cdcautodetailing’s full range of auto detailing services or book directly through the site.