TL;DR:
- Proper car detailing begins with a correct wash setup, including a pressure washer, pH-neutral shampoo, and microfiber mitts. Decontamination using iron removers and clay bars is essential before applying protective coatings like wax, sealants, or ceramic coatings for lasting results. Following a disciplined, step-by-step workflow ensures damage-free finishes and professional-quality outcomes.
Car detailing is defined as a systematic process of cleaning, decontaminating, correcting, and protecting every surface of a vehicle to restore or maintain its condition. Knowing what do you need to detail a car separates a result that lasts from one that fades in two weeks. The core supplies fall into four categories: washing tools, decontamination products, correction equipment, and protective coatings. Budget tiers range from $100 entry kits up to $500 setups that enable paint correction and ceramic protection. This guide walks you through every tier, every tool, and every technique worth your time.
What do you need to detail a car: the essential starter kit
The foundation of any detailing session is a proper wash setup. Get this wrong and every step after it suffers.
Pressure washer and wash supplies
A pressure washer is the single most important piece of equipment you can own. The optimal pressure range is 100–130 bar for home detailing. Below 100 bar, you struggle to shift road grime; above 130 bar, you risk damaging rubber seals and trim edges.
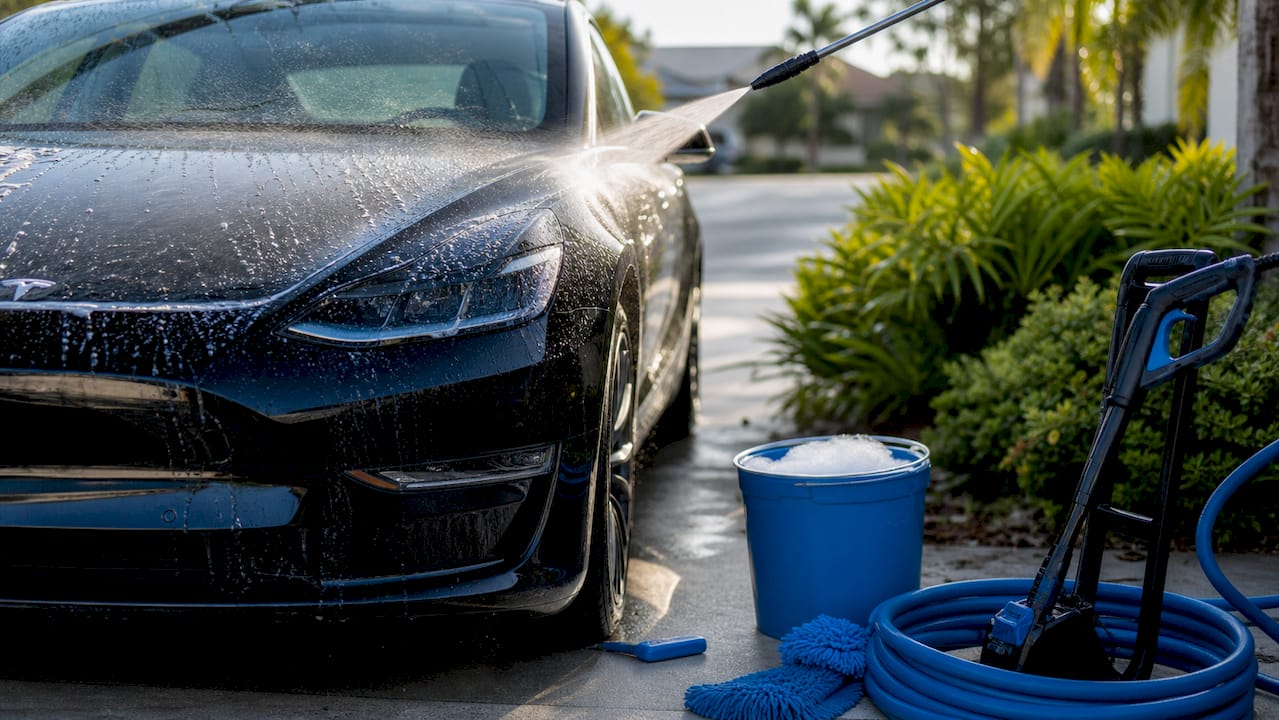
Pair your pressure washer with a pH-neutral car shampoo rather than household dish soap. Dish soap is alkaline, strips wax and sealant layers, dries out rubber seals, and accelerates clear coat oxidation. That means every wash with dish soap actively degrades your paint protection.
The two-bucket method and microfiber mitts
Microfiber wash mitts outperform sponges because their fibers trap dirt particles safely away from the paint surface. Sponges hold grit against the paint and drag it across the clear coat, creating swirl marks. Pair your mitt with the two-bucket method: one bucket for soapy water, one for rinsing the mitt. Add grit guards to the bottom of each bucket to keep loosened dirt from recirculating.
Drying and wheel tools
Here is a basic car detailing supplies checklist to complete your starter kit:
- High-GSM microfiber drying towels (800 GSM or above absorbs water without dragging)
- Dedicated wheel brushes in two sizes: one for the barrel, one for the face
- Wheel cleaner formulated for your wheel type (alloy, chrome, or painted)
- Tire dressing applicator and a water-based tire shine product
- Quick detailer spray for light dust removal between full washes
Pro Tip: Use a separate set of microfiber towels for wheels only. Brake dust and iron particles contaminate towels permanently, and using them on paint afterward causes micro-scratches you will not see until sunlight hits the panel.
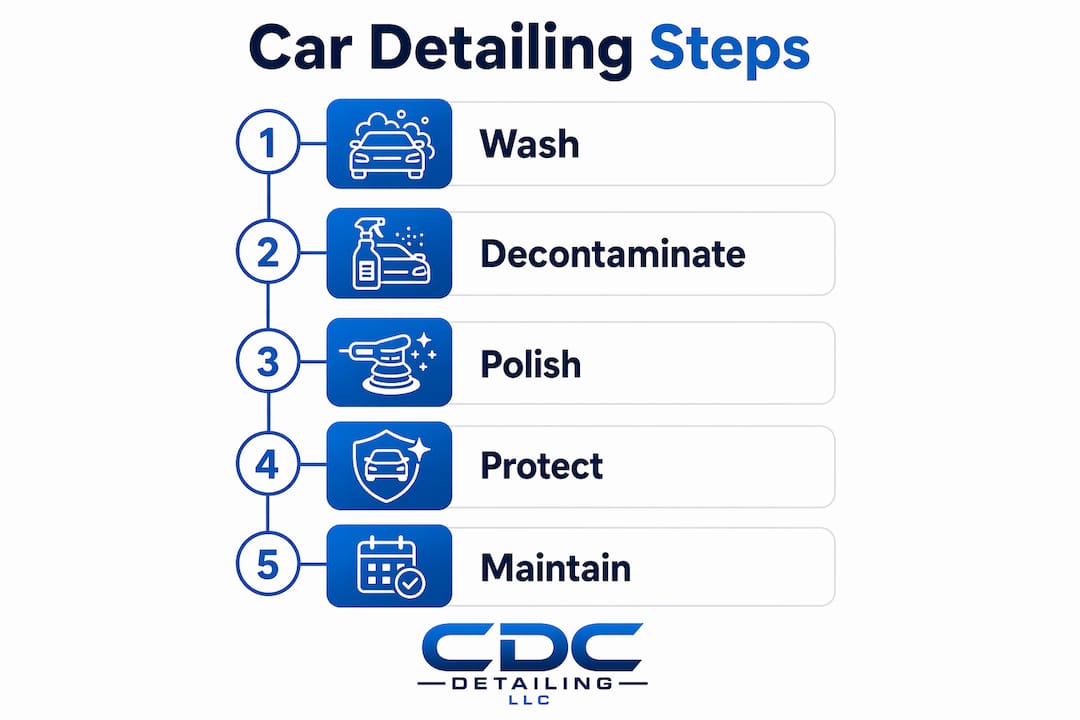
How does detailing progress from washing to paint protection?
Washing removes surface dirt. Decontamination removes what washing cannot touch. Skipping this stage and going straight to wax or ceramic coating means you are sealing contamination under your protection layer.
Snow foam pre-wash
Snow foam is a non-contact pre-wash method that loosens bonded dirt before you ever touch the paint. Applied through a foam cannon attached to your pressure washer, it dwells on the surface for 3–5 minutes and lifts grit away. This step alone reduces swirl mark risk during the contact wash that follows.
Iron fallout removers and clay bars
After washing, invisible ferrous particles from brake dust and rail dust remain embedded in the paint. Iron removers chemically react with these particles and turn purple as they work. That color change is your confirmation the product is active and the contamination is being lifted. Rinse thoroughly after the reaction completes.
Clay bars or synthetic clay mitts remove bonded contaminants that iron removers leave behind. Run a clay bar across a lubricated panel and you will feel it glide smoothly once the surface is clean. A rough, dragging sensation means contamination is still present.
Protective layers: wax, sealants, and ceramic coatings
- Carnauba wax delivers a warm, deep gloss and lasts 4–8 weeks. Best for show cars or weekend drivers.
- Paint sealants bond chemically to the clear coat and last 4–6 months. Better for daily drivers.
- Ceramic coatings offer 12–24 months of protection and resist UV, chemical etching, and water spotting. They require a properly decontaminated surface to bond correctly.
Pro Tip: Never apply a ceramic coating over a surface that has not been clay-barred and chemically decontaminated. The coating bonds to whatever is on the paint, including contamination. You will lock in the problem rather than protect against it.
What advanced tools separate amateur from professional results?
Moving beyond the basics requires specific equipment. The difference between amateur and professional outcomes is not just skill. It is the right tools for correction and long-term protection.
Dual-action polishers and compounds
Dual-action polishers are the standard tool for removing swirl marks and oxidation. Hand polishing is too slow and too inconsistent to achieve the same result. A dual-action polisher like the Rupes LHR15 Mark III or the Griots Garage G9 oscillates and rotates simultaneously, reducing heat buildup and making it harder to burn through clear coat.
Use compounds and polishes in the correct order. A cutting compound removes heavier defects like scratches and oxidation. A finishing polish refines the surface afterward, removing any micro-marring left by the compound. Never skip straight to a finishing polish on heavily oxidized paint.
| Product Type | Purpose | When to Use |
|---|---|---|
| Cutting compound | Removes deep scratches and oxidation | Heavily defected or oxidized paint |
| Finishing polish | Refines surface after compounding | After cutting compound, before protection |
| All-in-one polish | Light correction and protection combined | Lightly defected paint, time-limited sessions |
| Ceramic coating | Long-term protection layer | After full decontamination and correction |
Overbuying specialty products overwhelms beginners and leads to paint damage when heavy compounds are used before the basics are mastered. Start with an all-in-one polish before investing in a full compound and polish system.
For interior correction, machine carpet extractors inject clean water and vacuum dirty water simultaneously, removing embedded grime that all-purpose cleaners cannot reach. This is the tool that separates a genuinely clean interior from one that just looks clean. You can find a full breakdown of interior techniques in this interior car cleaning workflow guide from Cdcautodetailing.
What are the best practices for a damage-free detailing workflow?
The right products mean nothing without the right order. A strict detailing sequence prevents recontamination and protects the work you have already done.
The correct order is: wheels first, then snow foam pre-wash, contact wash, chemical decontamination, clay bar, dry, polish, protect, then interior last. Cleaning the interior before vacuuming or polishing before chemical decontamination are the two most common beginner errors.
- Never polish before decontaminating. Polishing over embedded iron particles or bonded contamination grinds those particles into the clear coat rather than removing them.
- Avoid household soaps. Dish soap, laundry detergent, and multi-surface cleaners all strip protective layers and dry out rubber and plastic trim.
- Use deionized or filtered water for the final rinse. Tap water leaves mineral deposits that dry as water spots, especially on dark paint.
- Work in the shade. Direct sunlight dries products too fast, leaving residue and making buffing harder.
- Label your microfiber towels by task. Separate towels for paint, glass, wheels, and interior prevent cross-contamination.
Pro Tip: Following a repeatable detailing system cuts your total session time from six hours down to three. The time savings come from not having to redo contaminated panels or correct mistakes made out of sequence.
Beginners often buy too many products before mastering the basics. High-quality versatile basics like a pH-neutral shampoo, a single interior cleaner, and a good sealant outperform a cabinet full of specialty chemicals used incorrectly. Build your kit in tiers as your skills grow.
Key takeaways
Effective car detailing requires the right tools used in the right order, starting with washing and decontamination before any correction or protection is applied.
| Point | Details |
|---|---|
| Start with the right wash setup | Use a 100–130 bar pressure washer, pH-neutral shampoo, and microfiber mitts to protect paint from the first step. |
| Decontaminate before protecting | Apply iron remover and clay bar after washing to remove invisible particles before any wax or coating. |
| Follow a strict order of operations | Wheels, pre-wash, wash, decontaminate, dry, polish, protect. Skipping steps causes damage or reduces protection life. |
| Match your kit to your skill level | Entry kits cover wash and dry; $200 kits add decontamination; $500 kits enable paint correction and ceramic coating. |
| Master basics before correction | Use an all-in-one polish before investing in compounds and dual-action polishers to avoid clear coat damage. |
Why i think most detailers overbuy before they overachieve
I have watched more people ruin a panel with a cutting compound they had no business using than I can count. The detailing product market is designed to make you feel like you need everything at once. You do not.
The biggest skill in detailing is not knowing how to use a dual-action polisher. It is knowing when not to use one. Most paint on daily drivers needs decontamination and protection, not correction. A thorough clay bar session and a quality sealant will transform how a car looks and feels without touching a machine polisher.
My honest recommendation: spend your first $100 on a pressure washer, a foam cannon, a pH-neutral shampoo, microfiber mitts, and a good sealant. Master that process until it takes you 90 minutes and produces consistent results. Then add an iron remover and a clay bar. Only after you can feel the difference between a contaminated and a clean surface should you consider a polisher.
The mobile detailing appointment workflow that professionals use is not complicated. It is disciplined. They follow the same sequence every time, use quality basics, and only reach for correction tools when the paint actually needs it. That discipline is what produces results that look professional, not the size of the product collection.
— Charles
How Cdcautodetailing can take your results further

Some steps in the detailing process are genuinely better left to professionals. Ceramic coating application, paint protection film installation, and paint correction all require controlled environments, professional-grade products, and experience to execute correctly. One misapplied ceramic coating can cost more to remove and redo than the original professional application.
Cdcautodetailing offers mobile detailing services across South Jersey, bringing professional-grade ceramic coating services and paint protection directly to your driveway. Whether you want to handle the washing and maintenance yourself and bring in a pro for the protection stage, or hand off the entire process, Cdcautodetailing covers both. Learn more about the full range of auto detailing services available and find the right fit for your vehicle.
FAQ
What is the minimum kit needed to detail a car at home?
A pressure washer, pH-neutral shampoo, microfiber wash mitts, two buckets with grit guards, and a quality sealant cover the basics. This setup handles washing, drying, and protection for most daily drivers.
Can i use dish soap to wash my car?
Dish soap strips wax, dries rubber seals, and accelerates clear coat oxidation. Always use a pH-neutral car shampoo formulated for automotive paint.
How often should i clay bar my car?
Clay bar decontamination is recommended once or twice per year for most drivers. If you run your hand over a washed panel and it still feels rough or gritty, the surface needs clay bar treatment before any protection is applied.
Do i need a dual-action polisher for car detailing?
A dual-action polisher is only needed if your paint has visible swirl marks, scratches, or oxidation. For clean paint that just needs protection, a sealant or ceramic coating applied by hand is sufficient.
What is the correct order of operations for detailing a car?
The correct sequence is: wheels first, snow foam pre-wash, contact wash, iron remover, clay bar, dry, polish if needed, then apply protection. Interior cleaning comes last to avoid tracking dirt back onto clean exterior surfaces.