
TL;DR:
- Car scratch removal involves matching repair techniques to the scratch depth to prevent further damage. Proper assessment and the right tools are essential for effective DIY repairs of light, moderate, or deep scratches. Applying protective coatings after polishing preserves the finish and prevents future damage.
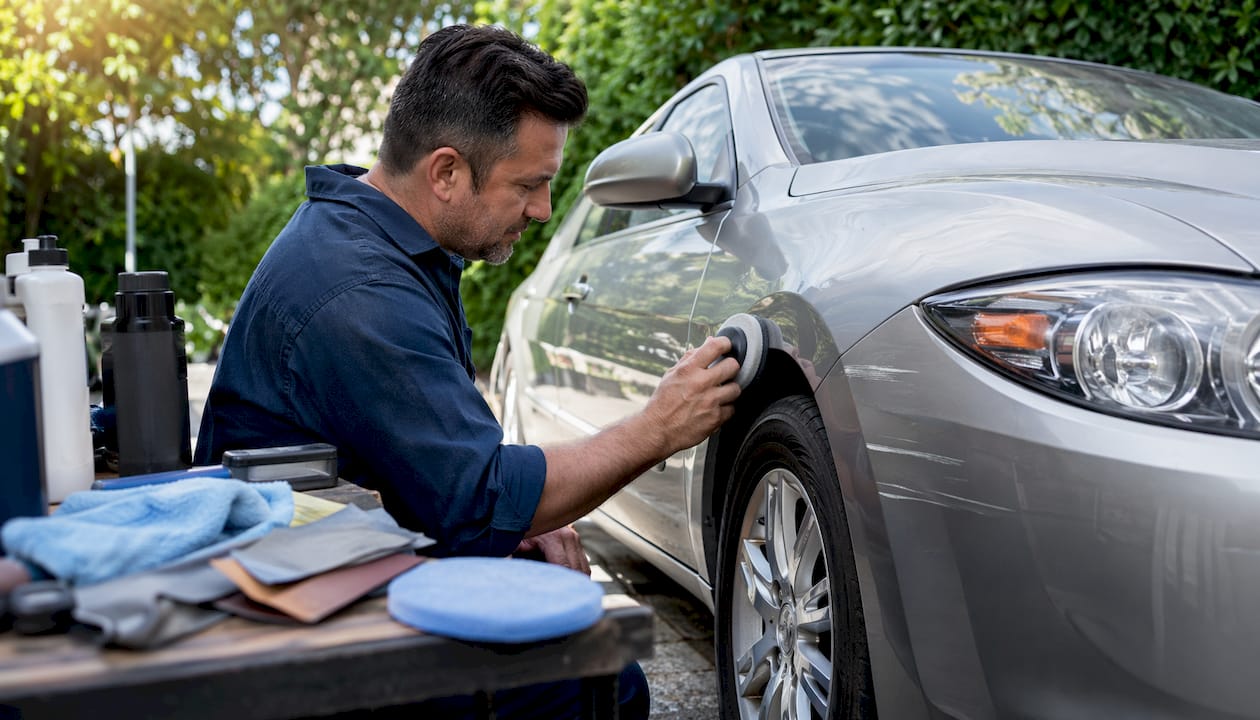
Car scratch removal is defined as repairing paint damage by matching your repair technique to the depth of the scratch. Most scratches fall into one of three layers: the clear coat, the base coat (color layer), or the primer. Get the depth wrong and you risk making the damage worse. The good news is that clear coat repairs cost as little as $10–$20 in materials, and most light scratches take under an hour to fix at home. This car scratch removal guide walks you through every step, from identifying scratch depth to applying the final protective coat.
How do you identify the type and depth of car scratches?
Scratch depth determines everything. Use the wrong product on the wrong scratch and you waste time, money, and potentially damage your paint further.
Car paint has four distinct layers stacked on top of each other:
- Clear coat: The outermost transparent layer. It protects the color beneath and gives the paint its gloss. Clear coat is roughly 2 thousandths of an inch thick. That is thinner than a human hair.
- Base coat: The color layer. When a scratch reaches here, you see the actual paint color disrupted or faded.
- Primer: A gray or white layer that bonds paint to the metal. Scratches this deep require touch-up paint and careful prep.
- Bare metal: The most serious damage. Rust forms quickly if bare metal is exposed to air and moisture.
The fingernail test
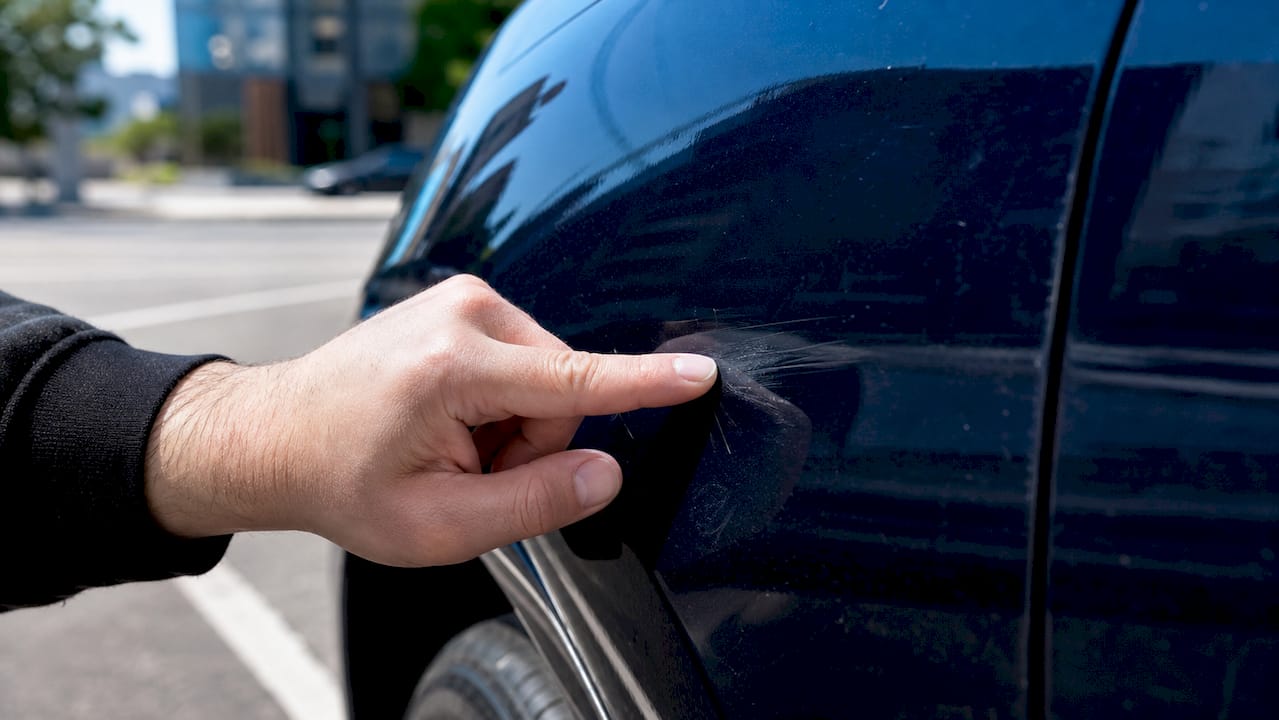
The fingernail test is the industry-standard method for assessing scratch depth at home. Run your fingernail lightly across the scratch. If your nail glides over it without catching, the scratch is in the clear coat only. If your nail catches slightly, the scratch reaches the base coat. If it catches hard or you see a color change, you are dealing with primer or metal exposure.
Visual cues also help. Clear coat scratches look white or hazy in direct sunlight. Base coat scratches show a color shift or dull patch. Primer scratches often appear gray or chalky. Metal exposure looks silver or shows early rust staining.
Never skip this assessment step. DIY repairs fail most often when scratch depth is underestimated and the wrong product is applied. A few seconds of inspection saves hours of rework.
What tools and materials do you need for DIY scratch repair?
Your tool list changes based on scratch depth. Buying the right products before you start prevents mid-job trips to the store and costly mistakes.
General supplies for every repair:
- Microfiber cloths (at least 3–4)
- Car wash shampoo and a clean bucket
- Isopropyl alcohol (70% or higher) for surface degreasing
- Masking tape to protect surrounding paint
- Adequate lighting (a work lamp or bright daylight)
By scratch type:
| Scratch Type | Key Tools | Estimated Cost | Time Required |
|---|---|---|---|
| Light (clear coat only) | Fine polish, foam applicator pad | $10–$20 | 30–60 minutes |
| Moderate (base coat) | Cutting compound, dual-action polisher | $30–$60 | 60–90 minutes |
| Deep (primer or metal) | Touch-up paint, fine brush or toothpick, 3000–5000 grit sandpaper | $20–$50 | 2–4 hours |
Polishing compounds remove tiny layers of clear coat to level surface scratches. Polish is a finer abrasive used after cutting compound to restore gloss. Using them in the wrong order produces a dull, uneven finish. Always use cutting compound first on moderate scratches, then follow with polish.
Pro Tip: Buy a small test panel or practice on a hidden area like the inside of a door jamb before working on a visible panel. This builds confidence and reveals how your car’s paint responds to abrasives.
How to remove light to moderate scratches: step-by-step
Preparation is the most important part of this process. Skipping thorough cleaning traps dirt under your applicator and creates new scratches. Professionals consistently trace costly mistakes back to inadequate surface prep.
Removing light clear coat scratches
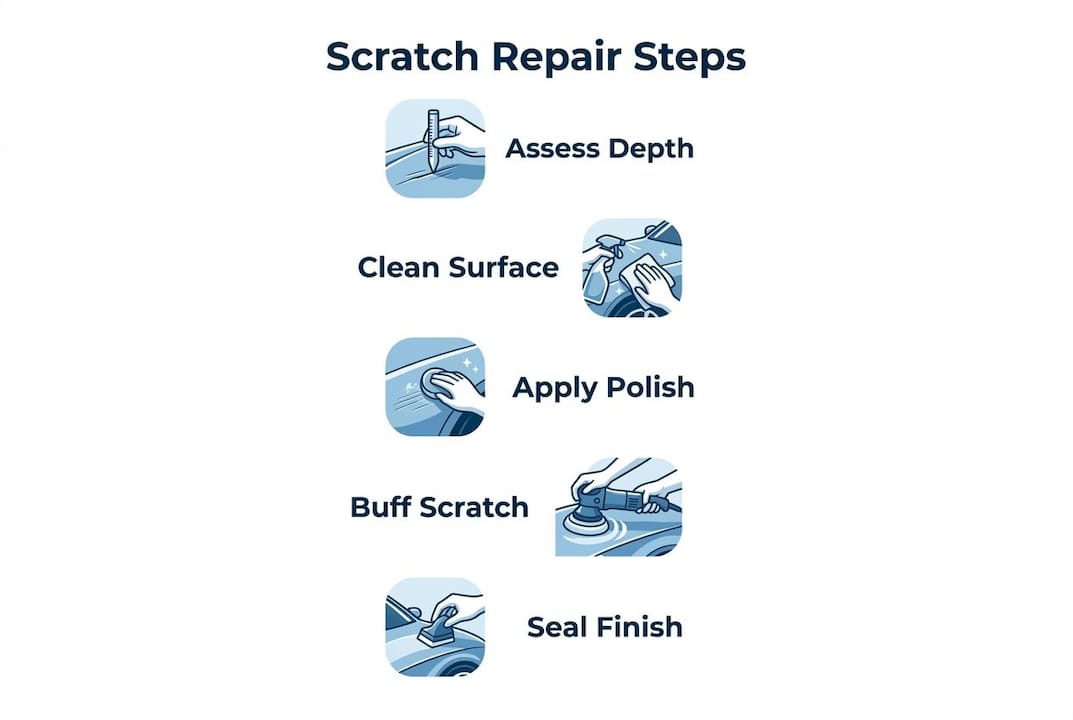
- Wash the area with car shampoo and rinse completely. Dry with a clean microfiber cloth.
- Degrease the scratch by wiping the area with isopropyl alcohol on a microfiber cloth. Let it dry for 60 seconds.
- Apply a small amount of fine polish (about the size of a pea) to a foam applicator pad.
- Work the polish in circular motions over the scratch with moderate pressure. Keep your strokes within a 6-inch radius of the scratch.
- Wipe away residue with a clean microfiber cloth and inspect in direct light. The scratch should appear significantly reduced or gone.
- Repeat if needed, but limit this to 2–3 attempts total. Excessive polishing burns through the clear coat permanently, and that damage cannot be reversed at home.
Removing moderate scratches with cutting compound
- Follow steps 1 and 2 from the light scratch process above.
- Apply cutting compound to a foam pad or dual-action polisher. A dual-action polisher reduces the risk of burning through paint compared to a rotary tool.
- Work the compound over the scratch in overlapping passes. Apply firm, consistent pressure for 60–90 seconds per section.
- Wipe clean and inspect. The scratch should be level with the surrounding paint.
- Follow with fine polish to restore gloss. Cutting compound alone leaves a dull surface. Polish refines the finish.
- Inspect under a work lamp. Scratches that appear gone in shade often reappear under direct light.
Pro Tip: Work in a shaded area or garage. Direct sunlight heats the panel and causes compounds to dry too fast, leaving swirl marks that are harder to remove than the original scratch.
Moderate scratch repair takes 60–90 minutes per panel. Budget that time honestly. Rushing the compound step is the single most common reason repairs look worse after the fact.
How to repair deep scratches and paint layer damage
Deep scratches that reach the primer or bare metal require a different approach entirely. Polishing alone will not fix them. You need touch-up paint, patience, and a steady hand.
Preparation
- Clean and degrease the scratch thoroughly using the same steps as above.
- Use masking tape to frame the repair area, leaving about half an inch of clearance around the scratch.
- Lightly sand the edges of the scratch with 3000 grit wet sandpaper to “feather” them. This blends the repair into the surrounding paint.
Applying touch-up paint
- Match your paint code. Find it on the sticker inside your driver’s door jamb. Order touch-up paint in the exact code.
- Apply paint in thin layers. Using a toothpick or fine syringe tip gives you precise control and avoids the uneven blobs that brushes create.
- Let each layer cure for at least 30 minutes before adding the next. Rushing this step causes the paint to bubble or sink.
- Build up layers until the repair sits slightly above the surrounding surface. The paint will shrink as it fully cures.
- Allow full cure for 24–48 hours before sanding.
Leveling and finishing
- Sand the cured touch-up paint with 3000–5000 grit sandpaper and water lubrication. Sand only the repair area, not the surrounding paint.
- Wipe clean and apply fine polish to restore gloss and blend the repair into the panel.
- Inspect under direct light. A well-done repair should be nearly invisible.
Realistic limits: DIY touch-up repairs on primer or metal-exposed scratches reduce visibility significantly but rarely achieve a factory-perfect result. For scratches longer than 3 inches or in highly visible areas, professional repainting produces a cleaner outcome.
What post-repair steps protect your car’s paint finish?
Polishing removes a layer of clear coat. That means the repaired area is now thinner and more vulnerable than the surrounding paint. Sealing it immediately is not optional.
Applying a sealant, wax, or ceramic coating after polishing replaces the clear coat’s protective barrier. Without this step, the repaired area oxidizes faster than the rest of the panel.
Your main protection options:
- Carnauba wax: Easy to apply, gives a warm gloss, lasts 4–8 weeks. Good for occasional use.
- Synthetic paint sealant: Bonds chemically to the clear coat for longer protection, typically 3–6 months. Learn more about why sealants protect paint long-term.
- Ceramic coating: The most durable option. A properly applied ceramic coating bonds to the paint at a molecular level and lasts years, not weeks. It also adds significant gloss and makes the surface easier to clean. Read how ceramic coatings safeguard car paint for a full breakdown.
Apply your chosen protectant within 24 hours of completing the repair. Clean the surface with isopropyl alcohol first to remove any polish residue. Reapply wax or sealant every few months to maintain the barrier. Ceramic coatings require professional application but eliminate the need for frequent reapplication.
Key Takeaways
Matching your repair method to scratch depth is the single most important factor in successful DIY car scratch removal.
| Point | Details |
|---|---|
| Assess depth first | Use the fingernail test to identify clear coat, base coat, or primer damage before choosing a product. |
| Prep prevents new damage | Clean and degrease thoroughly before every repair to avoid trapping dirt under abrasives. |
| Limit abrasive attempts | Repeat polishing no more than 2–3 times per area to avoid permanent clear coat failure. |
| Layer touch-up paint thinly | Apply multiple thin coats with a toothpick and allow 30 minutes of cure time between each layer. |
| Seal every repair | Apply wax, sealant, or ceramic coating within 24 hours to protect the thinned clear coat from oxidation. |
What I’ve learned from watching DIY scratch repairs go wrong
The most common mistake I see is confidence without assessment. Someone spots a scratch, grabs a polishing compound, and starts rubbing before they have checked the depth. Ten minutes later, the clear coat is thinner, the scratch is still visible, and now there are swirl marks too.
The fingernail test takes five seconds. It changes everything about how you approach the repair. I have seen vehicle owners skip it and spend $80 on products that were completely wrong for the job.
The second mistake is impatience with touch-up paint. People apply one thick coat, sand it the same day, and wonder why the repair looks sunken and dull. Paint shrinks as it cures. You need multiple thin layers and real waiting time between them. There is no shortcut that works.
My honest advice: if the scratch is longer than a few inches, crosses a body line, or sits on a panel you see every day, get a professional opinion before you start. A botched DIY repair on a visible panel can cost more to fix than the original scratch would have. Take the manageable jobs yourself. Know when to hand it off.
— Charles
Professional detailing takes your repair further

DIY scratch repair restores your paint, but professional detailing protects it for the long term. Cdcautodetailing offers mobile ceramic coating services in South Jersey that bond directly to your paint and shield it from future scratches, UV damage, and oxidation. After a DIY repair, a professional ceramic coating is the most effective way to lock in your work and prevent the same damage from happening again. Cdcautodetailing comes to your location, so there is no drop-off or waiting. Explore the full range of professional auto detailing services or book a ceramic coating appointment to protect your paint today.
FAQ
How do I know if a scratch needs touch-up paint?
Run your fingernail across the scratch. If it catches hard or you see gray primer or bare metal, touch-up paint is required. Polish alone will not fix damage below the clear coat.
Can I use toothpaste to remove car scratches?
Toothpaste works as a very mild abrasive on extremely light clear coat scratches. It is not effective on moderate or deep scratches and should not replace proper polishing compounds.
How many times can I polish the same area?
Limit polishing to 2–3 attempts per area. Repeated abrasive polishing depletes the clear coat permanently, and clear coat failure requires professional repainting to fix.
What grit sandpaper should I use for touch-up paint leveling?
Use 3000–5000 grit wet sandpaper with water lubrication. Coarser grits remove too much material and leave visible sanding marks on the surrounding paint.
Do I need to seal the paint after polishing out a scratch?
Yes. Polishing removes a layer of clear coat, leaving the repaired area exposed. Apply wax, a synthetic sealant, or a ceramic coating within 24 hours to prevent oxidation and maintain paint integrity.