Keeping your car looking showroom fresh in South Jersey can feel challenging with the region’s unpredictable weather and urban conditions. For car enthusiasts and busy professionals who value both aesthetics and longevity, mastering the process of ceramic coating application is a smart investment. This step-by-step guide reveals how to prepare, apply, and maintain ceramic coatings so your vehicle gets lasting protection, enhances its appearance, and stays easy to care for throughout the year.
Table of Contents
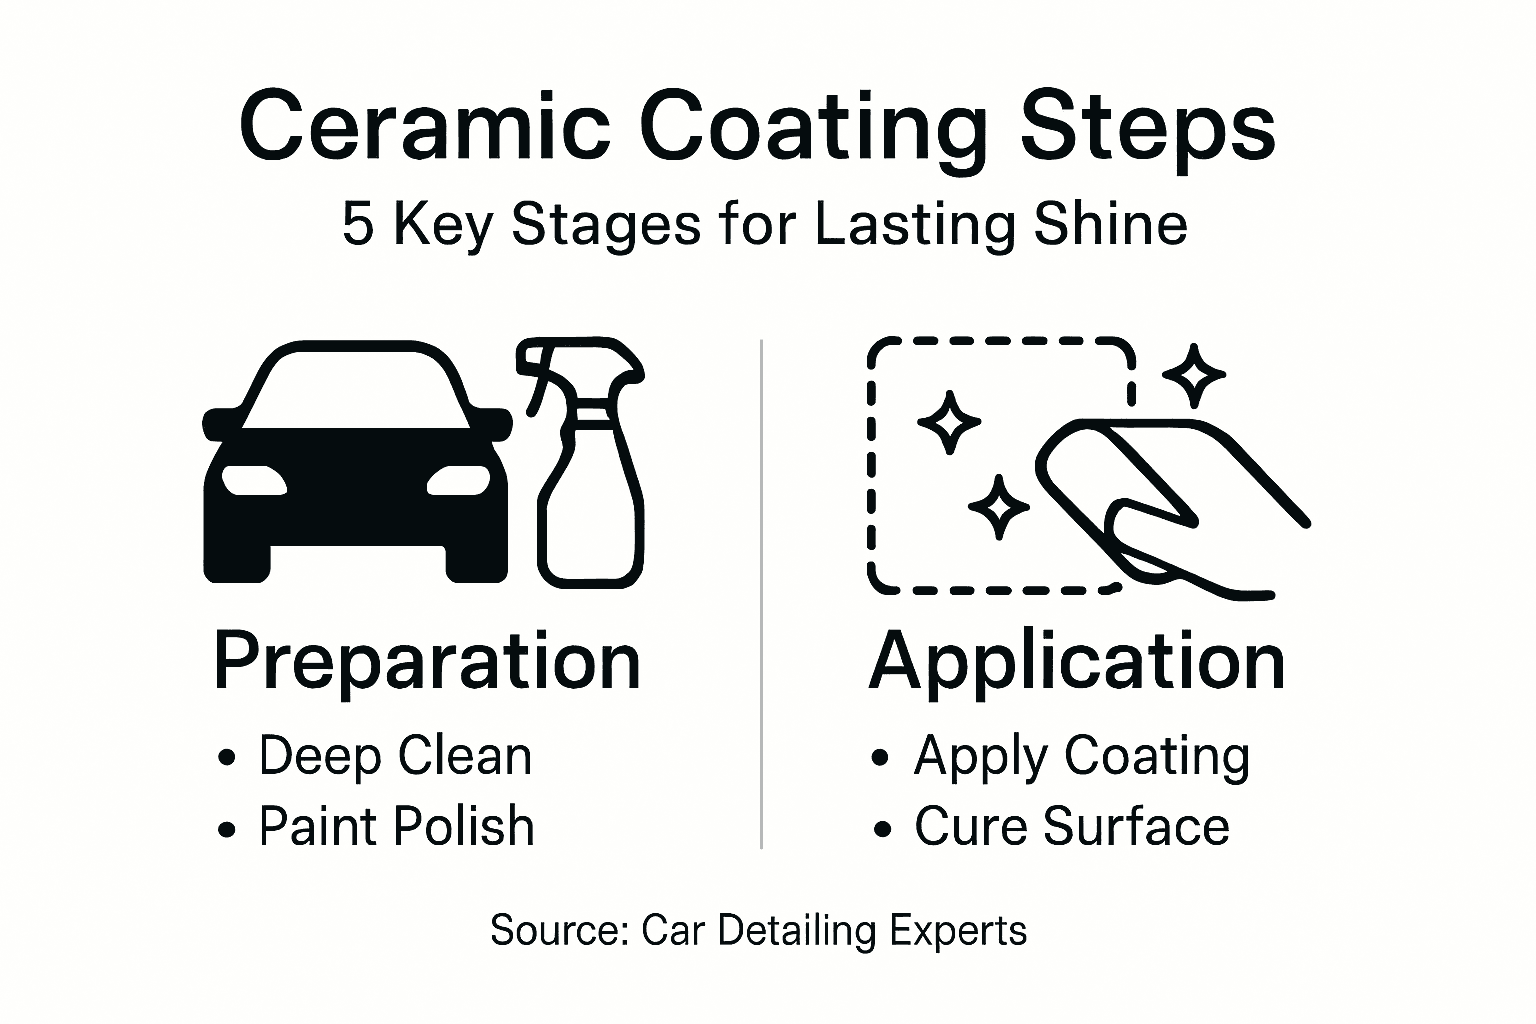
- Step 1: Prepare The Vehicle Surface Meticulously
- Step 2: Select And Organize Ceramic Coating Products
- Step 3: Apply Ceramic Coating Systematically
- Step 4: Cure And Protect The Coated Surfaces Properly
- Step 5: Inspect And Verify Coating Quality
Quick Summary
| Key Point | Explanation |
|---|---|
| 1. Thoroughly Prepare the Surface | Detailed cleaning and paint correction ensure maximum adhesion of ceramic coating. |
| 2. Choose Suitable Coating Products | Select products based on vehicle needs and user skill level for optimal results. |
| 3. Apply with Precision | Systematically apply in small sections, ensuring even coverage and removing excess. |
| 4. Allow Proper Curing Time | Maintain stable conditions for 24-48 hours to ensure effective bonding of the coating. |
| 5. Inspect for Imperfections | Conduct a careful inspection under bright light to ensure a flawless application and adjust if needed. |
Step 1: Prepare the vehicle surface meticulously
Preparing your vehicle surface is the foundation of a successful ceramic coating application. Before applying any protective layer, you need to thoroughly clean and decontaminate the paint to ensure maximum adhesion and performance.
Start by performing a comprehensive prep for detailing process. This involves multiple steps to remove all surface contaminants. First, wash your vehicle using a two-bucket method with high-quality car shampoo. Use a microfiber wash mitt and work from top to bottom, rinsing frequently to prevent swirl marks. After washing, use a clay bar to extract embedded particles like industrial fallout, tree sap, and brake dust that regular washing cannot remove.
The next critical stage is paint correction. Using a dual-action polisher with appropriate cutting and finishing compounds, remove light scratches, oxidation, and swirl marks. This step ensures a perfectly smooth surface for ceramic coating application. Pay close attention to areas with more significant paint imperfections, working systematically across each panel. A clean, smooth surface allows the ceramic coating to bond properly and create a flawless protective layer.
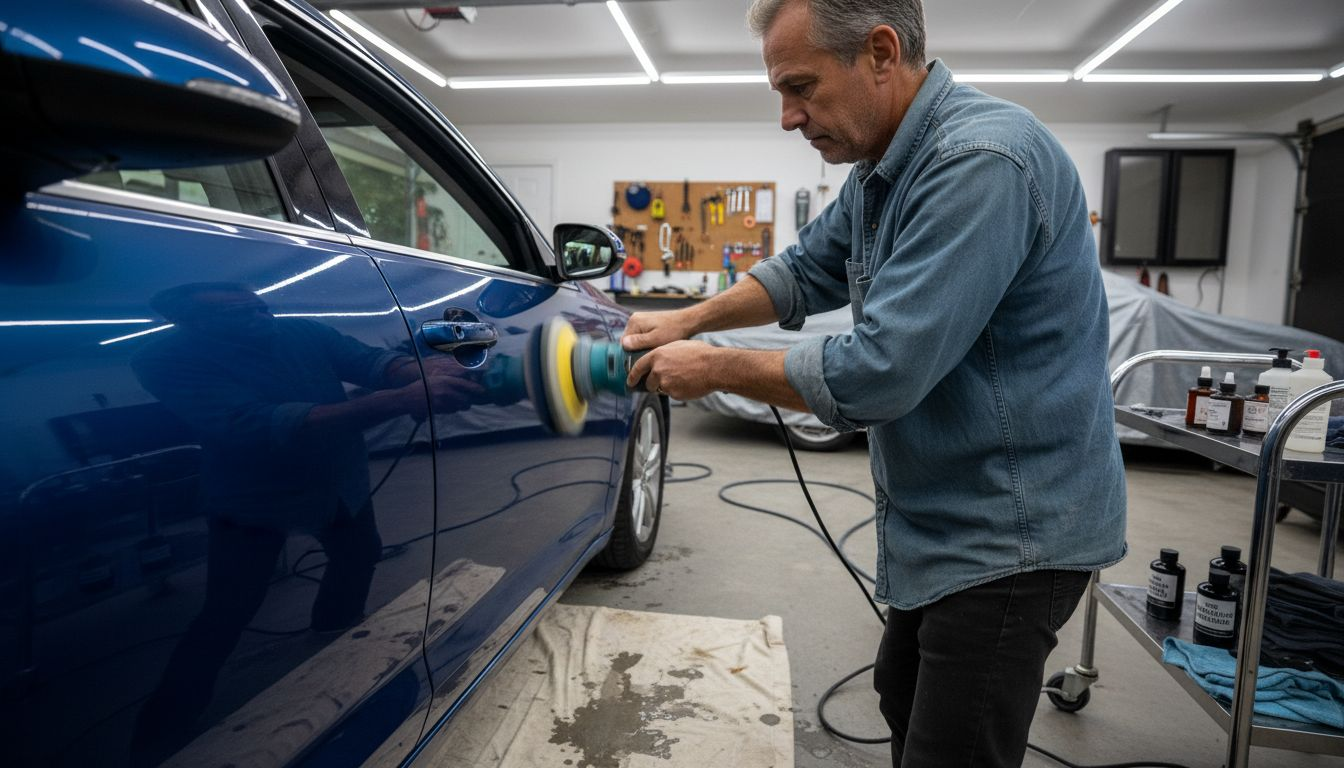
Pro tip: Always use dedicated detailing lights or work in bright natural light to identify surface imperfections that might be invisible under normal conditions.
Step 2: Select and organize ceramic coating products
Choosing the right ceramic coating products is crucial for achieving professional grade protection for your vehicle. Your product selection will determine the longevity, appearance, and effectiveness of the protective layer you are about to apply.
Start by evaluating professional grade ceramic coating options that match your specific vehicle needs. Look for products that provide long lasting ceramic coating protection and are compatible with your vehicle’s paint type. Consider factors like durability, application complexity, and expected performance. Professional ceramic coatings typically range from consumer grade products designed for easy home application to professional tier coatings that require specialized skills and equipment.
When organizing your ceramic coating products, create a dedicated workspace with proper ventilation and consistent temperature. Gather all necessary materials in advance including microfiber towels, applicator pads, cleaning solutions, and protective equipment like nitrile gloves and safety glasses. Arrange your products systematically with coatings, surface preparation solutions, and application tools within easy reach. This methodical approach will streamline your coating process and help prevent contamination.
Use this quick reference to match ceramic coating product types with user expertise:
| Product Type | User Skill Level | Application Complexity |
|---|---|---|
| Consumer-grade | Beginner | Easy |
| Hybrid pro-consumer | Enthusiast | Moderate |
| Professional tier | Expert | High |
Pro tip: Always purchase ceramic coating products from reputable manufacturers and check the expiration date to ensure optimal performance and chemical stability.
Step 3: Apply ceramic coating systematically
Applying ceramic coating requires precision, patience, and a methodical approach to ensure maximum protection and an impeccable finish. Your goal is to create a uniform protective layer that bonds seamlessly with your vehicle’s paint surface.
Begin by working in a controlled environment with consistent temperature and minimal dust. Ceramic coating application demands meticulous attention to detail. Work in small sections approximately two feet square, using high quality microfiber applicator pads. Apply the coating using smooth, overlapping motions with light to moderate pressure. Work in a crosshatch pattern to ensure complete and even coverage. Immediately after application, use a clean microfiber towel to remove excess product and prevent high spots or uneven buildup.
Pay special attention to edges, curves, and complex surfaces where coating application can be more challenging. Allow each section to cure according to manufacturer specifications, typically between 2 to 4 hours between layers. Avoid touching or exposing the coated surface to water or contaminants during the initial curing period to maintain the integrity of the protective layer.
Here’s a summary of common issues and solutions during ceramic coating application:
| Common Issue | Likely Cause | Recommended Solution |
|---|---|---|
| Swirl marks after prep | Inadequate washing technique | Use two-bucket method, quality mitt |
| Patchy coating finish | Uneven application or missed spots | Reapply coating to affected areas |
| Water not beading | Insufficient curing time | Allow full 24-48 hours to cure |
| Streaking or smearing | Excess product left on panels | Buff with clean microfiber towel |
| Lack of gloss | Poor paint correction | Repeat polishing before coating |
Pro tip: Work in a well ventilated area and wear protective nitrile gloves to prevent skin contact with ceramic coating chemicals.
Step 4: Cure and protect the coated surfaces properly
Curing your ceramic coating correctly is critical to ensuring maximum durability and performance for your vehicle’s protective layer. The curing process transforms the ceramic coating from a liquid application into a hard, resilient protective shield that will safeguard your car’s paintwork.
After applying the ceramic coating, you will need to allow sufficient time for proper bonding and curing. Ceramic coatings protect paint most effectively when given adequate time to set. Keep your vehicle in a controlled environment with stable temperature and low humidity during the initial curing period. Most professional grade ceramic coatings require between 24 to 48 hours of careful treatment. Avoid washing the vehicle, exposing it to rain, or parking outdoors during this critical time frame. The coating needs uninterrupted conditions to create a strong molecular bond with your vehicle’s paint surface.
Once the initial curing period is complete, gradually reintroduce your vehicle to normal conditions. During the first week, minimize exposure to harsh environmental elements. Avoid automatic car washes, direct sunlight for extended periods, and abrasive cleaning methods. Instead, use gentle cleaning techniques and microfiber towels to maintain the coating’s integrity.
Pro tip: Schedule your ceramic coating application during a period when you can keep your vehicle stationary and protected for at least 48 hours after application.
Step 5: Inspect and verify coating quality
After applying ceramic coating, a thorough inspection is crucial to ensure you have achieved a flawless protective layer. This final verification step will help you identify any potential imperfections and guarantee maximum performance of your ceramic coating.
Carefully examine the coated surface under bright, natural light to detect any high spots, uneven application, or missed areas. Ceramic coating maintenance begins with a meticulous initial inspection. Look for subtle variations in gloss, streaking, or areas where the coating appears thinner. Use a clean microfiber towel to gently test the surface evenness. Water beading is an excellent indicator of proper application check the surface by misting water droplets and observing their behavior. Perfect ceramic coating should create tight, uniform water beads that immediately roll off the surface without leaving residue.
Pay special attention to complex areas like panel edges, around emblems, and curved surfaces where coating application can be challenging. Use a bright LED light at multiple angles to catch any subtle imperfections that might be invisible under normal lighting. If you discover any minor inconsistencies, many can be corrected by carefully reapplying coating to specific sections. For significant issues, consider consulting a professional detailer who can help refinish the coating.
Pro tip: Allow at least 24 hours after final application before performing your detailed inspection to ensure the coating has initially settled.
Elevate Your Vehicle’s Protection with Expert Ceramic Coating Services
Applying ceramic coating at home can be challenging with all the precise surface preparation, careful product selection, and patient curing required to achieve flawless results. If you want to avoid issues like patchy finishes, inadequate curing, or uneven application discussed in our guide, we have the perfect solution. At CDC Auto Detailing, our professional mobile car detailing service in Pitman, New Jersey provides expert ceramic coating application that guarantees durable protection and a brilliant finish without the hassle or guesswork.

Experience peace of mind knowing your vehicle is treated with premium-grade coatings, detailed paint correction, and meticulous curing processes by our skilled technicians. Ready to protect your car with a long-lasting ceramic shield and impressive gloss? Visit CDC Auto Detailing today and book your appointment to enjoy convenient, reliable, and professional auto care at your doorstep. See why so many South Jersey vehicle owners trust us for high-quality exterior detailing and superior ceramic coating services.
Frequently Asked Questions
What steps should I follow to prepare my car for ceramic coating application?
To prepare your car for ceramic coating, start with a thorough wash using a two-bucket method to remove dirt and grime. Follow up with a clay bar treatment to eliminate any embedded contaminants, and perform paint correction to address scratches and swirl marks for a smooth surface.
How do I choose the right ceramic coating product for my vehicle?
Select a ceramic coating product based on your vehicle’s specific paint needs and your skill level. Evaluate options for their durability and ease of application, and confirm that they are compatible with your vehicle’s paint type before making a decision.
What techniques should I use during the ceramic coating application process?
Apply the ceramic coating using smooth, overlapping motions with a microfiber applicator pad in small sections. Ensure even coverage by working in a crosshatch pattern and remove excess product immediately with a clean microfiber towel to avoid high spots or uneven buildup.
How can I ensure proper curing of the ceramic coating after application?
To ensure proper curing, allow the ceramic coating to set undisturbed in a controlled environment for 24 to 48 hours. Avoid exposing your vehicle to water, dirt, or harsh weather conditions during this period to maintain the coating’s integrity.
What should I look for when inspecting the quality of my ceramic coating?
Inspect the coated surface under bright, natural light for any high spots, uneven application, or thin areas. Check the water beading behavior after misting the surface; ideal coating should create uniform beads that roll off easily, indicating successful application.