
TL;DR:
- Using a pH-balanced, automotive-specific leather cleaner is safest for cleaning car seats without damaging the coating. It should be applied with a microfiber cloth or soft brush after thorough vacuuming and testing on hidden areas for color safety. Regular conditioning every three to six months restores moisture, prevents cracks, and maintains leather longevity.
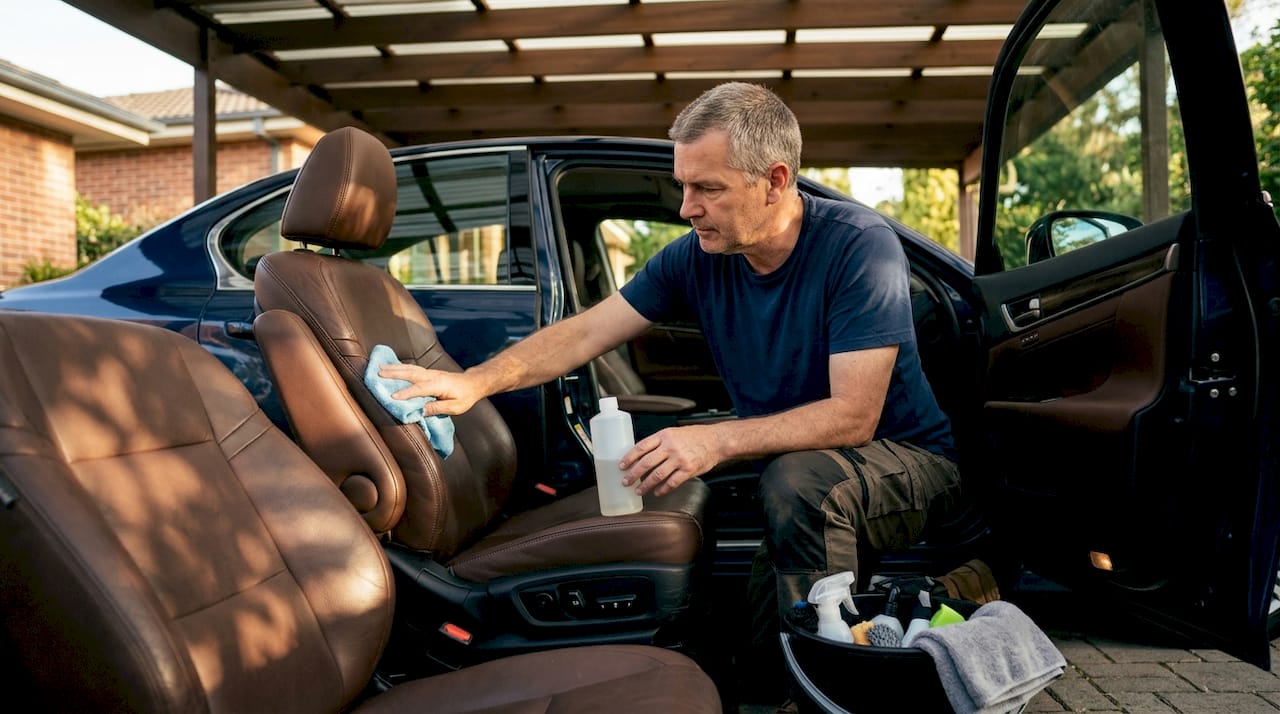
A pH-balanced, automotive-specific leather cleaner is the correct answer to what do you clean leather car seats with. These products lift dirt and body oils without stripping the protective coating that covers most modern car leather. Pair the cleaner with a soft-bristle brush or microfiber cloth, and you have a method that works on pigmented, coated, and semi-aniline leather alike. This guide covers the best products, a step-by-step cleaning process, safe household alternatives, stain-specific fixes, and why conditioning after every clean is non-negotiable for long-term leather care.
1. What makes a leather cleaner safe for car seats?
The best leather seat cleaner is formulated specifically for automotive use and sits at a neutral pH. Most modern car seats are coated leather, meaning the surface has a pigment layer and a clear coat on top. That coating is what gives leather its color and durability. A cleaner that is too acidic or too alkaline will degrade that coating over time, causing cracking and fading.
Automotive leather cleaners target the coating’s surface rather than trying to feed oils deep into the hide. This is the key distinction most car owners miss. A product designed for raw or aniline leather will over-saturate coated automotive leather and leave a greasy residue.
Look for cleaners labeled “pH-balanced” and “safe for coated leather.” Avoid anything with alcohol, bleach, or ammonia as primary ingredients. These strip the clear coat and accelerate wear.
Pro Tip: Always read the label for “coated leather” compatibility before buying. Most automotive leather is coated, and a product designed for unfinished leather will do more harm than good.
2. Top product formats for cleaning leather car seats
The gold standard for cleaning leather car seats is a pH-balanced cleaner applied with a soft-bristled brush or microfiber cloth. Quality kits typically cost $15–$35, and the process takes 30–60 minutes for a full interior. That time investment pays off in preserved seat condition and resale value.
The main product formats available:
- Single-use spray cleaners. These are the most accessible option. Spray onto a microfiber cloth, not directly onto the seat, and wipe in sections.
- Foam cleaners. Foam clings to the surface longer, giving the active ingredients more contact time. Good for heavily soiled seats.
- Multi-step kits. These include a dedicated cleaner and a separate conditioner. Two-step cleaning outperforms 3-in-1 products because the cleaner removes oils and dirt first, allowing the conditioner to absorb properly.
- 3-in-1 kits. These clean, condition, and protect in one pass. Top kits cost $20–$30. They are convenient but deliver slightly less thorough results than two-step systems.
- Multi-stage restoration kits. Designed for older or neglected leather, these can cost $40–$50 and include a cleaner, conditioner, color restorer, and protectant.
Pro Tip: Test any new cleaner on a hidden area, such as the back of the seat or under the headrest, before applying it to visible surfaces. Testing takes two minutes but prevents costly discoloration mistakes.
3. How to clean leather car seats step by step
A proper cleaning process protects the leather as much as the product itself does. Rushing or skipping steps causes micro-scratches, moisture damage, and uneven results.
- Vacuum thoroughly. Use a soft brush attachment and vacuum seams and crevices deeply. Grit trapped in stitching acts like sandpaper during cleaning and causes irreversible scratches.
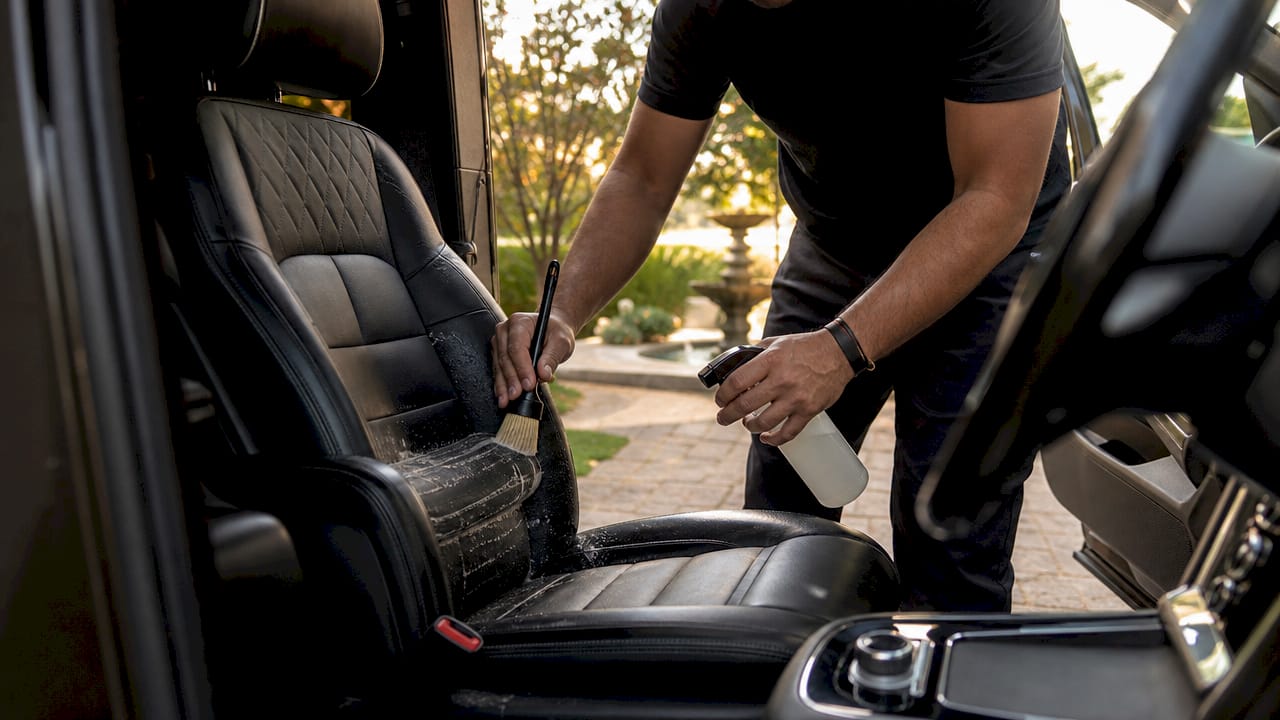
- Apply cleaner to your tool, not the seat. Spray or apply the cleaner onto your microfiber cloth or brush. Direct application to leather risks over-wetting.
- Work in small sections. Clean one panel at a time using gentle circular motions. This keeps the product from drying before you wipe it off.
- Wipe away residue. Use a clean, lightly damp microfiber cloth to remove the lifted dirt and cleaner residue. Use 3–4 microfiber cloths per session to avoid redepositing grime.
- Dry the surface. Wipe each section with a dry microfiber cloth immediately after. Leave car doors open for 10–15 minutes to let the interior air out.
- Condition the leather. Apply a dedicated leather conditioner after cleaning to restore moisture and flexibility. This step is covered in detail below.
Pro Tip: Perforated leather is especially vulnerable to over-wetting. Keep moisture minimal on perforated seats. Excess liquid seeps into the foam padding underneath and can cause mold growth.
4. Safe household alternatives for leather car seats
Specialty cleaners are the best option, but there are household products that work in a pinch. Use these carefully and only on pigmented or coated leather, never on aniline or raw leather.
- Diluted mild dish soap. Mix a few drops with distilled water. Apply with a damp cloth, never undiluted. This works for light surface grime on coated leather only.
- Distilled water and white vinegar (1:1 ratio). This mixture is effective against mold and mildew stains. Wipe the area, let it sit for one minute, then wipe clean with a damp cloth.
- Baking soda. Sprinkle directly on fresh grease or oil stains. Let it sit for 15–20 minutes to absorb the oil, then brush away gently before cleaning the area with your regular cleaner.
- Avoid these entirely: bleach, ammonia-based cleaners, rubbing alcohol used broadly, and baby wipes. Baby wipes contain moisturizers and fragrances that leave residue and can discolor leather over time.
Always test household alternatives on a hidden spot first. Slight variations in leather finish or age can cause discoloration even with gentle solutions.
5. How to tackle specific stains on leather car seats
Different stains require different approaches. Aggressive scrubbing or the wrong product on the wrong stain causes permanent damage.
- Grease and food oil. Cover the stain with baking soda immediately. Let it absorb for 20 minutes, then brush away. Follow with a pH-balanced cleaner on a microfiber cloth.
- Ink stains. Dab gently with a cotton swab lightly moistened with rubbing alcohol. Work from the outside of the stain inward to avoid spreading. Condition the area immediately after, since alcohol dries leather quickly.
- Dye transfer from clothing. Dark jeans are a common culprit. Apply a small amount of leather cleaner to a soft brush and agitate lightly in circular motions. Multiple light passes work better than one heavy scrub.
- Mold and mildew. Wipe the area with a 1:1 distilled water and white vinegar solution. Allow to air dry fully, then condition the leather. Mold on leather signals excess moisture in the cabin, so check for leaks.
- General rule. Never saturate a stain with liquid. Blot, do not rub. Rubbing spreads the stain and pushes it deeper into the leather grain.
For stubborn stains that do not respond to these methods, professional detailing is the safest next step. Aggressive DIY attempts on set-in stains often cause more damage than the original stain.
6. When and why to condition leather after cleaning
Cleaning removes dirt but also strips some of the natural oils that keep leather flexible. Conditioning replenishes those oils and keeps the surface from drying out and cracking. Skipping this step is the most common mistake car owners make, and leather protectants are the step most people omit despite being critical to long-term leather health.
What conditioning and protection actually do:
- Restore moisture and flexibility to the leather surface after cleaning removes oils.
- Create a barrier against UV damage, which causes fading and cracking in sun-exposed seats.
- Protect against dye transfer from clothing, especially dark denim.
- Reduce friction wear on high-contact areas like the driver’s seat bolster.
Conditioning frequency: condition every 3–6 months under normal use. If you park in direct sunlight regularly, condition every 3 months.
Avoid heavy creams or oily dressings that leave a greasy film. The goal is a clean, matte, non-greasy finish. Top product kits designed for automotive leather include conditioners formulated specifically for this result.
Pro Tip: Apply conditioner with a clean microfiber applicator pad in thin, even layers. Let it absorb for 5 minutes, then buff off any excess. Thick application does not condition better. It just leaves residue.
Key takeaways
A pH-balanced, automotive-specific leather cleaner applied with a microfiber cloth or soft brush is the safest and most effective method for cleaning and maintaining leather car seats.
| Point | Details |
|---|---|
| Use pH-balanced cleaners | Automotive-specific cleaners protect the coated finish without stripping oils or color. |
| Vacuum before every clean | Removing grit from seams prevents micro-scratches during the cleaning process. |
| Apply product to the tool | Spray cleaner onto the cloth or brush, never directly onto the leather surface. |
| Condition every 3–6 months | Conditioning restores moisture and guards against UV damage, dye transfer, and cracking. |
| Test new products first | A 2-minute hidden-area test prevents costly discoloration on visible seat surfaces. |
What I’ve learned from watching owners clean leather seats wrong
Most leather seat damage does not come from neglect. It comes from well-intentioned owners using the wrong products with too much force. I have seen seats ruined by baby wipes, household glass cleaner, and even olive oil applied as a “natural conditioner.” The leather looked fine for a week, then cracked and discolored within a month.
The single biggest mistake is skipping the vacuum step. Owners spray cleaner directly onto a seat that still has sand and grit in the seams, then scrub. That grit acts like sandpaper. The cleaner loosens it, and the brush drives it across the surface. The result is a network of fine scratches that dull the finish permanently.
The second mistake is treating conditioning as optional. Cleaning is not a complete process without conditioning. Think of it like washing your hands and skipping moisturizer in winter. The leather dries out faster than you expect, especially in vehicles that sit in direct sun.
My practical advice: build a simple leather care kit and keep it in your garage. A quality spray cleaner, a soft-bristle detailing brush, four microfiber cloths, and a dedicated leather conditioner cover every routine cleaning need. That kit costs under $40 and protects a leather interior worth thousands. You can also read more about protecting car interiors to understand how conditioning fits into a broader interior care plan.
The car owners I see with the best-looking leather interiors after five or more years are not using expensive products. They are using the right products correctly and doing it consistently.
— Charles
Professional leather care from Cdcautodetailing
Routine home cleaning handles everyday dirt, but some situations call for a professional touch. Deep-set stains, neglected leather, and seats that have never been conditioned benefit from professional-grade products and trained technique.

Cdcautodetailing provides mobile interior detailing across South Jersey, bringing pH-balanced cleaners, professional conditioning treatments, and protective sealants directly to your vehicle. The team handles everything from light maintenance cleans to full leather restoration. You can review examples of auto detailing services to see exactly what a professional leather treatment includes. Booking is straightforward through the Cdcautodetailing website, and the mobile format means your car gets detailed at home or at work, on your schedule.
FAQ
What is the best cleaner for leather car seats?
A pH-balanced, automotive-specific leather cleaner is the best option. It safely lifts dirt without damaging the protective coating found on most modern car leather.
Can I use dish soap to clean leather car seats?
A few drops of mild dish soap diluted in distilled water work on coated leather for light grime. Never use it undiluted, and always follow with a leather conditioner.
How often should I clean and condition leather seats?
Clean leather seats as needed for visible dirt, and condition them every 3–6 months. Vehicles parked in direct sunlight benefit from conditioning closer to every 3 months.
Are baby wipes safe for leather car seats?
Baby wipes are not safe for regular leather seat cleaning. They contain fragrances and moisturizers that leave residue and can cause discoloration over time.
Do I need to condition leather after every cleaning?
Conditioning after every cleaning session is the recommended practice. Cleaning removes oils from the leather surface, and conditioning restores them to prevent drying and cracking.