
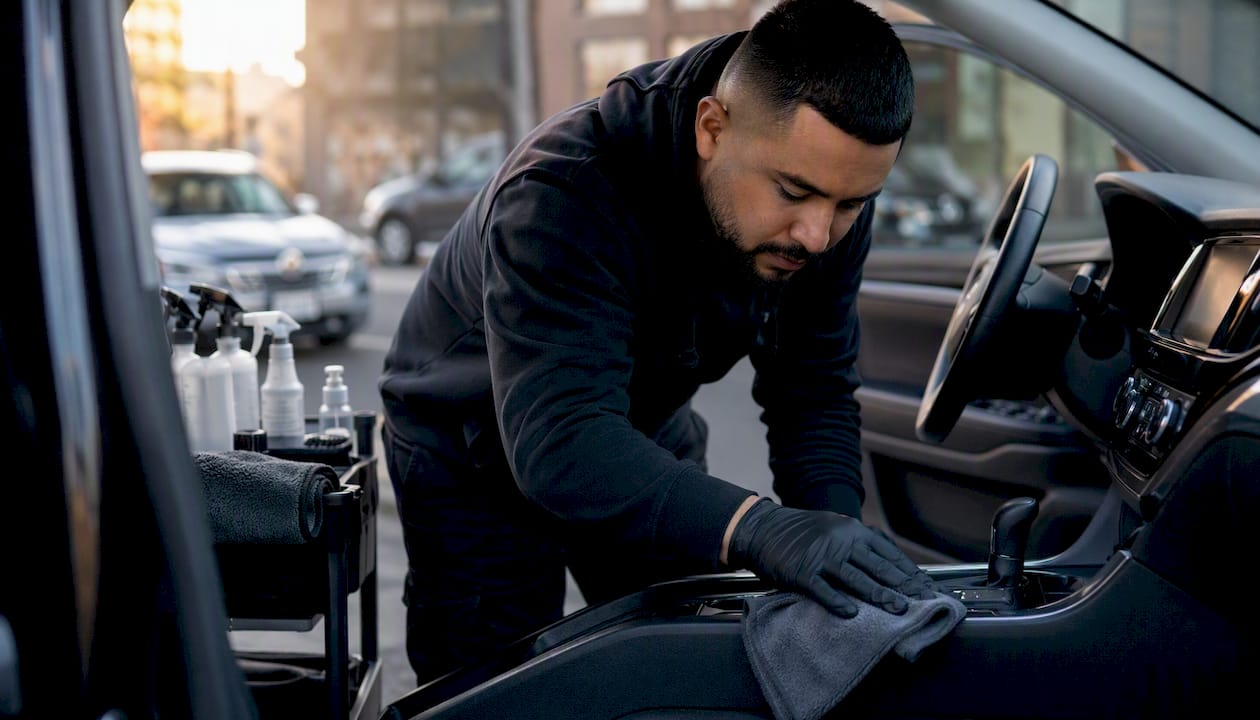
Sanitize a vehicle by removing visible soil first with soap and water, then applying an EPA-registered disinfectant or 70% isopropyl alcohol to all high-touch surfaces and holding the manufacturer’s required contact time. That sequence, clean then disinfect, is the non-negotiable foundation of any effective vehicle sanitization procedure. Skip the cleaning step and the disinfectant’s chemistry gets neutralized by organic debris before it can do its job.
Before you open a bottle, run through this quick-start checklist:
- Put on nitrile gloves; add eye protection if you’re mixing or pouring concentrate.
- Open all doors and windows for ventilation before applying any chemical.
- Remove personal items, trash, floor mats, and seat covers from the vehicle.
- Vacuum carpets, seats, and crevices before any liquid touches the interior.
- Clean visibly soiled surfaces with an automotive-safe soap or detergent and water.
- Apply your chosen disinfectant to a cloth first, then wipe surfaces. Never spray directly onto electronics.
- Allow the surface to stay visibly wet for the full manufacturer contact time, then air-dry with doors open.
Key Takeaways
A complete vehicle sanitization procedure always starts with cleaning to remove organic debris, then applies an EPA-registered disinfectant held to full contact time on every high-touch surface.
| Point | Details |
|---|---|
| Clean before you disinfect | Soap and water first removes debris that blocks disinfectant from reaching the surface. |
| Hold contact time every time | The surface must stay visibly wet for the full label-specified duration or the kill rate is not achieved. |
| Cloth-to-surface, not spray-to-surface | Applying product to a cloth prevents overspray into electronics and over-wetting of leather and fabric. |
| Fleet programs need two tiers | Quick between-rider wipes plus scheduled end-of-shift deep cleans, both logged, form an auditable program. |
| Cdcautodetailing offers mobile fleet service | South Jersey fleets and individual owners can book scheduled sanitization and detailing without managing supplies or staff. |
Table of Contents
- What does a complete vehicle sanitization procedure look like?
- Which interior surfaces need the most attention?
- Which disinfectants are actually safe for vehicle interiors?
- How do you sanitize a car quickly between passengers?
- How should fleet managers build a sanitization SOP?
- What to do after a confirmed infectious exposure
- Common mistakes that reduce effectiveness or damage vehicles
- What supplies do you need for a complete sanitization kit?
- Sample SOP template and printable checklist
- An honest take on what actually matters in the field
- Professional fleet sanitization services from Cdcautodetailing
- Sources
What does a complete vehicle sanitization procedure look like?
A proper single-vehicle SOP runs in a fixed order. Skipping steps or reversing them costs you effectiveness and risks surface damage.
Step 1: Stage your supplies and prep the vehicle
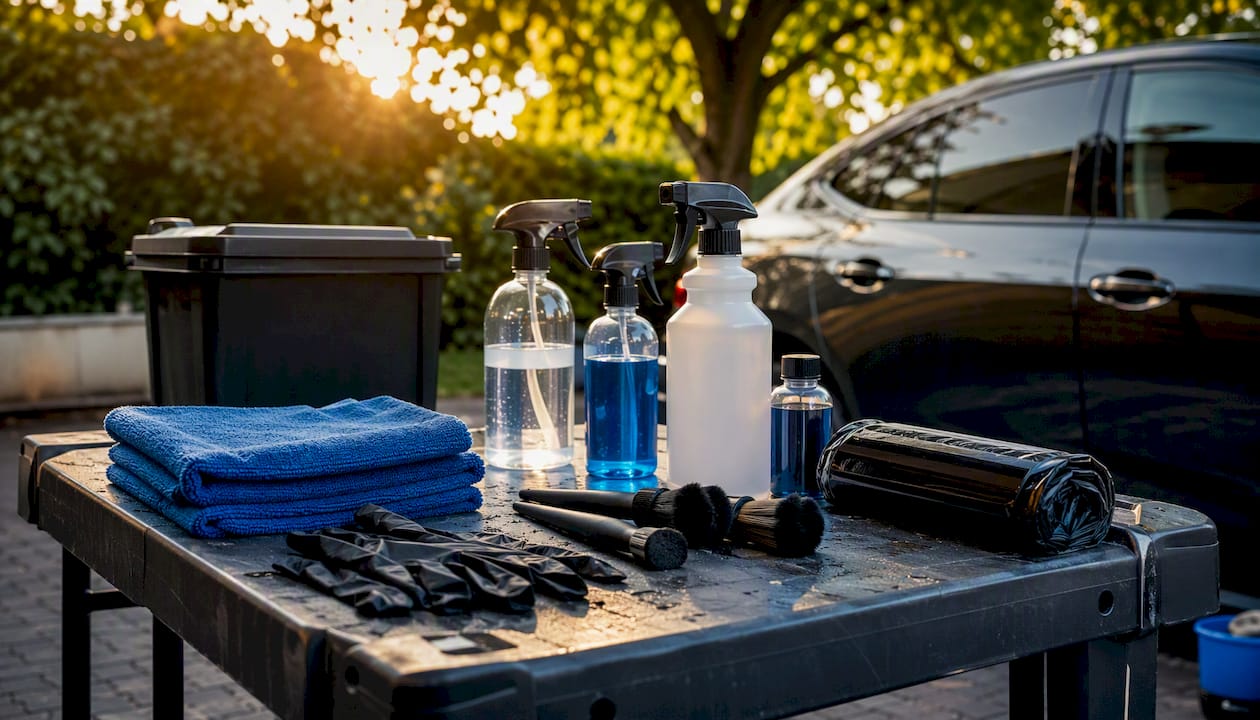
Park in a shaded, ventilated area. Lay out gloves, microfiber cloths, a soft brush, your cleaner, disinfectant, and trash bags before you touch the vehicle. Remove all personal items, floor mats, and seat covers. Shake out mats outside the vehicle, not inside it.
Step 2: Put on PPE
Nitrile gloves are the minimum. Add safety glasses or a face shield when pouring or diluting concentrated disinfectants. Keep the vehicle doors open throughout the process. If you’re working in an enclosed garage, run a fan or crack a door to the outside.
Step 3: Vacuum dry surfaces first
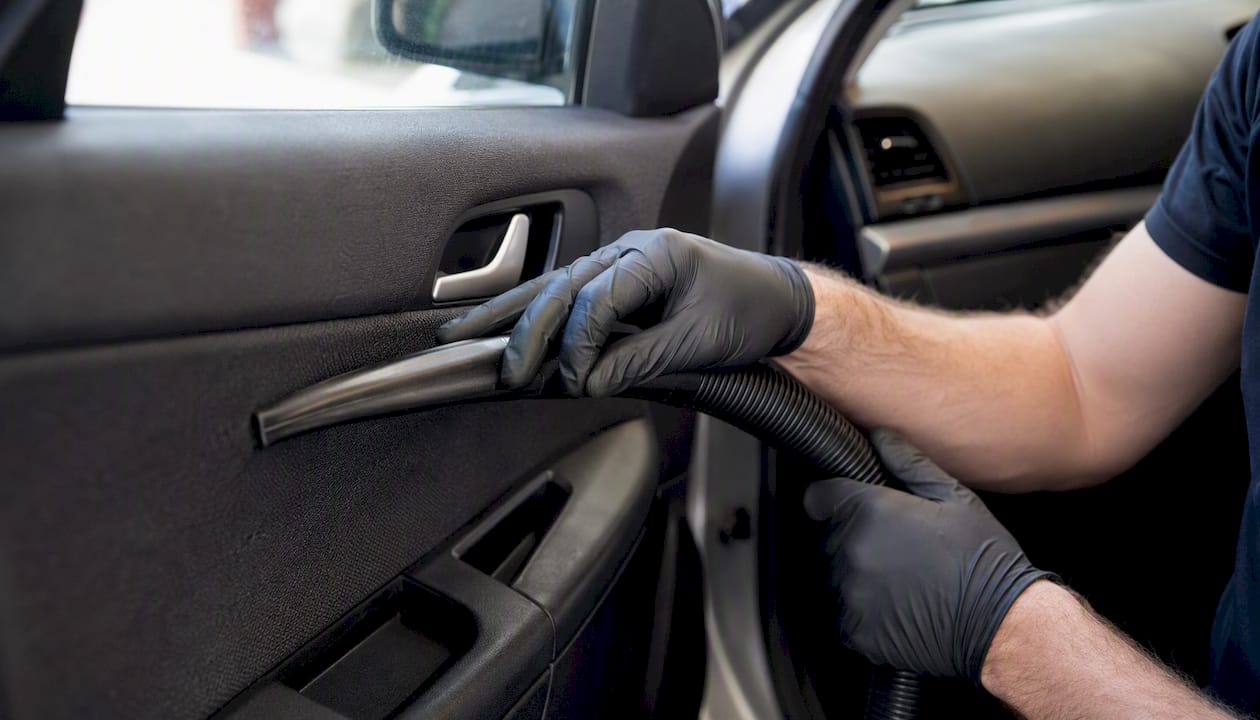
Work top to bottom: headliner, seats, center console, door panels, then floor. Vacuuming before any liquid application pulls out loose debris that would otherwise turn into muddy residue once wet. This step also prevents grit from scratching surfaces during wiping.
Step 4: Clean with soap and water
Pathogens can survive on surfaces for 72 hours or longer, so removing organic material before disinfecting is critical. Use an automotive-safe, pH-neutral cleaner on fabric and hard surfaces. Apply to a cloth, not directly to the surface. Wipe, then follow with a clean damp cloth to remove residue. For proper interior prep, work from the top of the cabin downward.
Step 5: Apply disinfectant and hold contact time
The surface must stay visibly wet for the full contact time listed on the product label — typically 30 seconds to 4 minutes depending on the product. If the surface dries before that time elapses, reapply. Never spray disinfectant directly onto touchscreens, instrument clusters, or any electronic component.
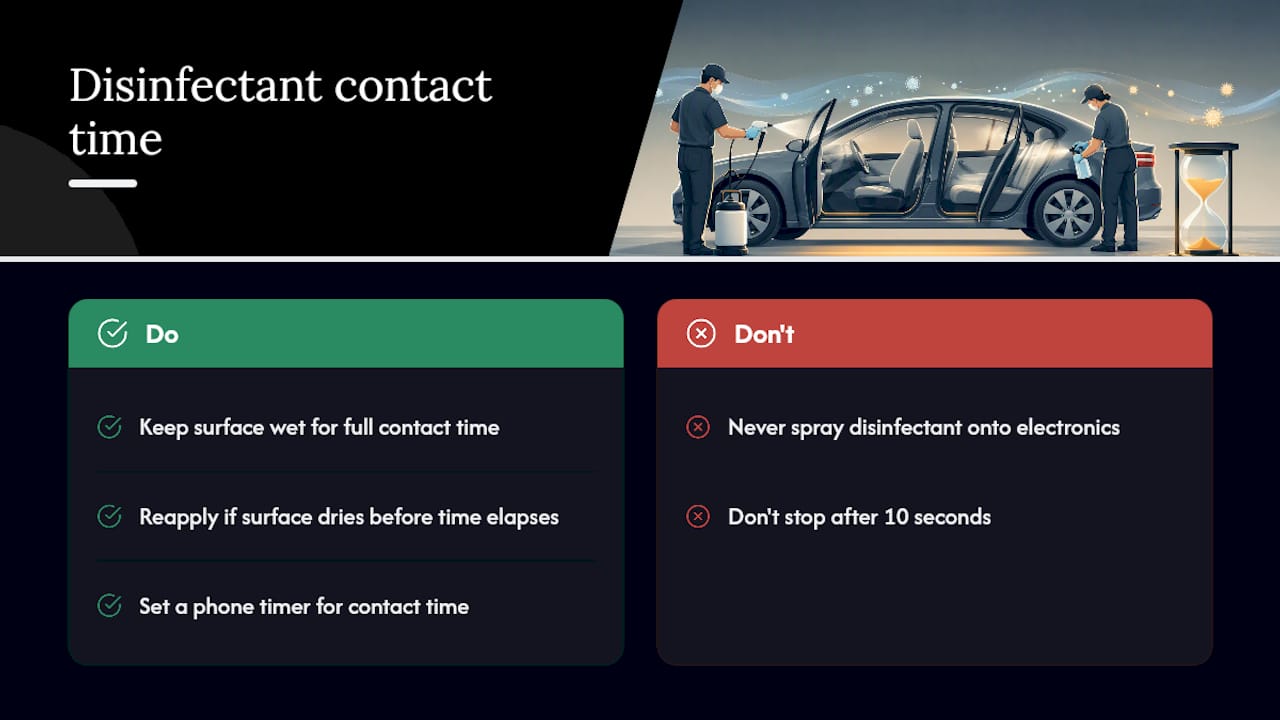
Pro Tip: Set a phone timer for the product’s contact time. It sounds basic, but most people wipe and move on in 10 seconds, which is nowhere near long enough for most EPA-registered products to work.
Step 6: Dry, ventilate, and document
Allow surfaces to air-dry with doors open. For leather, follow up with a manufacturer-approved conditioner once the disinfectant has dried. Note the vehicle ID, date, time, products used, and your initials in the shift log before moving to the next vehicle.
The Avis vehicle sanitization protocol confirms this sequence: clean visible soil first, then apply disinfectant to steering wheels, center consoles, touchscreens, AC vents, door handles, seats, headrests, armrests, and seat belt buckles.
Which interior surfaces need the most attention?
High-touch surfaces are where pathogen transfer actually happens. Prioritize these every time:
- Steering wheel (rim, spokes, and horn pad)
- Gear shifter and surrounding trim
- Door handles, inside and outside
- Seat belt buckles and the belt itself
- Center console lid and armrest
- Touchscreen and infotainment controls
- HVAC controls and vent bezels
- Rearview and side mirror adjustment controls
- Keys and key fobs
- Headrests and rear armrests in passenger vehicles
Material-specific guidance
Leather: Alcohol-based products work on leather but repeated use dries it out. Apply a leather conditioner after every sanitization session. Never use bleach on leather — it strips color and breaks down the grain.
Fabric seats and carpets: Clean with a product labeled for porous surfaces before applying any disinfectant. Saturating fabric creates mold risk, so use a damp cloth rather than a soaked one. The interior cleaning workflow for fabric-heavy cabins calls for a dry extraction step before any liquid work.
These surfaces are the most forgiving.
Touchscreens and electronics: Manufacturer guidance recommends 70% alcohol wipes if the screen maker permits it, or following the vehicle’s own owner manual. Never spray anything directly at a screen. Apply to a cloth, wipe gently, and keep moisture away from seams and ports.
Wipes often contain additives that leave a haze on capacitive screens.*
Practical cautions that apply across all materials: never mix bleach and ammonia-based cleaners. Bleach damages painted surfaces, leather, and most vehicle plastics. High-pressure sprayers push liquid into electronics and trim gaps, creating problems that outlast the sanitization session.
Which disinfectants are actually safe for vehicle interiors?
The short answer: EPA-registered botanical disinfectants or a minimum 70% isopropyl alcohol. Manufacturer technical service guidance is explicit that hydrogen peroxide, bleach, and ammonia-based cleaners can damage vehicle surfaces — and that warning covers most of the “heavy duty” household products people reach for first.
EPA List N and CDC guidance
The EPA’s List N identifies disinfectants registered for use against SARS-CoV-2 and other pathogens. Products on this list have been tested to meet efficacy thresholds.
Key product-selection rules:
- Use EPA List N products or 70% isopropyl alcohol on hard, nonporous surfaces (plastics, metal, glass).
- For porous surfaces (fabric, carpet), use products specifically labeled for porous materials.
- Follow the label’s dilution ratio exactly — stronger is not better and can damage surfaces.
- Check the label’s contact (wet) time and hold it. Reapply if the surface dries early.
Safety rules for handlers
- Alcohol is flammable. Keep it away from ignition sources, running engines, and open flames.
- Never mix disinfectants. Combining bleach with ammonia or hydrogen peroxide creates toxic gases.
- Store concentrated solutions in original, labeled containers. If you transfer to a spray bottle, label it immediately with the product name, dilution ratio, and date.
- Use nitrile gloves when handling any concentrate. Add eye protection when pouring.
Geotab’s fleet sanitization guidance notes that liquid and vapor application methods both require operator safety verification before use — fogging or electrostatic spraying in particular should never be done with the operator inside the vehicle.
How do you sanitize a car quickly between passengers?
For rideshare drivers and fleet operators with tight turnovers, a focused 2–5 minute wipe-down hits the surfaces that matter most without requiring a full clean-and-disinfect cycle.
2-minute focused protocol (4–5 hotspots):
- Wipe steering wheel with a pre-moistened EPA-registered wipe or 70% alcohol wipe.
- Wipe door handles, inside and outside.
- Wipe seat belt buckle.
- Wipe gear shifter and center console top.
- Open doors for 60 seconds of air circulation before the next passenger enters.
5-minute extended protocol (adds ventilation and secondary surfaces):
- Complete the 2-minute steps above.
- Wipe rear door handles and rear armrests.
- Wipe touchscreen and HVAC controls with a cloth dampened with 70% alcohol.
- Leave doors open for a full minute of ventilation.
The CA DGS fleet memo recommends cleaning and disinfecting commonly touched surfaces at the start and end of each trip as a baseline cadence — the between-rider wipe fills the gap between those scheduled events.
When a quick wipe is not enough: If a passenger was confirmed infectious, or if there is visible contamination, skip the quick protocol entirely. Pull the vehicle from service and run the full decontamination procedure described in the next section.
How should fleet managers build a sanitization SOP?
A fleet program needs two things a single-vehicle procedure does not: a documented cadence and a log that proves it happened. The fleet detailing workflow for managed fleets builds around exactly this two-tier structure.
Recommended cleaning cadence
- Start of shift: Quick wipe of high-touch surfaces, log entry.
- Between routes or passengers: 2–5 minute turnover protocol (see above).
- End of shift: Full clean-and-disinfect SOP, log entry.
- Weekly: Deep clean including fabric extraction, door jambs, and trunk/cargo area.
- After known exposure: Full decontamination protocol (see next section), vehicle removed from service until complete.
Fleet shift log template
| Field | What to record |
|---|---|
| Vehicle ID | Unit number or license plate |
| Date and time | Start time of cleaning event |
| Cleaner name | Staff member performing the procedure |
| Areas cleaned | List of surfaces covered (e.g., steering wheel, handles, console) |
| Product used | Product name and EPA registration number |
| Contact time observed | Actual wet time held (in seconds or minutes) |
| Verification initials | Supervisor or second staff member sign-off |
Staff training checklist
Every team member performing vehicle sanitization should be able to demonstrate:
- Correct PPE selection and donning/doffing sequence.
- Label reading: identifying contact time, dilution ratio, and surface compatibility.
- Safe chemical handling: no mixing, proper storage, secondary container labeling.
- Electronics care: cloth-application method, no direct spray.
- Ventilation steps: opening doors, using fans, waiting before re-entry.
- Log completion: filling every required field before moving to the next vehicle.
Scheduled fleet service programs that pair sanitization with routine maintenance intervals tend to maintain higher compliance rates because the cleaning event is built into an existing workflow rather than treated as a separate task.
Minimum supply staging per 5 vehicles
- 2 boxes of nitrile gloves (size-matched to staff)
- 3 packs of EPA-registered pre-moistened disinfectant wipes
- 2 bottles of 70% isopropyl alcohol (16 oz each)
- 1 bottle of automotive-safe pH-neutral cleaner
- 10 microfiber cloths (replace or launder after each full shift)
- 1 small handheld vacuum per vehicle or 1 portable unit per 5 vehicles
- 1 roll of small trash bags for waste disposal
- 2 labeled spray bottles for diluted solutions
What to do after a confirmed infectious exposure
This is the situation where the quick-wipe protocol fails you. A confirmed exposure requires a different level of PPE, longer ventilation, and careful waste handling.
Ventilation first
If exposure occurred within the past 7 days, ventilate the vehicle for at least 2 hours with doors and windows open before anyone enters to clean. If 2 hours is not feasible, maximize airflow and use full PPE from the moment you open the door.
Upgraded PPE for decontamination
- Disposable gown or coveralls
- Nitrile gloves (double-glove if handling visible contamination)
- Face shield or goggles plus an N95 or higher respirator
- Shoe covers if entering the vehicle
Decontamination steps
- Remove all removable items: floor mats, seat covers, cargo liners. Bag them in sealed plastic bags labeled as contaminated waste.
- Clean all surfaces with soap and water before applying disinfectant.
- Apply EPA-registered disinfectant at the label’s recommended concentration. Hold full contact time. Reapply if surfaces dry early.
- Avoid high-pressure sprayers. Forced aerosols push contaminants into electronics and HVAC systems.
- Dispose of all single-use PPE in a sealed bag immediately after exiting the vehicle.
- Wash hands thoroughly after removing gloves.
Pro Tip: For HVAC decontamination after a confirmed exposure, run the fan on high with windows open for 10 minutes after cleaning. This flushes residual aerosols from the duct system without requiring chemical treatment of the vents themselves.
Document the event in the fleet log with a specific “exposure event” flag, the date and time of the incident, the cleaning crew’s names, and the products used. Schedule a follow-up inspection 24–48 hours later.
When to call a professional C&D vendor
Take the vehicle out of service and escalate to an industrial cleaning and disinfection contractor when:
- There is visible biohazardous material (blood, vomit, or other bodily fluids) beyond a minor spill.
- The vehicle transported animals with a confirmed or suspected infectious disease.
- Heavy contamination has reached the HVAC system or under-seat areas.
- Your team lacks the PPE or training for the exposure type involved.
The CFSHP Iowa State C&D protocol for large-scale or animal-health scenarios adds wastewater containment and decontamination zone management to the standard steps — requirements that go well beyond what an in-house fleet team is typically equipped to handle.
Common mistakes that reduce effectiveness or damage vehicles
Most sanitization failures come down to sequence errors or wrong product choices, not effort.
Mistakes that reduce effectiveness:
- Applying disinfectant before vacuuming or cleaning. Organic debris neutralizes the active ingredient before it reaches the surface.
- Not holding contact time. Wiping and moving on in under 30 seconds means the disinfectant never reaches its kill rate.
- Using household multi-surface sprays that are not on EPA List N. Many common cleaners do not meet the efficacy threshold for pathogens.
- Spraying disinfectant directly onto electronics. Liquid seeps into ports and seams and causes corrosion or short circuits.
Mistakes that damage vehicles:
- Using bleach on leather or painted trim. It strips color, dries out leather grain, and etches clear coat.
- Over-wetting carpets or fabric seats. Excess moisture promotes mold growth within 24–48 hours.
- Mixing chemicals. Bleach plus ammonia produces chloramine gas; bleach plus hydrogen peroxide produces chlorine gas. Both are dangerous in an enclosed vehicle.
- Using abrasive scrubbers on soft plastics or screens. They leave permanent scratches.
Quick corrective actions:
- Overspray reached electronics: Power the vehicle down immediately. Wipe with a dry microfiber cloth. Leave doors open and ventilate for at least 30 minutes before powering back on. Log the incident.
- Leather appears dry or cracked after alcohol use: Apply a manufacturer-approved leather conditioner. Work it in with a soft cloth and allow it to absorb fully before the next use.
- Disinfectant dried before contact time elapsed: Reapply to the cloth and re-wet the surface. Do not spray directly. Record the reapplication in the log.
The step-by-step vehicle cleaning guide covers sequencing in detail and is worth bookmarking for new staff who are learning the order of operations.
What supplies do you need for a complete sanitization kit?
A well-stocked kit means you never skip a step because you ran out of something mid-vehicle.
Individual or mobile kit checklist:
- Nitrile gloves (at least 2 pairs per vehicle session)
- Safety glasses or face shield
- EPA-registered pre-moistened disinfectant wipes (1 canister per 2–3 vehicles)
- 70% isopropyl alcohol in a labeled spray bottle
- Automotive-safe pH-neutral all-purpose cleaner
- Microfiber cloths, minimum 6 per session (separate cloths for cleaning and disinfecting)
- Soft-bristle detailing brush for vents and crevices
- Small handheld vacuum or portable cordless unit
- Small trash bags for contaminated waste
- Leather conditioner (if vehicle has leather surfaces)
- Labeled secondary spray bottle for diluted solutions
Storage and transport rules:
- Keep all chemicals in their original labeled containers when possible.
- Store upright in a vented supply cabinet, not inside the vehicle cabin.
- Never store alcohol or flammable products near heat sources or in direct sunlight.
- Check expiration dates on disinfectants quarterly. Expired products may not meet label efficacy claims.
For a fleet unit of 5 vehicles, the minimum stock quantities from the fleet SOP section above apply. Scale linearly for larger fleets and audit stock weekly to avoid mid-shift shortages.
Sample SOP template and printable checklist
Copy and adapt this template for your shop, fleet office, or in-vehicle clipboard.
SOP template
Printable one-page checklist
Pre-shift (5 minutes):
- Gloves and PPE on
- Doors and windows open
- Remove items and vacuum
- Wipe high-touch surfaces with EPA-registered wipe or 70% alcohol cloth
- Log entry completed
Between-rider (2–5 minutes):
- Wipe steering wheel, door handles, seat belt buckle, shifter, console
- Open doors for 60 seconds
- Log entry if required by fleet policy
End of shift (15–20 minutes):
- Full vacuum, clean with soap and water, apply disinfectant
- Hold contact time on all high-touch surfaces
- Condition leather if applicable
- Dispose of used PPE and cloths
- Complete full log entry with supervisor sign-off
Adapting for vehicle class: A personal car follows the template above as written. A light commercial truck adds cargo area surfaces and any partition or divider. A bus or transit vehicle adds handrails, farebox touchpoints, overhead grab bars, and window latches, and typically requires a dedicated cleaning station adjacent to the vehicle rather than in-vehicle work. For large vehicles, the CFSHP Iowa State protocol recommends establishing decontamination zones and managing runoff, especially in animal-transport or biosecurity scenarios.
The commercial vehicle cleaning checklist from Cdcautodetailing covers the 6 core steps for fleet and commercial units and is a solid starting point before adapting to your specific vehicle class.
An honest take on what actually matters in the field
The procedure on paper is clean and logical. The reality in a fleet yard at 6 AM, with three drivers waiting and one vacuum that keeps losing suction, is messier. What separates teams that maintain compliance from those that drift is not the SOP document — it’s the two or three habits that get drilled until they’re automatic: gloves on before you open the door, cloth-to-surface instead of spray-to-surface, and contact time held every single time.
The cloth-application rule deserves more emphasis than it usually gets. Applying cleaning agents to the cloth rather than spraying directly onto surfaces reduces overspray risk into electronics and prevents excess liquid from soaking into leather or porous materials. That one habit alone eliminates the two most common damage complaints: fogged screens and cracked leather.
Repeated sanitization with alcohol-based products does stress vehicle finishes over time. A ceramic coating applied to interior hard surfaces creates a hydrophobic barrier that makes cleaning faster and reduces the volume of chemical needed per session — a practical consideration for high-frequency fleet cleaning programs.
Cdcautodetailing’s mobile detailing teams work under exactly these time and finish-protection constraints on every fleet contract in South Jersey. The mobile detailing implementation guide covers the operational setup for teams running multi-vehicle routes.
Professional fleet sanitization services from Cdcautodetailing
Running a fleet sanitization program in-house takes trained staff, stocked supplies, and consistent documentation. For South Jersey fleet operators and individual vehicle owners who want the procedure done right without managing it themselves, Cdcautodetailing offers mobile fleet detailing, scheduled sanitization contracts, and interior deep-cleaning services that follow the same EPA and CDC-aligned protocols covered in this article.

Fleet packages include shift-end cleaning, documented service logs, and ceramic coating options that reduce the chemical load needed for routine disinfection. Individual vehicle owners get the same thoroughness on a single-appointment basis, with no equipment to buy or store. Cdcautodetailing serves South Jersey from a mobile setup, which means the service comes to your location rather than pulling vehicles off-route.
To book a fleet consultation or a single-vehicle interior detail, visit the fleet detailing packages page or the auto detailing services overview to see the full range of available services and request a quote.
Sources
The following references are the authoritative starting points for any vehicle sanitization program. When product labels or vehicle manufacturer instructions conflict with generic guidance, follow the more specific source.
- WSDOT vehicle cleaning procedure
- Cleaning and disinfection: vehicles (CFSHP Iowa State)
- Vehicle cleaning & disinfecting guidance for COVID-19 (CA DGS fleet memo)
Always cross-reference the product label and your vehicle’s owner manual. Where they differ from generic guidance, the more specific instruction takes precedence.
This article is general information, not a substitute for advice from a qualified doctor. Consult a qualified healthcare professional about your own circumstances before acting on anything here.