
TL;DR:
- In South Jersey, car paint can lose its mirror-like gloss within weeks due to salt, humidity, and UV exposure. Proper washing, decontamination, and protective products like wax, sealant, or ceramic coatings extend shine longevity, but consistent maintenance is essential. Regular safe cleaning routines and professional assistance help preserve your vehicle’s appearance amidst tough seasonal conditions.
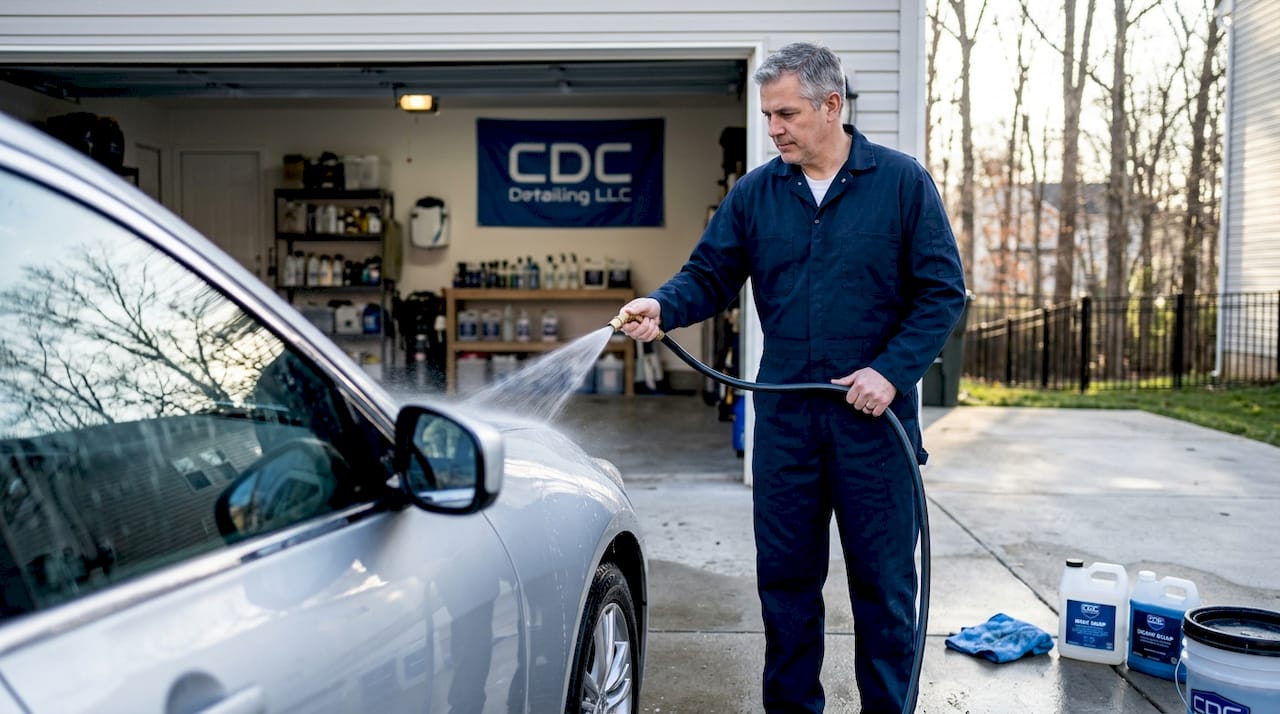
That deep, mirror-like gloss you love right after a fresh detail? In South Jersey, it can start fading within weeks. Between road salt in January, humid summers, and daily UV exposure, your car’s paint takes a real beating. The good news is that with the right products, preparation steps, and seasonal awareness, you can hold onto that showroom shine far longer than most drivers expect. This guide covers professional-grade techniques tailored specifically for the conditions South Jersey car owners face every single year.
Table of Contents
- Tools and products you need to protect your car’s shine
- Step-by-step: Wash and prep for a swirl-free, glossy finish
- Wax, sealant, or ceramic? Find your best shine protection
- Special shine strategies for New Jersey winters: Salt and decontamination
- How to keep your shine lasting: Routine maintenance and inspection
- The uncomfortable truth about maintaining car shine in South Jersey
- Get professional help: Detailing and shine solutions for South Jersey
- Frequently asked questions
Key Takeaways
| Point | Details |
|---|---|
| Prep is everything | Always wash and decontaminate your car before applying any shine protection for the best results. |
| Choose the right layer | Pick wax, sealant, or ceramic coating based on your desired balance of shine, effort, and protection. |
| NJ winters require special care | Targeted cleaning and protection throughout salt season keep shine and prevent long-term damage. |
| Regular routine wins | Maintaining shine year-round requires ongoing safe wash habits, quick inspections, and touch-ups between full details. |
| Professional help boosts results | Expert detailing ensures proper prep, application, and protection for a long-lasting, showroom finish. |
Tools and products you need to protect your car’s shine
You can spend money on the finest ceramic coating available, but if you’re washing your car with a worn sponge and a single dirty bucket, you’re grinding swirl marks into your paint every time. Getting the right tools together first is not optional.
Here’s what belongs in your detailing kit:
- Two wash buckets with grit guards to keep contamination out of your clean soapy water
- Paint-safe wash mitts made of microfiber or lambswool
- pH-neutral car shampoo that won’t strip existing wax or sealant
- Dedicated wheel cleaner and separate wash tools for wheels only
- Microfiber drying towels (plush, at least 400 GSM) for streak-free, scratch-free drying
- Clay bar and lubricant for decontaminating embedded surface particles
- Paste wax or spray wax for baseline protection and gloss
- Paint sealant for longer-lasting synthetic protection
- Ceramic coating kit if you want multi-year durability (see Section 4)
To maintain car shine, always start with a thorough pre-rinse, wash with clean tools, and dry completely with microfiber to prevent scratches and water spots. This single habit separates cars that look sharp at 60,000 miles from ones that look tired at 20,000.
Pro Tip: Always use two separate buckets during your wash, one for soapy water and one for rinsing your mitt. A grit guard at the bottom of each bucket traps loose dirt so it doesn’t get picked back up and dragged across your paint.
| Tool or product | Purpose | Key tips |
|---|---|---|
| Microfiber wash mitt | Lifting dirt safely | Replace when worn or pilled |
| pH-neutral shampoo | Cleaning without stripping protection | Avoid dish soap at all costs |
| Grit guard buckets | Preventing swirl marks | Use two buckets every time |
| Clay bar | Removing bonded contamination | Lubricate generously, work in small sections |
| Microfiber drying towel | Spotless, scratch-free drying | Use a blotting motion, not wiping |
| Spray detailer | Quick gloss refresh between washes | Lightly mist and buff with clean microfiber |
Following detailing best practices also means keeping your tools clean between uses. One contaminated microfiber can do more damage than a week of neglect. You should also pay attention to small details like cleaning car emblems, since grime trapped around badges and trim seams can degrade surrounding paint over time.
Step-by-step: Wash and prep for a swirl-free, glossy finish
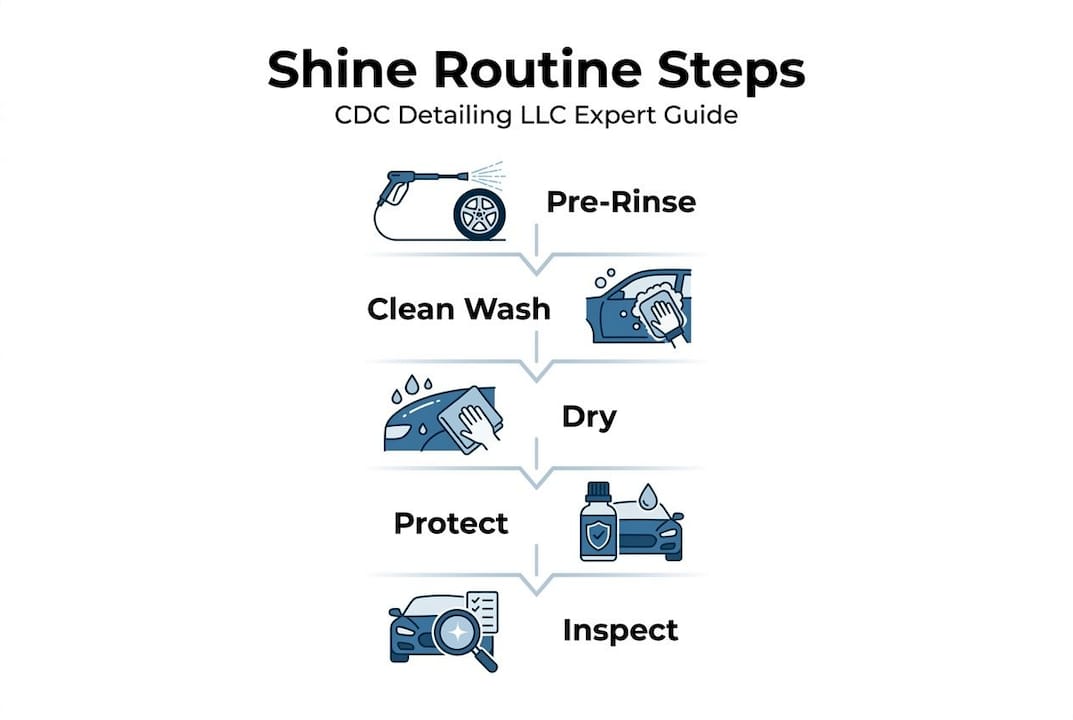
Even if you have professional-grade products, cutting corners during the wash will cost you gloss. A contaminated surface traps shine-killers under every layer of protection you apply. Here is the full wash-and-prep sequence used by professional detailers:
- Pre-rinse the entire car with a strong stream to knock off loose dirt, dust, and debris before touching the paint at all.
- Clean the wheels first using a dedicated wheel cleaner and separate brushes or mitts. Wheels carry brake dust and metallic particles that will contaminate your paint tools if mixed.
- Apply foam or pre-wash to the paint panels if available, letting it dwell to loosen surface grime before contact washing begins.
- Wash panel by panel using your clean microfiber mitt and fresh soapy water, starting at the roof and working down to the dirtiest lower panels last.
- Decontaminate with a clay bar after rinsing, especially if the paint feels rough or gritty. Glide the clay with generous lubricant until each panel feels as smooth as glass.
- Rinse thoroughly to remove all soap residue, which can dull the finish if left behind.
- Dry immediately with a large, plush microfiber towel using a blotting or gentle dragging motion. Water left to evaporate creates mineral deposits and water spots that etch the surface over time.
Proper preparation before applying any protective product makes a measurable difference in how long and how deeply your finish shines. Skipping steps here means your sealant or wax is sitting on top of contamination, reducing both clarity and durability.
“Shortcuts at the wash stage can trap contaminants and scratch, sabotaging your shine.”
Pro Tip: Before each wash, physically inspect your mitt and towels for any trapped grit or debris. Running your fingers through the fibers takes ten seconds and can save your clear coat from dozens of micro-scratches.
These spring detailing tips apply during any season reset, not just spring. Any time you’re transitioning into a new protection application, running through this full prep sequence is the move.
Wax, sealant, or ceramic? Find your best shine protection
Not all protection products deliver the same results, and choosing the wrong one for your lifestyle means more frequent reapplication or disappointing longevity. Here is how the three main options stack up.
| Protection type | Shine level | Longevity | Maintenance level | Relative cost |
|---|---|---|---|---|
| Paste or spray wax | Warm, deep gloss | 4–8 weeks | High (frequent reapplication) | Low |
| Paint sealant | High, consistent gloss | 6–12 months | Moderate | Medium |
| Ceramic coating | Extremely sharp, glass-like | 2–5+ years | Low (mostly maintenance washes) | Higher upfront |
Wax is ideal if you enjoy frequent detailing sessions and want maximum warmth in your paint’s appearance. It is forgiving to apply, easy to remove, and relatively affordable. The tradeoff is that you’ll be reapplying every couple of months, especially through South Jersey’s brutal summer UV and winter salt season. Learn more about why waxing your car matters before deciding if it fits your routine.
Paint sealants offer a more practical solution for most drivers. Sealants provide longer-lasting protection of about 6 to 12 months and enhanced gloss compared to traditional wax. They bond chemically to your clear coat rather than just sitting on top of it, making them more durable in harsh weather. Check out the full breakdown of paint sealant benefits to see if this is the right long-term strategy for your vehicle.
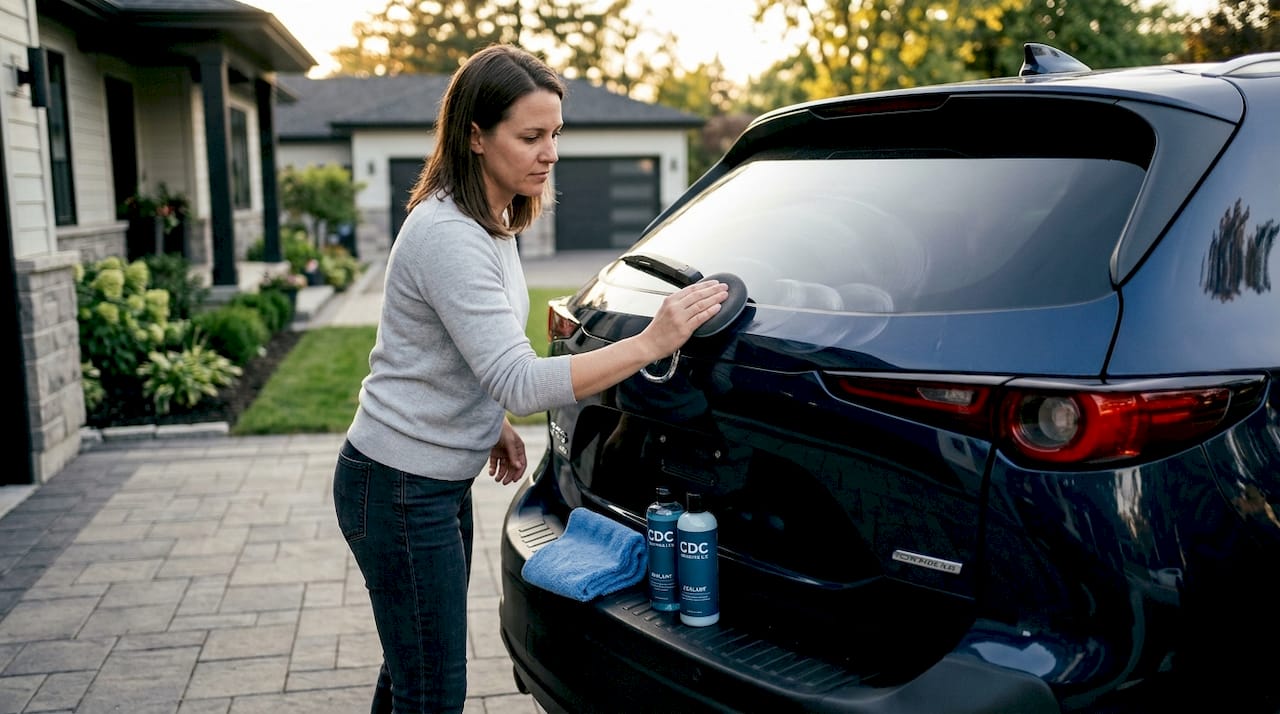
Ceramic coatings sit at the top of the protection pyramid. A properly applied ceramic coating can last up to five years when the surface is correctly prepared and the coating fully cures. However, ceramic coating prep and cure discipline matters significantly for long-term shine: expect at least 24 hours before exposing the car to water, with full strength taking several additional days or longer.
The best choice comes down to your schedule and how hands-on you want to be. If you want a clear, objective comparison, our wax vs ceramic guide breaks it down without the hype.
Quick pros and cons:
- Wax pros: Affordable, easy, warm visual glow
- Wax cons: Short-lived, strips easily, needs frequent reapplication
- Sealant pros: Longer-lasting, easy to maintain, good all-weather performance
- Sealant cons: Can lack the warmth/depth of wax
- Ceramic pros: Multi-year protection, extreme hydrophobicity, glass-like clarity
- Ceramic cons: Higher cost, prep-intensive, less forgiving if applied over contamination
Special shine strategies for New Jersey winters: Salt and decontamination
South Jersey winters are not just cold. They are chemically aggressive. Road salt, brine pre-treatment spray, and accumulated sludge cling to your paint, rocker panels, badge seams, and wheel barrels long after the snow melts. The damage happens quietly, underneath your existing protection layer, and by the time you notice dull paint or early corrosion, the harm is already done.
“Don’t wait until your shine looks dull. NJ salt can damage beneath the surface.”
Areas that need the most attention during and after winter:
- Lower door panels and rocker panels where salt slush splashes directly
- Wheel faces and inner barrels where brake dust and salt combine aggressively
- Badge and trim seams where salt water traps and pools against the metal
- Front bumper and hood leading edge where road spray hits hardest
- Underbody and wheel wells often overlooked but equally vulnerable
Salt-focused cleaning and decontamination followed by fresh protection applied afterward is the proven approach to recovering full gloss after a harsh NJ winter. Waiting until spring to deal with salt exposure can mean dealing with paint contamination that has already started working against your clear coat.
| Seasonal action | When to do it | Key tasks |
|---|---|---|
| Pre-winter protection | Late October to November | Apply sealant or ceramic refresh, treat seams and wheels |
| Mid-winter salt removal | After heavy storms | Rinse salt buildup, re-spray sealant on vulnerable panels |
| Spring decontamination | March to April | Full clay bar, iron decontamination, fresh protection layer |
Pre-treating and removing salt film on high-contact areas like lower doors, wheel faces, and badge trim seams throughout the winter season prevents the kind of embedded contamination that takes serious correction to remove later.
For ceramic-coated vehicles, read up on winter ceramic maintenance tips since coated cars still need regular rinses during heavy salt periods to keep the coating performing correctly. After the season passes, revisit those spring exterior detailing tips to fully reset your finish.
How to keep your shine lasting: Routine maintenance and inspection
Achieving brilliant shine once is satisfying. Keeping it for the next two years takes habits, not heroics. The following routine is sustainable for most car owners and keeps professional results looking fresh between major detailing appointments.
Weekly and monthly maintenance:
- Rinse the car every 7 to 10 days during heavy salt or pollen seasons
- Full wash with proper two-bucket method every 2 to 3 weeks
- Apply a spray detailer or quick wax after every wash to refresh gloss and hydrophobicity (the way water beads and sheets off the surface)
- Monthly inspection of paint condition, including running clean fingertips over the surface to check for roughness or contamination
- Seasonal review of protection condition every 3 months, with fresh sealant applied when needed
Signs that your protection needs a refresh:
- Water no longer beads tightly and rolls off the surface
- The surface feels gritty or rough even after washing
- Visual gloss looks flat or hazy under direct sunlight
- Dirt and bird droppings seem to stick more stubbornly than before
Pro Tip: A spray detailer used after every wash costs pennies per application and dramatically extends how long your wax or sealant performs. It adds a thin fresh layer of gloss and hydrophobicity without requiring a full reapplication.
Before sealing any protection layer over your existing paint, remove embedded contamination and correct any paint defects first. Otherwise, you’re permanently locking imperfections under your new protection, making them far harder to remove later. Learning to maintain ceramic protection is just as important as the initial application.
The uncomfortable truth about maintaining car shine in South Jersey
Here is something most detailing content glosses over: the single biggest factor in long-term shine is not which coating you use. It is whether you wash safely and consistently. We have seen brand-new ceramic coatings on cars that look worse after six months than a regularly waxed car with careful wash habits. The routines matter more than the product.
South Jersey’s climate is genuinely tough on cars. The combination of cold salt winters, humid summers, spring pollen dumps, and UV exposure from June through September creates a cycle that works against your finish from multiple directions simultaneously. No product eliminates that. Every protection solution requires your ongoing involvement.
“It’s not about using the fanciest coating, but about routines, safe washing, and knowing your local threats.”
Ceramic coatings are exceptional when properly applied and maintained. But drivers who invest in them expecting a permanent, hands-off solution often feel let down six months in when the car looks less impressive than expected because they stopped washing consistently. The coating did not fail. The routine did.
Our honest take after years of serving South Jersey: start with solid wash habits, apply at least a quality sealant every 6 months, and use a ceramic coating when you are ready to commit to the prep work and the ongoing maintenance that makes it perform as advertised. Read through the full breakdown of ceramic coating steps before deciding if you’re ready to take that step. Skipping the prep phase is the most common reason ceramic coatings underperform in the real world.
The best-looking cars on South Jersey roads are not always the ones with the most expensive protection. They are the ones with owners who wash carefully, inspect regularly, and act before problems get worse.
Get professional help: Detailing and shine solutions for South Jersey
Knowing every step is great. Having a professional execute all of it with precision is even better. Whether your paint needs deep decontamination after a rough winter, paint correction to remove swirl marks before sealing, or a full multi-year ceramic coating installation, having an expert handle the process means you get maximum results without the guesswork.

CDC Auto Detailing serves car owners across South Jersey with mobile detailing services that come directly to your driveway. From thorough exterior prep and detailing service examples to precision ceramic applications, we handle the heavy lifting so your car’s finish performs at its absolute best. If you’re ready to stop guessing about products and let an experienced team handle your paint protection properly, explore our full ceramic coating guide and reach out to schedule your appointment.
Frequently asked questions
How often should I reapply wax or sealant for the best shine?
Most experts recommend reapplying wax every 2 to 3 months and sealant every 6 to 12 months. Sealants provide longer-lasting protection of roughly 6 months to a year alongside enhanced gloss compared to traditional wax.
Can I put ceramic coating over wax or sealant?
No. You must strip all existing wax or sealant and fully decontaminate the paint before applying ceramic. Skipping this step seals in imperfections and prevents the coating from bonding correctly to the clear coat.
What’s the fastest way to refresh my car’s gloss between full waxes?
Use a quality spray detailer or quick-detail wax right after your regular wash. It takes about five minutes, boosts gloss noticeably, and keeps the surface hydrophobic until your next full wax session.
Is washing my car more often in winter really necessary?
Yes, especially in South Jersey. Salt-focused cleaning and reapplying protection afterward prevents road chemicals from eating through your finish and underlying paint layers during the season.
How do I know if my car needs decontamination before waxing or sealing?
Run clean, dry fingertips across a freshly washed panel. If the surface feels rough or bumpy rather than silky smooth, clay barring and iron removal are needed before you apply any new protection product.
Recommended
- 7 Essential Detailing Maintenance Tips for Perfect Results
- Step-by-step vehicle cleaning: master car care in 7 steps
- Interior cleaning step by step: keep your car pristine
- Preparing your vehicle for spring: Essential exterior detailing tips – CDC Detailing
- Nettoyage Intérieur Véhicule OFFERT chez Freeglass | Lavage habitacle