TL;DR:
- Fleet window tinting protects interiors, improves appearance, and enhances driver comfort.
- Proper planning, professional materials, and thorough prep ensure durable, compliant results.
- Regular maintenance and adherence to legal standards prolong tint longevity and uphold fleet image.
Fleet vehicles in South Jersey take a beating from the sun. Fading interiors, overheated cabins, and rising maintenance bills are real costs that add up fast across a large fleet. UV exposure alone can crack dashboards, bleach upholstery, and push air conditioning systems to work harder than they should. A structured window tinting process addresses all of this while improving how your vehicles look on the road. This guide walks you through every stage, from assessing your fleet’s needs to post-install care, so you can make confident decisions and keep your operation running smoothly.
Table of Contents
- Assessing fleet needs and planning the tinting project
- Tools, materials, and prerequisites for fleet tinting
- Step-by-step window tinting process for fleets
- Compliance, quality checks, and maintenance after installation
- Why fleet window tinting is more strategic than you think
- Upgrade your fleet with professional window tinting services
- Frequently asked questions
Key Takeaways
| Point | Details |
|---|---|
| Planning is critical | Map out fleet needs and select the right tint types before starting. |
| Prep and tools matter | Using professional-grade materials and thorough surface prep leads to lasting results. |
| Professional installation pays off | Expert tinting ensures compliance, aesthetics, and consistent protection across your fleet. |
| Compliance avoids headaches | Always check and follow New Jersey window tinting laws to prevent fines and costly rework. |
| Aftercare extends value | Routine inspections and proper cleaning help tinted windows look and perform like new for years. |
Assessing fleet needs and planning the tinting project
Before anyone applies a single strip of film, you need a clear picture of what your fleet actually requires. Start by taking inventory. List every vehicle, note the window configurations, and flag any that already have old or damaged tint. Vans, box trucks, and sedans all have different window shapes and surface areas, and that affects both material costs and installation time.
Next, define your primary goals. Are you focused on UV protection to preserve interiors? Do you need privacy tint for cargo vehicles? Is brand consistency a priority, where every vehicle in your fleet looks uniform? Or are you dealing with driver comfort complaints on long routes? Your answers will shape which window tinting options make the most sense for your situation.
Here is what to evaluate during your planning phase:
- Number of vehicles and window count per unit
- Primary use case: passenger comfort, cargo privacy, or brand appearance
- Current tint condition: removing old film adds time and cost
- New Jersey VLT (visible light transmission) limits for commercial vehicles
- Operational schedule: which vehicles can be taken offline and when
Cost and downtime are the two variables that trip up most fleet managers. Fleet project planning insights show that batching vehicles by route schedule reduces disruption significantly. If your delivery trucks run Monday through Friday, weekends are your window.
As noted in window tinting advantages, professional tinting improves fleet aesthetics and provides measurable UV protection, making it a practical investment rather than a cosmetic upgrade.
Pro Tip: Schedule tinting during off-peak hours or stagger vehicles by department so your fleet stays operational throughout the project.
A solid plan also sets realistic expectations with your service provider. When you show up knowing your vehicle count, goals, and schedule constraints, the project moves faster and the results are more consistent. Treat this phase like any other fleet tinting step-by-step project and it will pay off.
Tools, materials, and prerequisites for fleet tinting
With your fleet plan in place, the next step is understanding the materials and setup needed for consistent results. Whether you are working with a professional service or evaluating what a DIY approach would involve, knowing the difference matters.
Here are the core tools and materials involved in any quality tint installation:
- Tint film: ceramic, carbon, dyed, or metalized, each with different heat rejection and durability ratings
- Slip solution: a water and soap mix that allows the film to slide into position
- Hard card and squeegee: used to press out air and water during application
- Heat gun or torch: helps the film conform to curved surfaces
- Cutting tools: precision blades or plotters for clean edges
- Lint-free cloths and glass cleaner: critical for a contamination-free surface
The table below shows how professional and DIY approaches compare across key factors:
| Factor | Professional service | DIY approach |
|---|---|---|
| Film quality | Commercial-grade, warranty-backed | Consumer-grade, limited warranty |
| Installation time per vehicle | 1 to 3 hours | 3 to 6 hours |
| Risk of bubbles or peeling | Very low | Moderate to high |
| Compliance accuracy | Verified against NJ VLT laws | Relies on self-research |
| Long-term durability | 5 to 10 years | 2 to 5 years |
Vehicle prep is just as important as the materials. Window tint application tools only perform well on properly prepared surfaces. Before installation begins, windows must be thoroughly cleaned to remove dust, grease, and any adhesive residue from previous tint. The work area should be dry, dust-free, and ideally enclosed to prevent contamination.
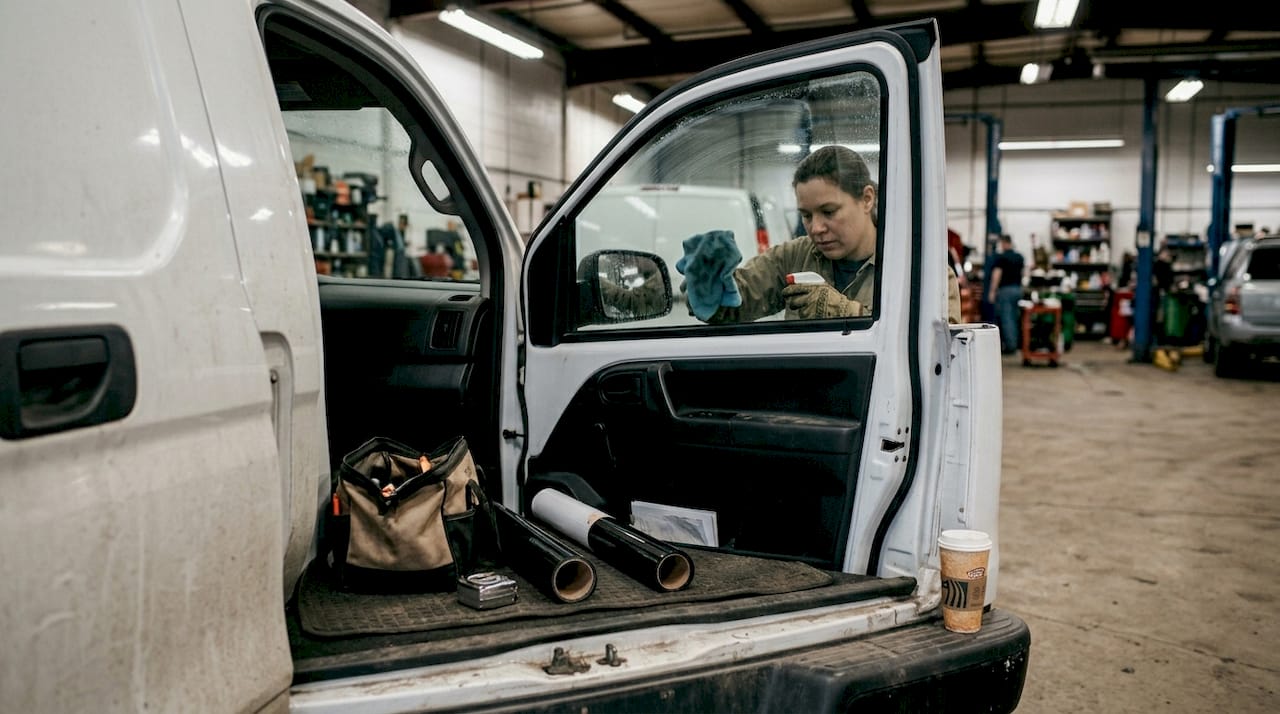
As covered in fleet tinting methods, proper preparation and professional-grade materials are essential for consistent results across every vehicle in your fleet. Cutting corners on prep is the fastest way to end up with peeling film three months later.
For a deeper look at what quality installation requires, the window tinting essentials resource covers film specs and prep standards in detail.
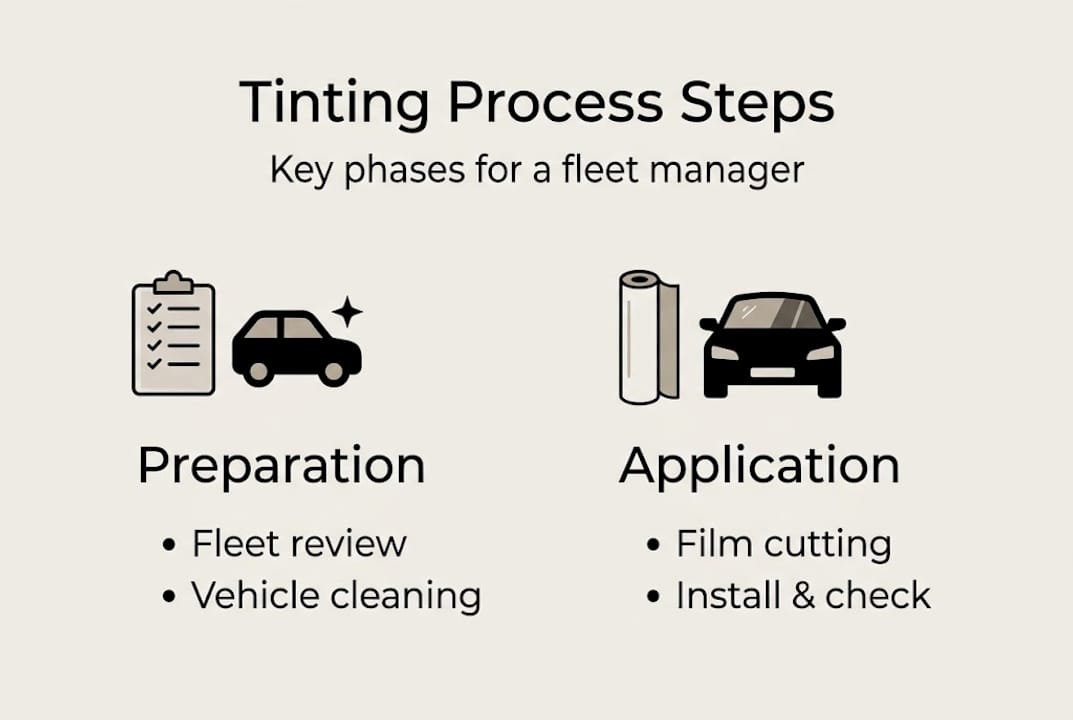
Step-by-step window tinting process for fleets
Now, let’s break down the process your tinting professional should follow for best results. Each stage builds on the last, and skipping steps is how you end up with warranty claims.
- Clean the glass thoroughly. Use a lint-free cloth and ammonia-free cleaner to remove all contaminants. Any debris left on the surface will show through the film.
- Measure and cut the film. The film is sized to match each window, leaving a small margin for trimming. Precision here prevents gaps and exposed edges.
- Apply the slip solution. Spray both the glass and the adhesive side of the film so it can be repositioned during placement.
- Position and press the film. Starting from the top, lay the film onto the wet glass and use a squeegee to push out water and air from the center outward.
- Trim the edges. Use a sharp blade to cut the film flush with the window frame. Clean edges prevent lifting over time.
- Final squeegee pass. Remove remaining moisture and smooth any remaining imperfections.
- Allow to cure. Do not operate the windows for at least 48 to 72 hours. Small water bubbles may appear initially and will clear as the film dries.
As outlined in the window tinting process, step-by-step professional installation ensures longevity and compliance. Rushing the cure phase is one of the most common mistakes.
For fleet managers weighing their options, here is how mobile service compares to a shop-based setup:
| Factor | Mobile tinting service | Shop-based tinting |
|---|---|---|
| Convenience | Comes to your location | Vehicles must be driven in |
| Speed for large fleets | Can run parallel installs | Sequential, one at a time |
| Cost | Slightly higher per vehicle | Often lower per unit |
| Environmental control | Weather-dependent | Controlled indoor environment |
“The best tint job is the one done right the first time. Rushing curing or skipping prep turns a five-year film into a two-year problem.”
For additional tinting best practices and guidance on film selection, check the detailed finishing guide.
Pro Tip: Stagger your vehicles so half the fleet is being tinted while the other half stays on the road. This keeps operations moving without a full shutdown.
For more professional window tinting tips from industry specialists, the Window Film Magazine resource is worth bookmarking.
Compliance, quality checks, and maintenance after installation
Once tinting is complete, ongoing compliance and care protect your investment. This phase is where many fleet managers drop the ball, and it shows up months later in fines or failed inspections.
Start with an immediate post-install inspection. Check every vehicle for:
- Air bubbles that did not resolve within 72 hours
- Edge lifting or film that is not flush with the frame
- Cuts or scratches in the film surface
- Uneven tint density across the window
New Jersey window tinting laws set specific visible light transmission limits for commercial vehicles. For front side windows, the minimum VLT is 70%, meaning the film must allow at least 70% of light through. Rear windows on vans and trucks may have different allowances. Always verify with your installer before finalizing the film spec.
As explained in window tint legal requirements, tint laws and aftercare routines are vital for fleet compliance and tint longevity. Non-compliant tint can result in fines and mandatory removal, which costs more than getting it right the first time.
Statutory note: Installing tint that does not meet New Jersey’s VLT standards on commercial vehicles can result in citations, failed inspections, and required film removal at the owner’s expense.
For initial care, avoid cleaning windows for at least three to five days after installation. When you do clean them, use a soft cloth and ammonia-free cleaner. Ammonia breaks down the adhesive over time and causes premature peeling.
Long-term maintenance is straightforward. Clean windows monthly, inspect edges quarterly, and address any lifting immediately before it spreads. Pair your tinting schedule with your regular fleet window care basics routine so nothing gets overlooked.
Why fleet window tinting is more strategic than you think
Most fleet managers think about window tinting as a one-time upgrade. Apply it, check the box, move on. But that view misses something important.
The spec you choose tells a story about your brand. A fleet of vehicles with mismatched tint darkness, faded film, or visible bubbles signals that maintenance standards are inconsistent. That matters to clients who see your vehicles on the road every day. It matters to drivers who spend hours inside those cabins. And it matters to anyone evaluating your operation’s attention to detail.
Window tinting done well integrates with your broader fleet presentation strategy. When you pair it with scheduled detailing and consistent vehicle appearance standards, it reinforces professionalism at every touchpoint. We have seen firsthand how business image and fleet care decisions compound over time. A well-maintained fleet generates trust before a single conversation happens.
The strategic angle is this: tinting is not just about heat or privacy. It is a visible commitment to quality that your clients and drivers notice.
Upgrade your fleet with professional window tinting services
If you manage a fleet in South Jersey and want results that hold up legally and visually, working with a professional makes the difference. CDC Auto Detailing specializes in fleet window tinting and related protection services, bringing the expertise to handle multiple vehicles efficiently while keeping your operation on schedule.

From window tinting services that meet New Jersey compliance standards to full solutions for enhancing fleet image, we handle the details so you do not have to. Ready to get started? Book a fleet consultation and get a quote tailored to your vehicle count and schedule. Professional results, zero guesswork.
Frequently asked questions
How long does it take to tint an entire fleet?
Most professional providers can complete 10 to 20 vehicles in one to two days, depending on fleet size and scheduling. As noted in the fleet tinting guide, efficient scheduling is key to minimizing downtime.
Is commercial window tinting legal on all fleet vehicles in New Jersey?
Yes, but specific VLT limits apply, especially for front windows on commercial vehicles. Always verify your film spec against current NJ tint laws before installation.
What is the difference between professional and DIY fleet window tinting?
Professional tinting uses higher-grade film and delivers warranty-backed results with verified compliance. DIY may reduce upfront cost but carries a higher risk of bubbles, peeling, and non-compliant darkness levels, as outlined in the fleet tinting methods guide.
Does window tint help with energy costs in fleet vehicles?
Yes. Quality tint reduces interior heat buildup, which eases the load on your AC system and can lower fuel or energy consumption over time. The UV protection benefits extend to climate control savings as well.
How soon can windows be cleaned after tinting?
Wait at least three to five days before cleaning tinted windows to allow the film to fully cure. Use ammonia-free cleaner and a soft cloth, as detailed in the flawless finish guide.