TL;DR:
- Proper tools and automotive-specific cleaners are essential for effective stain removal.
- Follow gentle, step-by-step procedures tailored to each surface to prevent damage and mold.
- Regular maintenance and professional detailing enhance long-term stain resistance and interior preservation.
A single coffee spill or muddy footprint can make your car’s interior look years older in seconds. Beyond the visual hit, unaddressed stains quietly chip away at your vehicle’s resale value and your pride of ownership. Whether you’re dealing with grease on fabric seats, bird droppings etched into your paint, or mystery spots on your carpet, this guide walks you through proven, safe, and effective removal techniques for every surface. You’ll get step-by-step methods for both interiors and exteriors, expert shortcuts, and smart prevention strategies built specifically for South Jersey vehicle owners.
Table of Contents
- What you need before you start: Tools and cleaning products
- Removing interior stains: Steps for fabric, carpet, leather, and vinyl
- Removing exterior stains: Bug, tar, sap, water spots, and more
- Preventing stains: Maintenance strategies for South Jersey vehicles
- Why most DIY stain removal mistakes are about process, not products
- How professional detailing keeps your car stain-free
- Frequently asked questions
Key Takeaways
| Point | Details |
|---|---|
| Right tools matter | Using automotive-specific products and soft tools protects your car’s surfaces and improves results. |
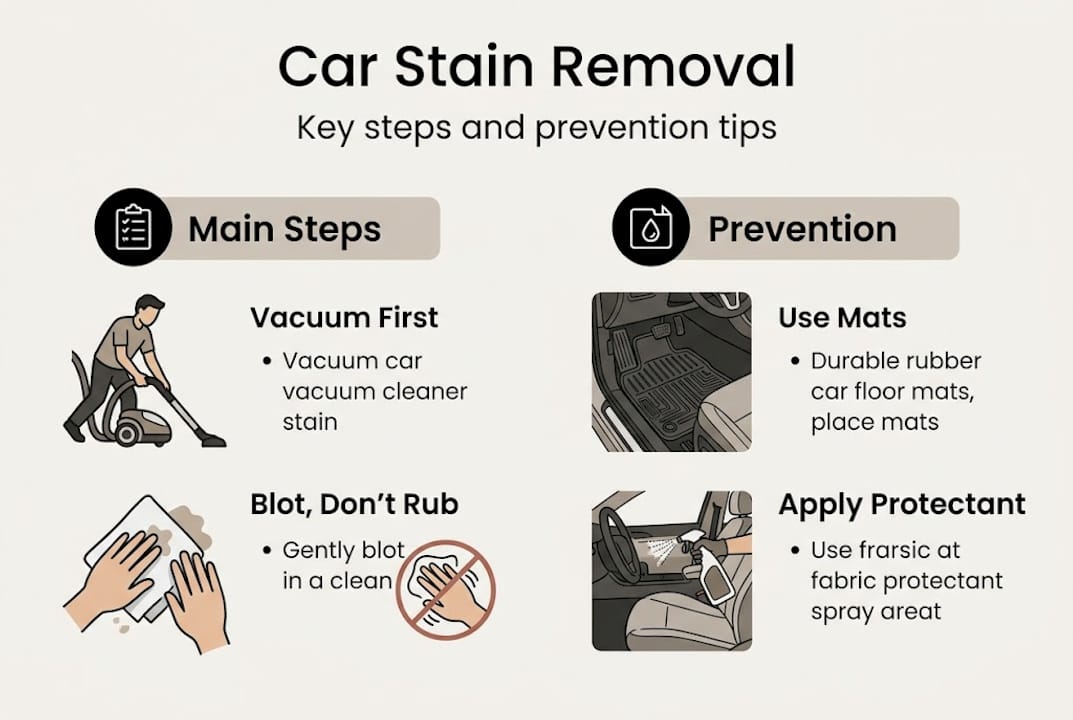
| Blot, don’t rub | Blotting stains lifts them safely, while rubbing spreads or embeds them deeper. |
| Quick drying prevents mold | In humid places like South Jersey, thorough drying is crucial to prevent musty smells and mold growth. |
| Prevention beats reaction | Regular upkeep, protectants, and fast cleanup keep stains from setting and make maintenance easier. |
What you need before you start: Tools and cleaning products
Before you touch a stain, having the right tools and products on hand makes all the difference. Grabbing the wrong cleaner or skipping prep is how good intentions turn into ruined upholstery.
Essential tools to have ready:
- Microfiber towels (several, for blotting and wiping)
- Soft-bristle detailing brush
- Spray bottles (for diluting cleaners)
- Wet/dry vacuum or shop vac
- Plastic scraper or spoon (for solid debris)
- Bucket with clean water
- Protective gloves
When it comes to cleaning products, the choice between automotive-specific cleaners and household remedies matters more than most people realize. Household cleaners risk damaging interiors, which is why automotive-formulated products are always the smarter call. Dish soap, bleach, and all-purpose sprays can strip protective coatings, fade fabric dyes, or dry out leather.
| Product type | Best for | Examples |
|---|---|---|
| Enzyme cleaner | Organic stains (food, urine, blood) | Biokleen, Chemical Guys Enzymatic |
| Solvent-based cleaner | Oil, grease, tar | Griot’s Garage Interior Cleaner |
| Foam upholstery cleaner | Fabric and carpet | Chemical Guys Lightning Fast |
| Leather cleaner | Leather and vinyl seats | Leather Honey, Meguiar’s Gold Class |
| pH-neutral car shampoo | Exterior paint and glass | Chemical Guys Mr. Pink |
Commercial products outperform home remedies in real-world tests. Enzyme cleaners are your best weapon for organic stains, while solvent-based formulas cut through oil and grease far more reliably than baking soda or vinegar. For a closer look at gentler options, natural stain removers can work for light, fresh stains but rarely match commercial products on set-in messes.
South Jersey’s humid summers and wet winters add another layer of complexity. Moisture lingers in fabrics longer here, so choosing fast-drying formulas and having a solid interior detailing checklist before you start saves time and prevents mold.
Pro Tip: Always test any cleaner on a hidden spot first, like under the seat or inside a door panel, and wait two minutes before applying it to the stain. This one step prevents most accidental damage.
Removing interior stains: Steps for fabric, carpet, leather, and vinyl
With your tools prepped, let’s move step by step through stain removal for every type of interior surface. The process changes slightly depending on the material, but the core principle stays the same: work gently, stay patient, and never rush.
For fabric seats and carpet:
- Vacuum the stained area to remove loose debris and dry particles.
- Test your chosen cleaner in a hidden spot and wait two minutes.
- Apply the cleaner lightly to the stain, avoiding oversaturation.
- Agitate gently with a soft-bristle brush using small circular motions.
- Blot the area firmly with a clean microfiber towel. Never rub.
- Repeat steps 3 through 5 until the stain lifts.
- Extract remaining moisture with a wet/dry vacuum.
- Allow to air dry completely before closing the car.
This standard interior fabric process is the backbone of professional stain removal. Skipping the vacuum step or jumping straight to scrubbing pushes the stain deeper into the fibers.
For leather and vinyl:
- Wipe away surface debris with a dry microfiber cloth.
- Apply a small amount of leather-specific cleaner to a soft cloth, not directly to the seat.
- Wipe the stain gently, using light pressure.
- Buff dry immediately with a clean towel.
- Follow up with a leather conditioner to restore moisture.
Important: Oversaturating upholstery or carpet creates a serious mold and mildew risk, especially in South Jersey’s humid climate. Damp cushions trap moisture for days if not dried properly.
For more detailed interior cleaning steps tailored to different seat types, working through a structured workflow helps you avoid missing surfaces. You can also follow a complete interior cleaning workflow to stay organized. For those who prefer gentler solutions, natural upholstery cleaning methods can complement your routine.
In South Jersey’s humid climate, prioritize quick drying and fabric protectants after every cleaning session to repel future stains and prevent mold from taking hold.
Pro Tip: Open all car doors and windows during and after cleaning. Better airflow cuts drying time significantly and dramatically reduces mold risk in humid conditions.
Removing exterior stains: Bug, tar, sap, water spots, and more
After tackling every inch of your car’s interior, let’s step outside to deal with common and stubborn exterior stains. Paint is more forgiving than most people think, but only if you use the right approach in the right order.
Step-by-step exterior stain removal:
- Rinse the affected area with clean water to remove loose dirt.
- Apply the appropriate stain remover (bug remover, tar remover, or iron remover).
- Let the product dwell for the time listed on the label, usually two to five minutes.
- Gently wipe or lift the contaminant with a microfiber towel.
- Wash the entire panel with a pH-neutral car shampoo.
- Run your fingers over the paint. If it feels rough or gritty, use a clay bar.
- Polish only if the paint shows visible etching or dull spots.
- Finish with a coat of wax or paint sealant to protect the surface.
For exterior paint stains like bug splatter and tar, this rinse-first approach prevents grinding contaminants into the clear coat during removal.
| Stain type | Recommended product | Dwell time | Follow-up step |
|---|---|---|---|
| Bug splatter | Bug and tar remover | 2 to 3 min | Wash and wax |
| Tar/road grime | Tar remover spray | 3 to 5 min | Clay bar if needed |
| Tree sap | Isopropyl alcohol (70%) | 1 to 2 min | Wash and wax |
| Water spots | White vinegar or water spot remover | 2 to 3 min | Polish if etched |
| Bird droppings | Dedicated bird dropping remover | Immediate | Wash and wax |
Using the least aggressive method first protects your clear coat. Start with a wash, move to a chemical remover, then clay bar, and only polish if the stain has etched the paint. Always protect with wax afterward.
Act immediately on acidic stains like bird droppings and bug splatter. The acid in these materials begins etching clear coat within hours on a hot South Jersey summer day.
For guidance on paint-safe washing methods after stain removal, following the right post-treatment wash technique keeps your paint protected long term.
Pro Tip: For tough paint stains, always start with the least aggressive method to preserve your clear coat. Moving too fast to polish or compound removes more paint than necessary.
Preventing stains: Maintenance strategies for South Jersey vehicles
Once stains are gone, effective upkeep is the difference between a one-time fix and a spotless long-term look. Prevention takes far less time and money than repeated emergency cleaning.
Your core prevention routine:
- Vacuum the interior every one to two weeks to prevent dirt from grinding into fabric fibers.
- Use high-quality rubber floor mats that trap mud, water, and debris before it reaches carpet.
- Blot spills immediately with a clean cloth. The faster you act, the less likely a stain sets.
- Apply a fabric protectant like Scotchgard or Chemical Guys fabric guard after every deep clean.
- Use a leather conditioner every three months to keep seats supple and resistant to staining.
- Keep a small emergency kit in your car: a few microfiber towels, a spray bottle with water, and a travel-size stain remover.
Regular vacuuming, floor mats, immediate blotting, and protectants maintain a cleaner car far more effectively than reactive cleaning after stains set in.
South Jersey’s humidity is a real factor. After any interior cleaning, leave windows cracked open for at least an hour to allow moisture to escape. Trapped moisture in seats and carpet creates musty smells and mold within days during summer months.
Scheduled seasonal cleanings also pay off. A thorough spring clean removes winter salt and grime, while a fall clean preps your interior for wet, muddy months ahead. For guidance on protecting car interiors and preserving long-term value, a consistent routine is your best investment. You can also follow a seasonal interior cleaning guide built specifically for South Jersey conditions. If your car’s condition has gotten ahead of your routine, check out these professional detailing signs to know when it’s time to call in backup.
Pro Tip: Set a recurring calendar reminder every six weeks for a quick interior vacuum and wipe-down. Consistency beats intensity every time when it comes to keeping your car clean.
Why most DIY stain removal mistakes are about process, not products
After years of working on vehicles across South Jersey, we’ve seen a consistent pattern: most failed stain removal attempts have nothing to do with the product on the shelf. They come down to skipping steps, losing patience, or using the wrong technique.
We’ve seen people spend good money on best professional cleaners, then drench a seat with it and wonder why the stain spread. Over-saturating fabric pushes the stain deeper and creates a mold risk that’s harder to fix than the original stain. The product wasn’t the problem. The process was.
Blotting lifts stains without spreading, while rubbing grinds them in. That single distinction separates most successful DIY cleaners from frustrated ones. The same logic applies to skipping the drying step or not testing a product first.
Process discipline is what pros bring to every job. Following step-by-step cleaning advice consistently, from testing to thorough drying, produces better results than any premium product used carelessly. Invest in the process, and the results follow.
How professional detailing keeps your car stain-free
If process and patience deliver results at home, professional detailing elevates your car’s defense against stains even further.

At CDC Auto Detailing, we use professional-grade extractors, steam cleaners, and enzyme treatments that go deeper than any consumer product. Our team understands South Jersey’s humidity and tailors every service to protect your interior against mold, odor, and future staining. We apply fabric and leather protectants as a standard finish, giving your car a durable barrier that DIY routines often skip. Whether you need a single deep clean or a recurring maintenance plan, learning how auto detailing works shows you exactly what a professional service covers. Explore our full range of auto detailing services or schedule your appointment through our easy mobile detailing booking page today.
Frequently asked questions
What is the safest way to remove stains from car seats?
Vacuum the area first, then apply an automotive-specific cleaner with gentle blotting using a microfiber towel, always testing the cleaner in a hidden spot before treating the stain.
Can I use household cleaners on my car’s interior?
Most household cleaners can strip coatings, fade fabric, or dry out leather. Automotive-specific products are always the safer and more effective choice for car interiors.
How do I prevent stains from coming back?
Apply a fabric or leather protectant after every deep clean, use quality floor mats, and blot spills immediately. Consistent prevention habits outperform reactive cleaning every time.
How do I deal with stains on leather or vinyl seats?
Wipe the area with a soft cloth and a mild automotive leather cleaner, avoid harsh scrubbing, and dry thoroughly right away. Follow up with a conditioner to restore the seat’s protective layer.
What should I do if a stain won’t come out?
If careful cleaning hasn’t worked, consult a professional detailer before reaching for harsher products. Enzyme or solvent cleaners matched to the stain type are often the missing piece before escalating to professional help.
Recommended
- How to Remove Stains Car Seats Naturally and Effectively
- Step by Step Car Interior Cleaning for Pristine Results
- Interior cleaning step by step: keep your car pristine
- How to Prep Car for Detailing: Expert Steps for Best Results
- Removing rust from carbon steel: effective restoration guide – Brass & Steel