
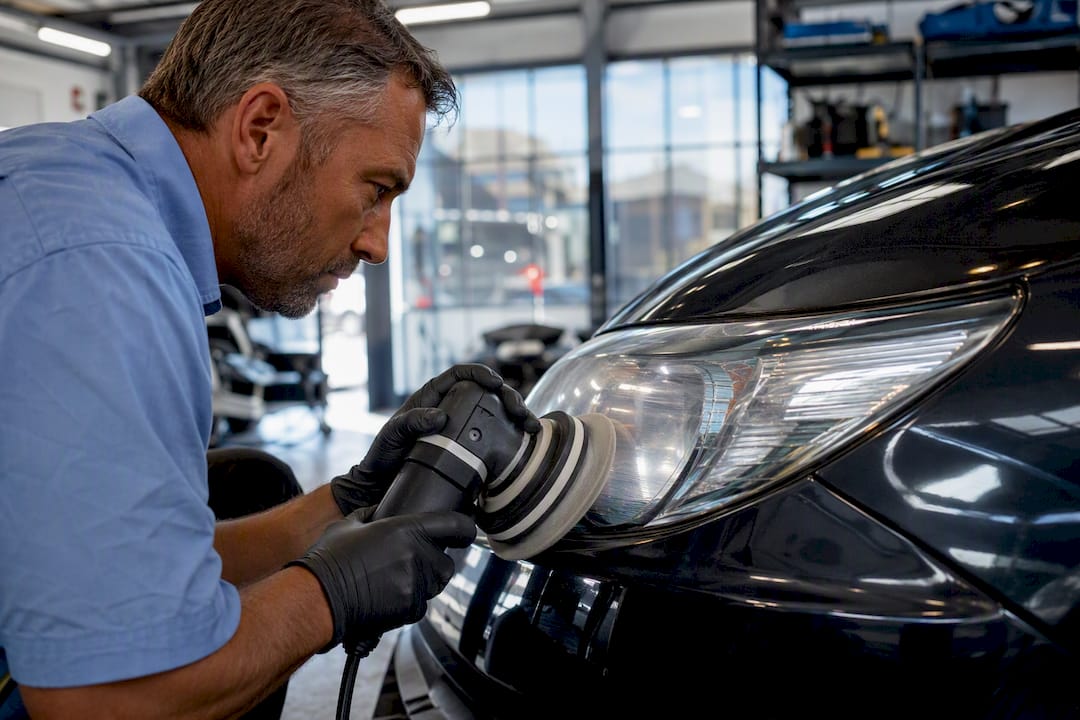
Yes, paint protection film is one of the most effective ways to preserve headlight lenses when it goes on over a clean, unrestored surface. On a new or well-kept lens, PPF blocks the UV rays that turn plastic yellow, absorbs rock chips before they pit the surface, and often heals light scratches on its own. The one catch: some smoked or low-quality films can dim your beam pattern, so film choice matters as much as the decision to install.
TL;DR:
- Using high-quality, headlight-specific PPF with good VLT ratings minimizes light transmission loss and ensures safe night visibility.
- Proper installation requires cleaning, restoration, precise pattern fitting, and edge sealing, especially on curved or complex headlight shapes.
- Restoring lenses with haze, pitting, or internal fogging before applying PPF is essential, as the film only preserves existing clarity.
- DIY kits ranging from $50 to $150 can be cost-effective for flat lenses, but complex curves benefit from professional installation costing $100 to $400 per pair.
- PPF typically lasts 5 to 10 years but requires maintenance, avoiding harsh cleaners and pressure washing during the first week.
Table of Contents
- What Headlight PPF Actually Does to Protect Your Lenses
- Does Headlight PPF Reduce Light Output or Affect Safety?
- When Does a Headlight Need Restoration Before PPF?
- How Is Headlight PPF Applied? Pro Workflow vs. DIY
- Which Film Type Fits Your Headlights?
- What Does Headlight PPF Cost, and How Long Does It Last?
- What CDC Auto Detailing Sees in the Field
- The Bottom Line on Protecting Your Headlights
- Why Guessing at Headlight Protection Costs More Than Doing It Right
- Sources
What Headlight PPF Actually Does to Protect Your Lenses
Headlight PPF is a thin sheet of thermoplastic polyurethane, the same base material used in body paint protection film, formulated with UV inhibitors and a topcoat designed to shrug off light scuffs. It works less like a coating and more like a sacrificial skin. Rock chips, sand, and highway debris hit the film instead of the polycarbonate lens underneath, and the film absorbs rock-chip impact while blocking UV rays that cause oxidation and yellowing.
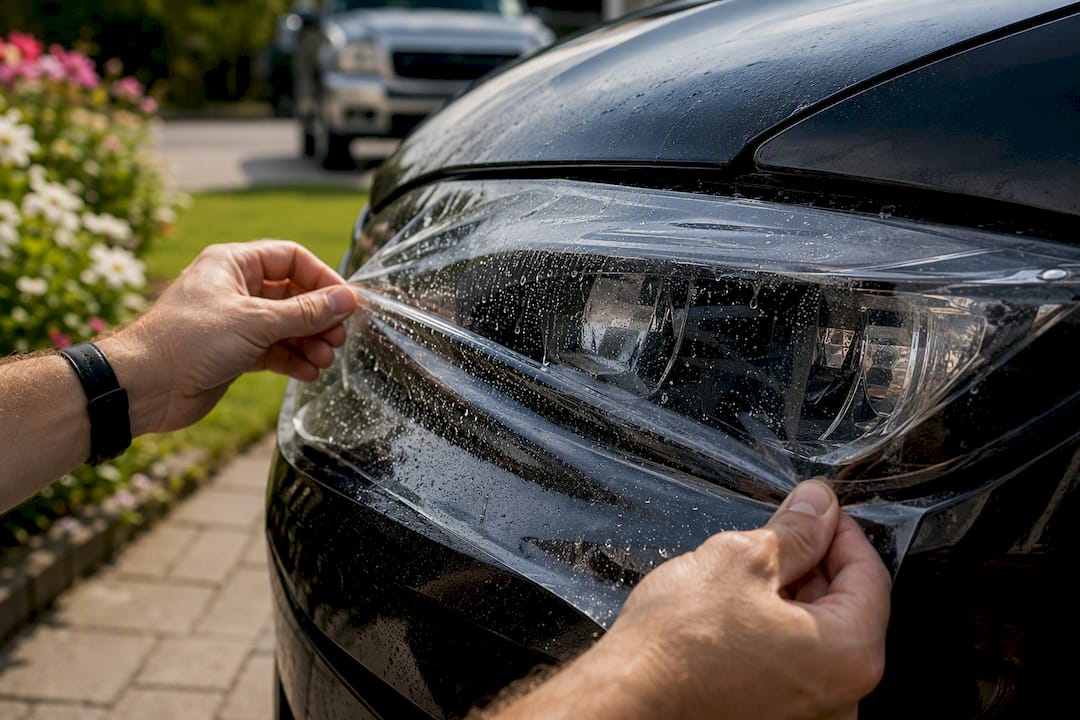
That UV-blocking function matters more than most owners realize. Headlight yellowing isn’t dirt. It’s UV degradation of the plastic itself, which is why washing a hazy lens never restores clarity.
Three things separate PPF from other protective options:
- Ceramic coating adds hydrophobicity and easier cleaning, but offers no meaningful impact resistance; learn more about removing ceramic coating safely without stripping your clear coat.
- Tint film changes the look of the lens for style but isn’t engineered for self-healing or UV defense the way headlight-specific PPF is.
- PPF is the only one of the three built to physically absorb an impact.
Does Headlight PPF Reduce Light Output or Affect Safety?
A properly chosen clear film has almost no measurable impact on visible light transmission. Premium optically clear PPF is engineered for exactly this application, and quality installers use lens-specific patterns rather than generic sheeting cut to fit.
Reality check: the risk isn’t PPF itself, it’s the wrong PPF. Industry guidance warns that generic or ill-fitting film can create clarity issues and measurable light-transmission loss, particularly with smoked variants or bargain films never designed for curved, heat-exposed lens surfaces.
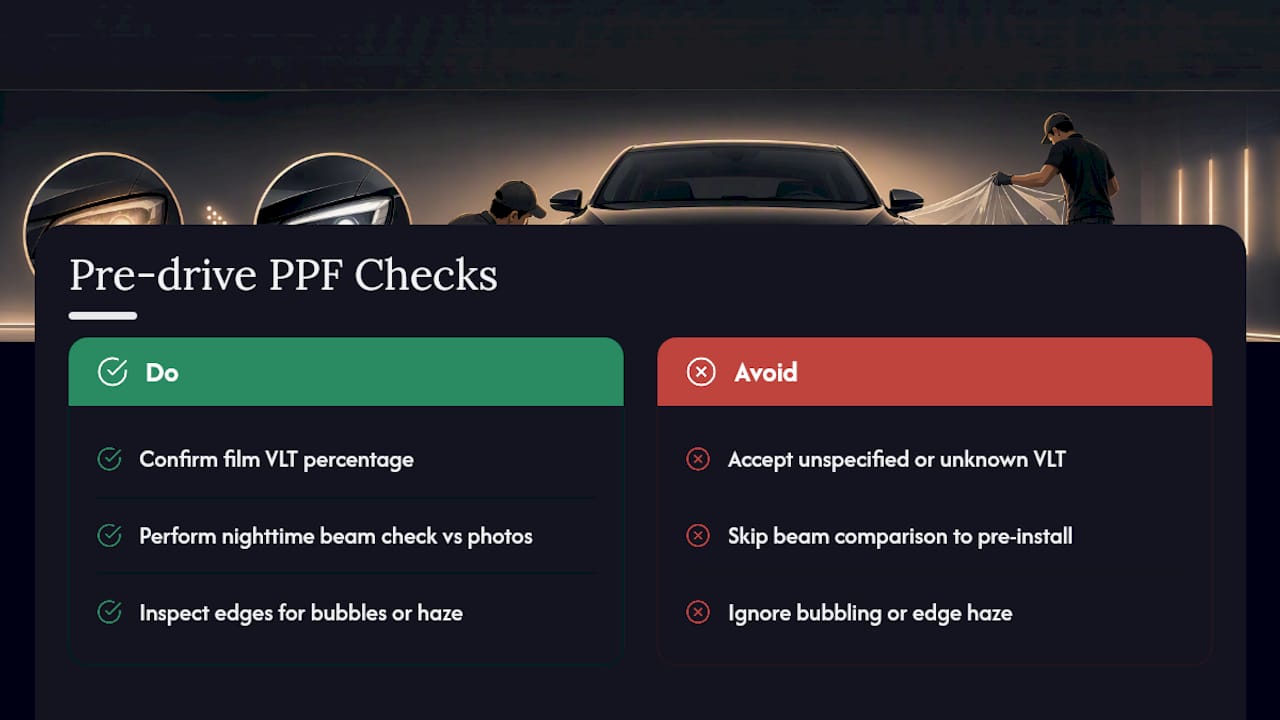
Before you drive off, verify three things with your installer. Ask for the film’s rated VLT (visible light transmission) percentage, request or perform a simple beam check against a wall at night compared to pre-install photos or video, and inspect the edges for bubbling or haze that could scatter light. A clear, headlight-rated film on a good lens should be nearly invisible in your beam pattern after dark.
When Does a Headlight Need Restoration Before PPF?
PPF is a preservation tool, not a repair tool. It locks in whatever condition the lens is already in, so installing film over an oxidized or pitted lens simply seals the damage under a clear layer instead of fixing it. If your lenses look cloudy or yellow, restoring them first is not optional.
Run through this before booking:
- Check for surface haze. Light yellowing or fine haze that responds to a fingernail test (it doesn’t catch or feel gritty) usually polishes out.
- Look for pitting. Small pockmarks from years of highway debris need wet sanding before polish, not just a buff.
- Inspect for cracking. Structural cracks, moisture inside the housing, or a cloudy interior mean the lens assembly itself may need replacement, since no amount of surface work fixes internal fogging.
- Confirm clarity under direct light. If you can read a printed label clearly through the lens at arm’s length, it’s usually ready for film. If not, restoration comes first.
Sanding and polishing removes the UV-damaged outer layer of the polycarbonate, and PPF applied right after locks in that clarity indefinitely, since the film itself now takes the UV hit.
How Is Headlight PPF Applied? Pro Workflow vs. DIY
A professional installer follows a fairly consistent sequence, and skipping steps is where most amateur jobs go wrong.
- Deep clean the lens and surrounding trim to remove wax, road film, and any residue that would trap air under the film.
- Restore if needed using wet sanding and polishing compounds to bring the lens back to clarity.
- Template and cut, using a precut pattern matched to the vehicle’s exact headlight shape rather than a hand-cut sheet.
- Apply slip solution to the lens so the film can be positioned without sticking prematurely.
- Squeegee and heat-set, working out air and pressing the film into the lens’s curves with a heat gun for compound curves.
- Trim and edge-seal so no lifted edge collects road grime or moisture.
- Allow cure time before exposing the film to a pressure washer or heavy rain.
Pro installers rely on precise pattern fitment and edge finishing because those two steps determine whether the film lasts three years or ten. DIYers using precut kits often get reasonable results on flatter lens shapes, but complex curves show edge lift, trapped bubbles, and premature yellowing at the seams when contaminants get trapped during application.
Pro Tip: If your headlights have compound curves near the corners, factor in extra dwell time with a heat gun during DIY install. Rushing the stretch is the single biggest reason kit-installed film lifts at the edges within the first year.
If you’re comfortable with a heat gun and have patience for a slow first attempt, a DIY installation guide can get you through a flat or mildly curved lens. Anything with tight corners or adaptive LED housings is where a professional install earns its price.
Which Film Type Fits Your Headlights?
Not every headlight film serves the same purpose, and picking based on looks alone can backfire.
- Clear TPU is the default choice for daily drivers. It preserves maximum light transmission while still absorbing impacts, and it’s what most owners should choose if protection is the goal.
- Smoked or tinted film changes the vehicle’s appearance but comes with a real trade off: it measurably reduces VLT, and smoked headlight film reduces visible light transmission enough that installers typically recommend clear film for daily drivers who need maximum visibility at night.
- Self-healing and ceramic-infused films use a flexible topcoat that reflows with light heat (sunlight or a heat gun) to erase fine swirl marks, and premium films add UV resistance with warranties running 7 to 10 years when properly maintained.
Headlight-specific PPF also differs from the film used on your hood or bumper. It’s engineered to handle the heat, curvature, and UV load unique to a lens housing, which is why a leftover scrap of body PPF is a poor substitute.
What Does Headlight PPF Cost, and How Long Does It Last?
A DIY headlight PPF kit typically runs somewhere in the $50 to $150 range for a precut pattern and basic tools. Professional installation costs more but buys better fitment, cleaner edges, and usually a warranty.
- Professional headlight PPF: roughly $100 to $400 per pair depending on lens complexity and region, with total pro-install and film pricing for headlights spanning roughly $100 to $600 when bundled with a full front-end wrap.
- Expected lifespan: quality film commonly lasts 5 to 10 years, depending on film grade, climate exposure, and how well the edges were sealed during install.
- Maintenance basics: avoid pressure washing or harsh chemical cleaners for the first week after install to let the adhesive fully cure, then stick to gentle soap and a microfiber towel going forward.
Replace or reapply film once you notice yellowing under the surface, edge lifting that lets moisture in, or visible delamination, cloudy spots that no longer clear up with a wipe-down.
What CDC Auto Detailing Sees in the Field
Working on headlights every week teaches you patterns that no spec sheet covers. The best time to apply PPF is the day a car is new or right after a professional restoration, before the clear coat starts breaking down from UV exposure. Waiting until lenses are already hazy just means paying for restoration and film at the same time instead of skipping the restoration bill entirely.
A few things stand out from actual installs:
- Fleet vehicles benefit disproportionately, since headlight replacement costs on modern adaptive LED assemblies can run into the hundreds of dollars per unit.
- The most common DIY mistake isn’t the cut, it’s rushing the heat-forming step on curved corners.
- Bundling restoration with PPF in a single appointment avoids re-oxidation between the two steps, which happens faster than most owners expect.
CDC Auto Detailing inspects every lens for pitting, cracking, and internal fogging before quoting a film job, because film applied over a bad surface just locks in the problem.
— Charles
The Bottom Line on Protecting Your Headlights
Get PPF if your lenses are new or freshly restored. Restore first if you see yellowing, haze, or pitting. Before booking, inspect your lenses, ask any installer for the film’s VLT rating and warranty terms, and lean on a professional for compound curves or adaptive LED housings where mistakes cost the most.
Why Guessing at Headlight Protection Costs More Than Doing It Right
Most owners either skip protection entirely and pay for restoration every couple of years, or they buy a generic film online and end up with lifted edges within a season. Neither approach is cheap once you count the redo. Professional prep, correct film selection, and proper edge sealing are what separate a ten-year install from a two-year regret.
CDC Auto Detailing handles both sides of this problem in one appointment: headlight restoration when a lens needs it, followed by professional paint protection film installation matched to your exact lens shape, with warranty coverage backing the work.

If your headlights are hazy, don’t reach for a $15 polish kit and hope. Book a headlight inspection and PPF quote with CDC Auto Detailing, serving vehicle owners across South Jersey, and get a straight answer on whether your lenses need restoration, film, or both before your next drive.
Sources
- PPF for Headlights: Why It Protects Lens From Damage
- Paint Protection Film Headlights: 2026 Guide for Longevity
- Can you put paint protection film on headlights