
TL;DR:
- A comprehensive car cleaning checklist helps you perform quick or full-detail washes efficiently.
- Most DIY projects improve vehicle condition, but complex repairs and long-lasting coatings should be handled professionally.
Print this checklist, grab your supplies, and get started. The car cleaning checklist PDF below covers everything from a 15–30 minute quick clean to a full 90–240 minute detail, including supplies, interior steps, exterior steps, and optional pro add-ons. Save the page as a PDF from your browser (File → Print → Save as PDF) or download it directly for a print-ready letter-size layout.
What this checklist covers:
- Supplies and tools to gather before you start
- Interior cleaning sequence (trash removal through deodorizing)
- Exterior cleaning sequence (wheels through wax/sealant)
- Optional pro-level add-ons (clay bar, polish, ceramic coating, PPF)
- Time estimates for quick clean vs. full detail
- Safety notes and common mistakes to avoid
Time at a glance: A quick clean runs a short amount of time. A full interior and exterior detail typically takes 90–240 minutes depending on vehicle size and condition. For regular upkeep, Dyson’s interior cleaning guidance recommends a deep clean every 3–6 months, with weekly quick wipe-downs and vacuuming for high-use vehicles.
Sources used to build this checklist include Cdcautodetailing, Consumer Reports, and Chemical Guys.
Table of Contents
- What supplies do you need before starting your car cleaning checklist?
- Step-by-step interior cleaning checklist
- Step-by-step exterior cleaning checklist
- What pro-level add-ons are actually worth doing yourself?
- How do you print and use this checklist effectively?
- Expert tips and common mistakes that damage your car
- Key Takeaways
- When the checklist tells you it’s time to call a pro
- Cdcautodetailing brings the detail to your driveway in South Jersey
- Useful sources
What supplies do you need before starting your car cleaning checklist?
Getting everything out before you start is the move that separates a smooth clean from a frustrating one. Running back inside for a forgotten towel mid-wash means contaminated water sitting on your paint. Lay it all out first.
Exterior kit
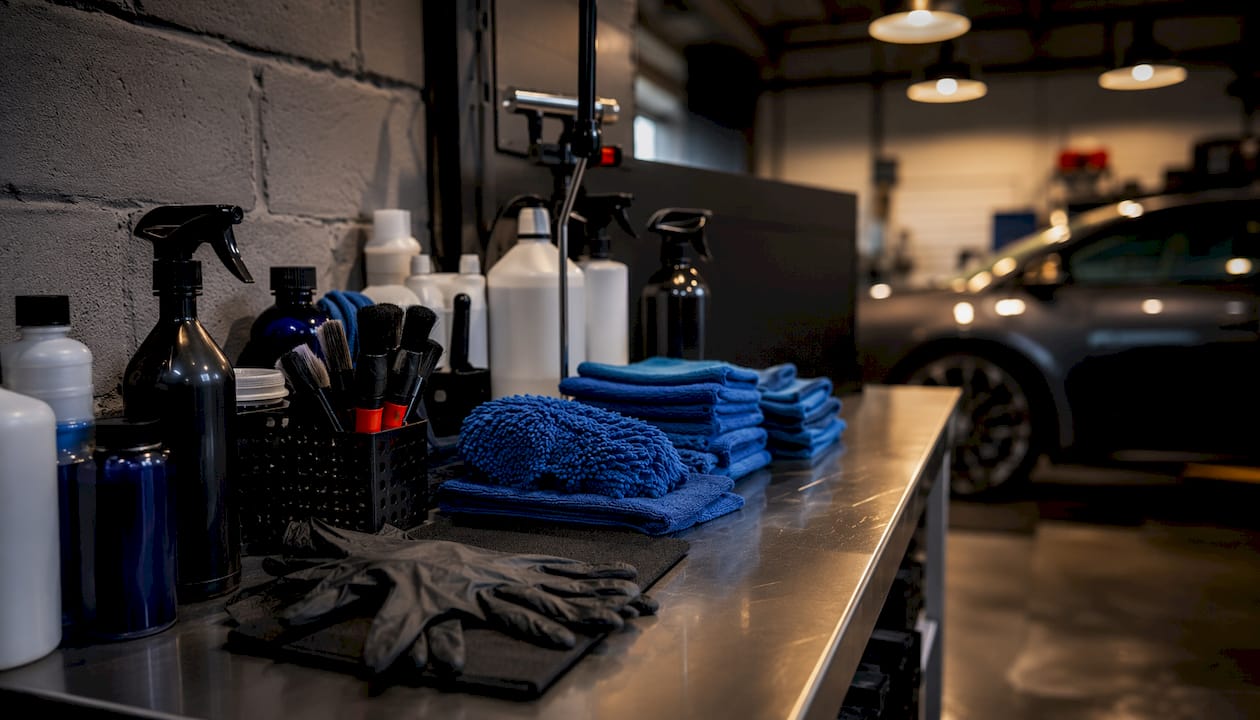
- Two 5-gallon buckets with grit guards (one soapy, one rinse)
- Microfiber wash mitt (dedicated to paint only)
- pH-balanced car shampoo (never dish soap — it strips wax protection)
- Foam cannon or snow foam for presoak
- Wheel cleaner (wheel-safe, pH-neutral or iron-removing formula)
- Dedicated wheel brush and lug nut brush
- Clay bar and clay lubricant (for decontamination)
- Car polish or compound (only when needed)
- Wax or paint sealant
- Tire dressing
- High-GSM microfiber drying towels (at least two) or an air blower
- Spray nozzle or pressure washer
Interior kit
- Shop vacuum or handheld vacuum with crevice and brush attachments
- Soft detailing brushes (vents, seams, cup holders)
- Upholstery/fabric cleaner or leather cleaner and conditioner
- Ammonia-free glass cleaner
- Interior cleaner for dashboards, consoles, and plastic trim
- Microfiber towels (separate set, never mixed with exterior towels)
Personal protective equipment
- Nitrile gloves (wheel cleaners and solvents are harsh on skin)
- Eye protection when using spray chemicals
- Ventilation: work with doors open or in a well-ventilated space
Pro Tip: Never use the same mitt, brush, or towel on wheels and paint. Brake dust contains iron particles that will scratch clear coat on contact. Keep your wheel tools in a separate bucket or bag, clearly marked.
Step-by-step interior cleaning checklist
Follow this sequence top-to-bottom, dry-to-wet. Starting with dry tasks (vacuuming, dusting) before applying any liquid cleaner prevents you from pushing wet grime into dry surfaces.
Quick interior clean: 15–30 minutes. Full interior detail: 45–120 minutes.
- Remove trash and personal items. Take out floor mats and shake them out.
- Vacuum first. Seats, carpets, trunk, under seats, and door pockets. Use the crevice tool for seams and the brush attachment for vents. Work front to back.
- Headliner. Light dusting only. Over-wetting a headliner can loosen the foam-backed adhesive and cause sagging. Spot-clean stains with a barely damp microfiber and gentle pressure.
- Dashboard and consoles. Spray interior cleaner onto a microfiber towel (not directly on the surface) and wipe down. Use a soft brush for vents and tight corners.
- Leather seats. Clean with a dedicated leather cleaner, then condition. Skipping conditioner causes leather to dry and crack over time. Gentle, material-appropriate products are what protect leather long-term.
- Fabric seats and carpets. Apply upholstery cleaner, let it dwell 1–3 minutes, then agitate with a soft brush. Blot, don’t scrub. For deeper stains, a wet/dry extractor works far better than hand scrubbing.
- Plastic and vinyl trim. Mild automotive interior cleaner on a microfiber. Avoid silicone-heavy dressings on surfaces near the windshield — they cause glare.
- Glass and touchscreens. Use ammonia-free glass cleaner on windows. For touchscreens, use a dry or lightly damp microfiber only. Ammonia degrades anti-glare coatings on displays.
- Odor control. A fabric deodorizer handles light odors. For persistent smells (smoke, mildew), consider using a specialized car air purifier to improve in-cabin air quality, as well as ozone treatment or professional odor removal.
- Reinstall floor mats. Final vacuum pass and wipe-down.
For a more detailed interior cleaning workflow, Cdcautodetailing’s guide covers surface-specific steps and timing in depth.
Pro Tip: Let cleaners dwell 1–3 minutes on fabric and carpet before agitating. Scrubbing immediately just moves dirt around and risks damaging fibers. Patience here saves you from re-cleaning the same spot twice.
Maintenance note: Deep clean every 3–6 months for regular use. Weekly quick vacuuming and wipe-downs keep condition from deteriorating between full cleans, especially for vehicles used by kids or pets.
Step-by-step exterior cleaning checklist
Order matters here. The wheels-first rule exists because brake dust and iron particles will splatter onto freshly washed paint if you clean the body first. Do it in this sequence every time.
Quick exterior clean: 15–30 minutes. Full exterior detail: 60–180+ minutes.
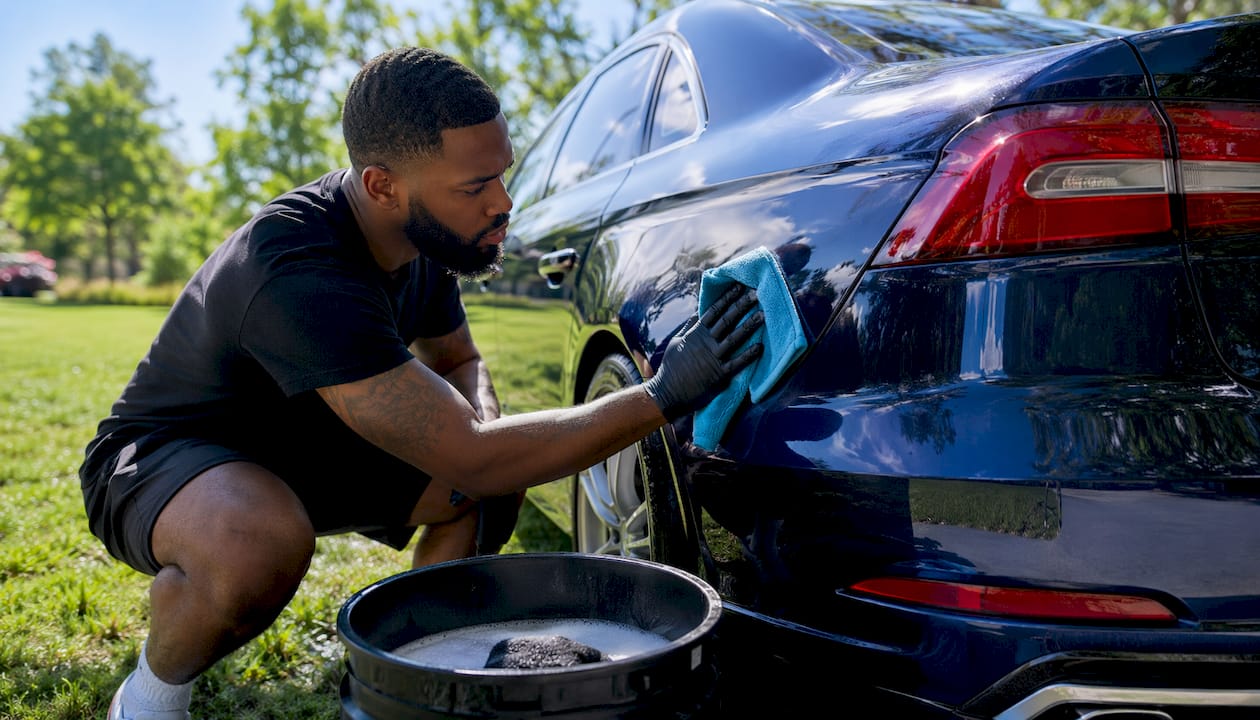
- Move the car into shade. Washing in direct sunlight causes chemicals and water to dry prematurely, leaving streaks and water spots that require polishing to fix. Cool panels first if the car has been sitting in the sun.
- Wheels first. Apply wheel cleaner, let it dwell 1–3 minutes, then agitate with a dedicated wheel brush. Rinse thoroughly before touching the body.
- Pre-rinse. Blast loose dirt from the entire vehicle, including wheel arches and lower panels.
- Foam presoak. Apply snow foam or a foam cannon presoak and let it dwell for 1–3 minutes. This lifts bonded dirt chemically so your wash mitt has less abrasive drag.
- Two-bucket contact wash. One bucket soapy, one bucket rinse water. Rinse the mitt between every panel to avoid reintroducing grit. Work top-to-bottom, panel by panel. Use straight-line strokes, not circles.
- Final rinse. Rinse the entire vehicle from top to bottom.
- Dry immediately. Use high-GSM microfiber drying towels or an air blower. Air-drying leaves mineral deposits from hard water that can etch clear coat over time.
- Clay bar (when needed). After drying, if the paint feels rough like sandpaper, clay it. Use clay lubricant generously, work one panel at a time, and fold the clay frequently to expose a clean surface.
- Polish or compound. Only apply if you have visible swirl marks or light scratches. Skip this step on a routine clean.
- Wax or paint sealant. Apply after polishing or directly after drying on a clean car. Wax gives a warm gloss; paint sealant lasts longer.
- Tire dressing. Apply to clean, dry tires with an applicator pad. Avoid overspray on the wheel face.
Pro Tip: The drying stage is where most people lose the finish they just worked for. Air-drying is not a shortcut. Use a clean, high-GSM microfiber towel or a blower, and work panel by panel before water has a chance to evaporate on its own.
For the full exterior wash workflow, including two-bucket technique details, Cdcautodetailing’s step-by-step guide goes deeper.
What pro-level add-ons are actually worth doing yourself?
Some of these are straightforward weekend tasks. Others carry real risk of damage if you rush them.
- Clay bar decontamination. Worth doing 1–2 times per year, or any time paint feels rough after washing. Low risk, high reward. Just use enough lubricant.
- Machine polish or compound. Removes swirl marks and light scratches. The risk is burning through clear coat if you use the wrong pad, wrong speed, or work on thin paint. First-timers should practice on a hidden panel or stick to hand polishing.
- Ceramic coating. Provides months to years of hydrophobic protection and makes every future wash easier. DIY ceramic kits exist, but surface prep (clay, polish, IPA wipe-down) must be flawless or the coating bonds to contamination. Cdcautodetailing’s ceramic coating service in Pitman, NJ handles the full prep-and-application process for a result that holds.
- Paint protection film (PPF). Self-healing film that guards against chips and road debris. Installation requires precise cutting and bubble-free application. DIY is possible on small panels; full-car installs are best left to professionals.
- Headlight restoration. A sanding and polishing kit handles most yellowed lenses. Takes about 30–45 minutes per headlight and makes a visible difference in both appearance and light output.
- Professional odor removal. Ozone machines and enzyme treatments reach odors that surface cleaners can’t. Worth booking if a DIY deodorizer hasn’t worked after two attempts.
Pro Tip: Machine polishing is the one add-on most likely to cause permanent damage in inexperienced hands. If you’ve never used a dual-action polisher, start on a test panel, use a light cutting pad, and keep the machine moving. A stationary polisher burns through clear coat in seconds.
How do you print and use this checklist effectively?
How to save and print
- Open this page in Chrome, Firefox, or Safari.
- Press Ctrl+P (Windows) or Cmd+P (Mac) to open the print dialog.
- Set the destination to “Save as PDF” or select your printer.
- Choose Letter size, portrait orientation.
- Enable “Background graphics” if you want the formatting to carry over.
- Print or save.
Checklist variations to fit your workflow
- Quick-clean version (one page). Keep only the essentials: remove trash, vacuum, wipe dash and glass, exterior rinse and dry. Ideal for a weekly 15–30 minute refresh.
- Full-detail version (two pages). Panel-by-panel interior and exterior sequences with product notes and dwell times. Use for monthly or seasonal deep cleans.
- Pre-wash packing list. Run through the supplies section before you start to confirm you have everything. Nothing derails a detail faster than a missing clay bar lubricant.
- Fleet or work-order format. Fleet managers can adapt the checklist as an intake form, checking off completed steps per vehicle and noting any damage or required services.
For a car detailing prep checklist that covers tool setup and pre-wash organization, Cdcautodetailing’s guide is a practical companion to this PDF.
Expert tips and common mistakes that damage your car
Most detailing mistakes come down to three things: wrong temperature, wrong product, or wrong order.
Temperature and timing
Washing in shade or when panels are cool is not optional advice. Hot metal accelerates evaporation, so foam and shampoo dry before you can rinse them, leaving mineral deposits and chemical residue baked onto the surface. Early morning or late afternoon are the best times.
Dwell time
Foam, wheel cleaner, and upholstery cleaner all need time to work. Scrubbing immediately after application just moves contamination around and increases scratch risk. The dwell time principle is simple: let the chemistry do the work before the brush does.
Tool separation
Wheels-first is a rule, not a preference. Brake dust contains abrasive iron particles that will scratch paint on contact. Any brush or mitt that touches a wheel should never touch body panels. Keep them in separate buckets.
Interior-specific mistakes
- Over-wetting the headliner loosens the foam-backed adhesive and causes permanent sagging.
- Ammonia-based cleaners on touchscreens degrade anti-glare coatings.
- Aggressive scrubbing on leather removes the protective finish and accelerates cracking.
- Using household all-purpose cleaners on dashboards and trim can cause fading and brittleness over time.
Safety reminders
- Wear nitrile gloves when handling wheel cleaners, iron removers, and solvents.
- Work in ventilated areas when using spray chemicals or dressings.
- Store chemicals in their original labeled containers, away from heat sources.
Pro Tip: The drying stage is where a good wash becomes a great finish. A blower clears standing water from mirrors, door jambs, and panel gaps before you towel-dry. That prevents water from dripping back onto dry paint and leaving new spots.
For more detailing best practices on protecting your finish, Cdcautodetailing’s guide covers the full range of protective techniques.
Key Takeaways
A complete car cleaning checklist covers supplies, interior sequence, exterior sequence, and optional pro add-ons, with a quick clean taking 15–30 minutes and a full detail running 90–240 minutes.
| Point | Details |
|---|---|
| Time estimates | Quick clean: 15–30 min; full detail: 90–240 min depending on vehicle size and condition. |
| Cleaning frequency | Deep clean every 3–6 months; weekly quick vacuuming and wipe-downs for high-use vehicles. |
| Exterior order | Wheels first, then pre-rinse, foam presoak (dwell 1–3 min), two-bucket wash, dry immediately. |
| Interior safety | Never over-wet headliners; avoid ammonia cleaners on touchscreens; condition leather after cleaning. |
| Cdcautodetailing | For ceramic coating, PPF, and advanced add-ons in South Jersey, Cdcautodetailing handles prep and application professionally. |
When the checklist tells you it’s time to call a pro
Most vehicle owners who follow a regular DIY checklist do a solid job maintaining their car’s condition. The checklist works. Where it starts to fall short is when the job requires equipment or experience that a weekend kit can’t replicate.
Machine polishing on a car with thin or single-stage paint, full-car PPF installation, ceramic coating on a daily driver that needs to last two or more years, persistent odors that have soaked into foam padding — these are the situations where a professional produces a better result and costs less in the long run than a DIY mistake.
The other case is simply time. A full interior and exterior detail done correctly takes 90–240 minutes. For fleet managers or busy professionals, that time has a real cost. A mobile detailing service that comes to you removes the logistics entirely.
Cdcautodetailing brings the detail to your driveway in South Jersey
Prefer to skip the setup and get a professional result without the effort? Cdcautodetailing is a mobile detailing service based in Pitman, NJ, serving vehicle owners and fleet managers across South Jersey. The difference from a DIY clean is not just the finish. It’s the equipment, the prep process, and the protection options that a checklist and a bucket can’t replicate.

Services available for booking:
- Interior and exterior detailing — full-service mobile clean at your home or office
- Ceramic coating — long-term hydrophobic protection applied after professional prep; ideal when a DIY kit won’t give you the surface prep a coating needs to bond correctly
- Paint protection film — self-healing film for high-impact areas; full-car installs require professional cutting and application
- Window tinting — UV protection and interior preservation
- Fleet washing and commercial vehicle detailing — recurring service for businesses managing multiple vehicles
To request an estimate or book a mobile appointment, visit Cdcautodetailing or check out the full breakdown of auto detailing services to see which option fits your vehicle and schedule.
Useful sources
These are the primary references used to build this checklist. Each one offers deeper reading on specific steps or products.
- How to Clean Your Car’s Interior | Consumer Reports — authoritative guidance on material-safe interior cleaning, headliner care, and avoiding household cleaners on leather and touchscreens.
- How To Wash A Car The Right Way | Chemical Guys — detailed exterior wash workflow covering foam presoak dwell times, two-bucket method, and the drying stage.
- How To Wash A Car For Beginners | Adam’s Polishes — practical beginner guidance on temperature, surface cooling, and shade washing.
- How to Wash a Car the Right Way | CarQly — step-by-step exterior process with strong coverage of the two-bucket method and wheels-first sequencing.
- How to Clean a Car Interior | Dyson — frequency recommendations for deep cleaning and weekly upkeep, particularly for high-use vehicles.
- Cdcautodetailing — Interior Cleaning Step by Step — expanded interior sequence and surface-specific product guidance from the Cdcautodetailing team.